Project Shopping List
A garbage disposal that isn’t working usually isn’t broken – it’s either tripped its thermal overload, jammed by a foreign object, or leaking from a joint that’s come loose. Each of these is a 10–30 minute fix that doesn’t require a plumber or a replacement unit. Disposals are built tough and typically last 10–15 years; most “broken” disposals are just momentarily stuck.
This guide covers all three scenarios: resetting a tripped disposal, unjamming an impeller, and fixing the three locations where disposals commonly leak. Work through them in order – reset first, then unjam if reset didn’t help, then check for leaks separately.
What You’ll Need
Tools
- Allen wrench set (most disposals use 1/4-inch)
- Needle-nose pliers or disposal wrench (offset, if available)
- Flashlight
- Bucket
- Channel-lock pliers
Materials
- Plumber’s putty (for sink flange leaks)
- Replacement drain gasket (for dishwasher inlet leaks)
- Hose clamps (for drain connection leaks)
Step 1: Always Start with the Reset Button
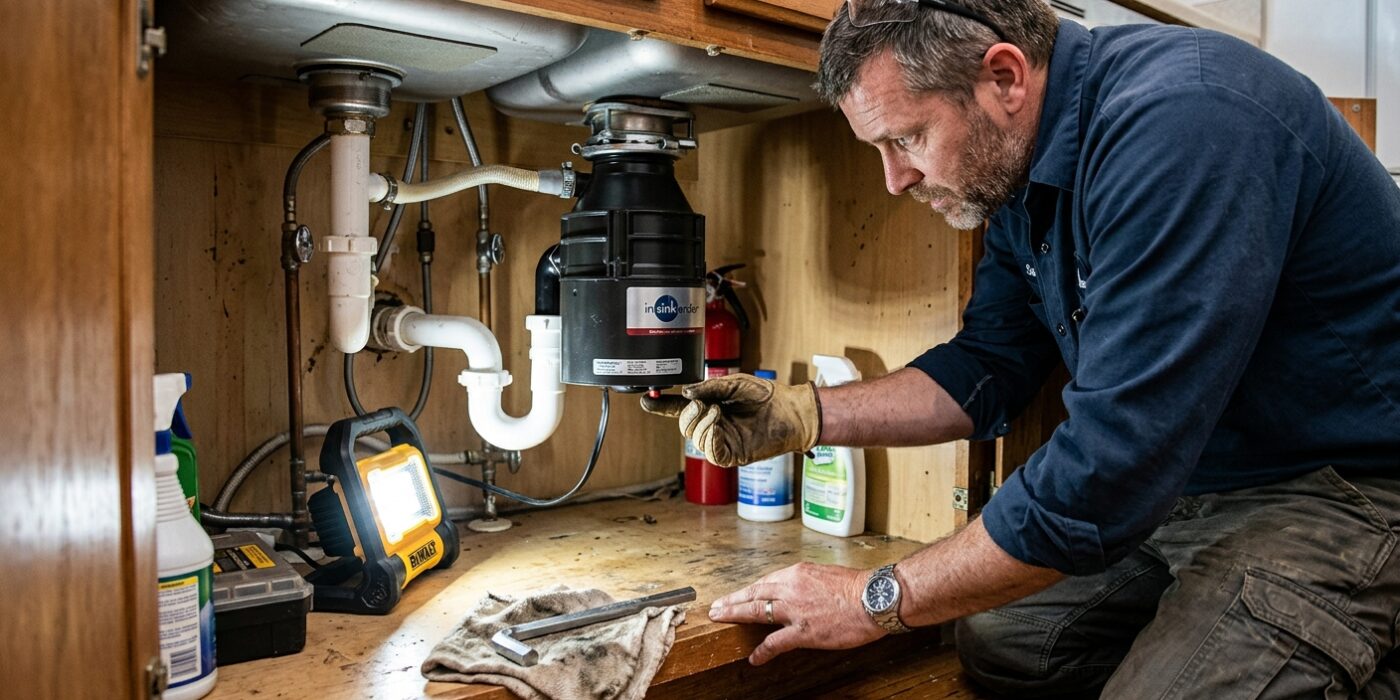
If your garbage disposal is making a humming sound but refusing to spin, or if it remains completely silent when you flip the switch, there is no need to panic. Your unit has likely tripped its internal circuit breaker to prevent the motor from overheating. To fix this, crouch down and look at the very bottom center of the disposal unit underneath your sink. You are looking for a small, recessed button that is typically red or black in color.
Reach underneath and press this button firmly with your thumb. You should feel a distinct, satisfying click as it resets into place. If the button feels springy and pops right back out immediately, the motor is still too hot to operate. Simply walk away and give it 10 to 15 minutes to cool down, then try pressing it again. This simple reset clears most common disposal issues and can save you a costly service call.
Beginner Tip: Before you touch anything, always ensure the disposal wall switch is turned to the off position. While you are already reaching under the sink, it is a great habit to double-check that the disposal is unplugged from the wall outlet if you can easily reach the cord, just to be extra safe while you work.
Pro Tip: Since it can be dark and cramped under the kitchen sink, use a flashlight or your phone’s camera light to get a clear view of the bottom of the unit. Sometimes, the reset button is tucked behind a wire or a pipe, and having an extra light source will help you identify the button instantly without having to feel around blindly.
Step 2: Unjam the Impeller
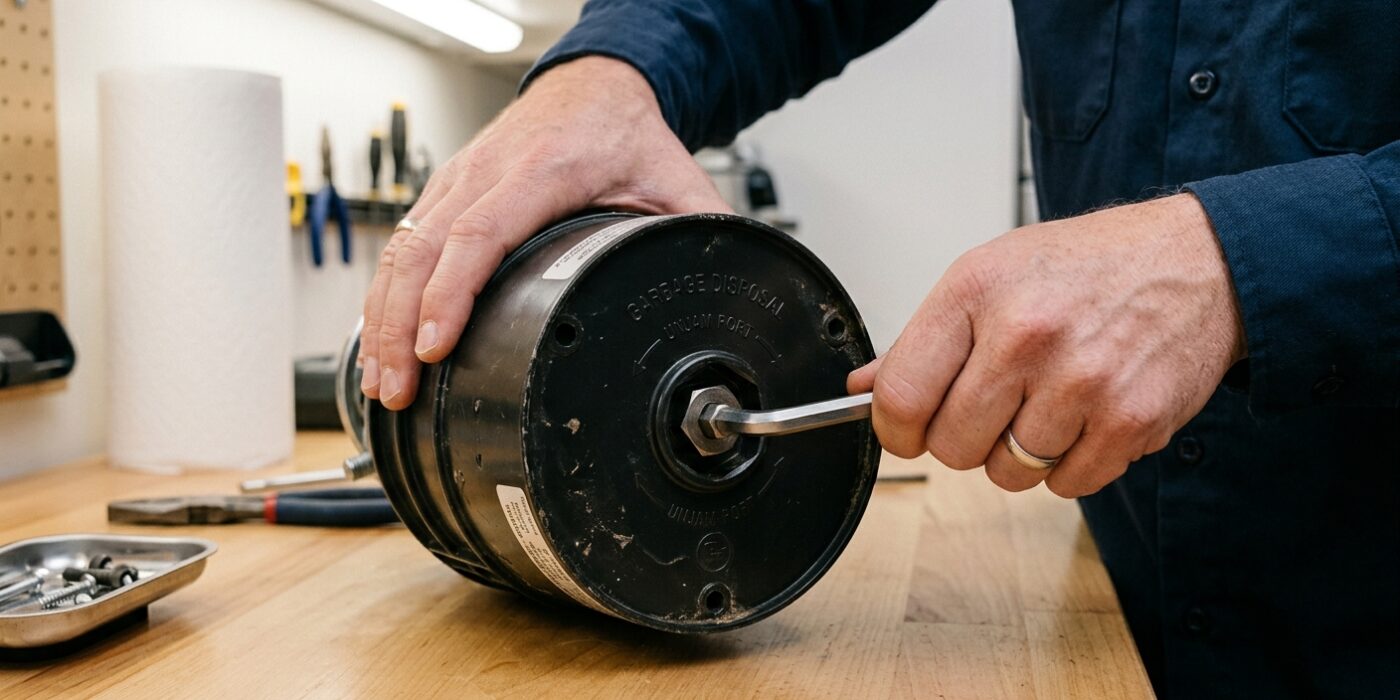
If your disposal is humming but won’t grind, something is stuck. To fix this, first ensure the power is completely off by flipping the wall switch to “off” and turning off the corresponding breaker in your home’s electrical panel. This is a critical safety step you must never skip.
Locate the bottom of the garbage disposal unit under your sink. Directly in the center, you will find a small, recessed hole – this is the 1/4-inch hex socket. Insert your Allen wrench (often called a hex key) into this opening. Use firm, steady pressure to rotate the wrench back and forth, moving it clockwise and counter-clockwise. You are manually forcing the internal flywheel to spin, which will dislodge whatever object is caught in the blades. Continue this motion until the wrench turns easily in a full circle. Once it moves freely, look down through the sink drain from above and use a pair of long-handled needle-nose pliers to remove the obstruction. Never use your fingers!
Beginner Tip: Many beginners worry about breaking the unit by forcing the wrench. Don’t be afraid to use some muscle! The internal mechanism is built to handle significant torque, and the goal is to break the object’s grip on the blades.
Pro Tip: If your disposal didn’t come with a specialized wrench, check the underside of the unit itself. Many manufacturers tape the correct size hex key directly to the disposal housing for easy access.
Step 3: Restore Power and Test
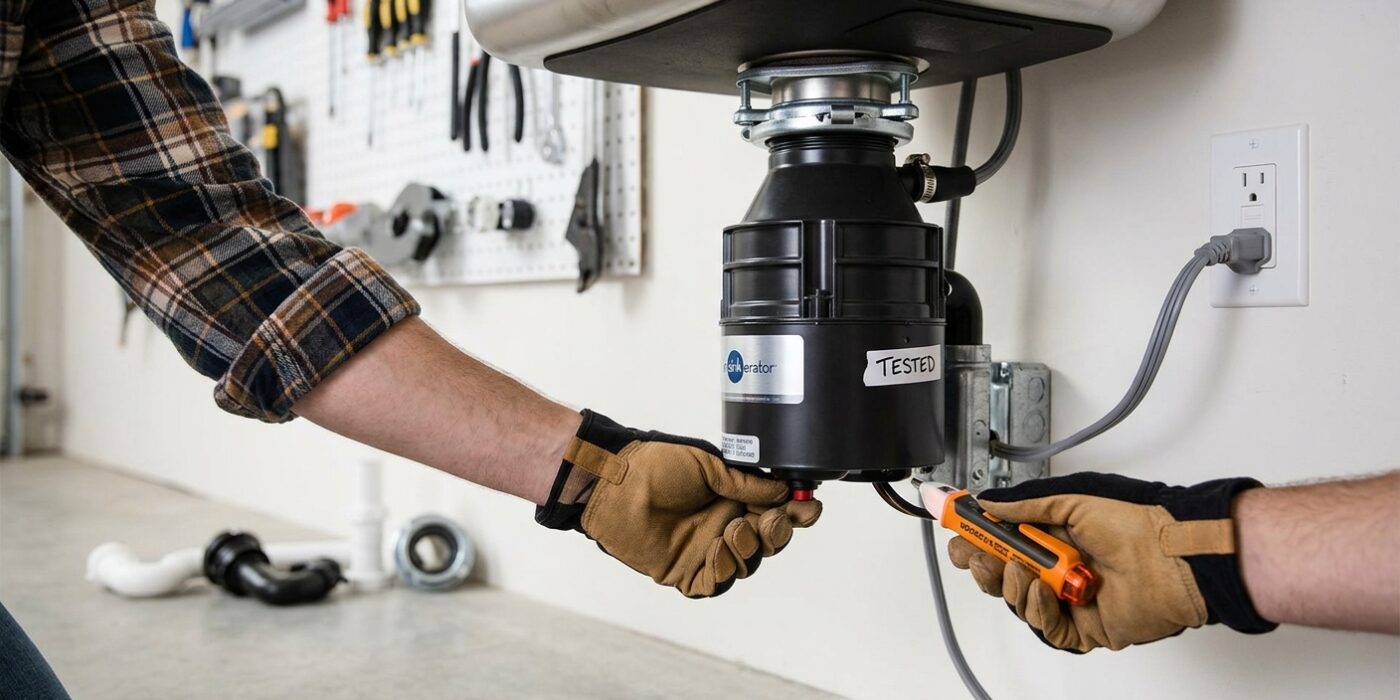
Now that your disposal is clear and reset, it is time to bring it back to life. First, head to your home’s electrical panel and flip the circuit breaker switch back to the “On” position. Return to the kitchen and turn on your cold water tap, letting it run at a steady, medium stream. Cold water is essential here because it keeps the motor cool and helps solidify any grease so it can be chopped up rather than smeared inside the pipes.
With the water flowing, press the wall switch to activate the disposal. You should hear a steady, rhythmic hum. Let the unit run for at least 30 seconds to flush out any lingering debris loosened during your unjamming process. Watch for any unusual shaking or muffled grinding sounds; a healthy disposal should sound consistent and relatively smooth. If everything sounds normal, you are ready to get back to your regular routine.
Beginner Tip: Never run your garbage disposal without water. The water acts as a lubricant and a carrier for the food waste. Without it, the unit can overheat, and debris will likely settle in your pipes, leading to a much tougher clog later on.
Pro Tip: To keep your disposal smelling fresh and your blades sharp, drop a few ice cubes into the drain while the unit is running. The ice acts as a mild abrasive, scouring the interior walls of the disposal and knocking off buildup that often causes unpleasant kitchen odors.
Step 4: Fix a Leak at the Sink Flange (Top Leak)
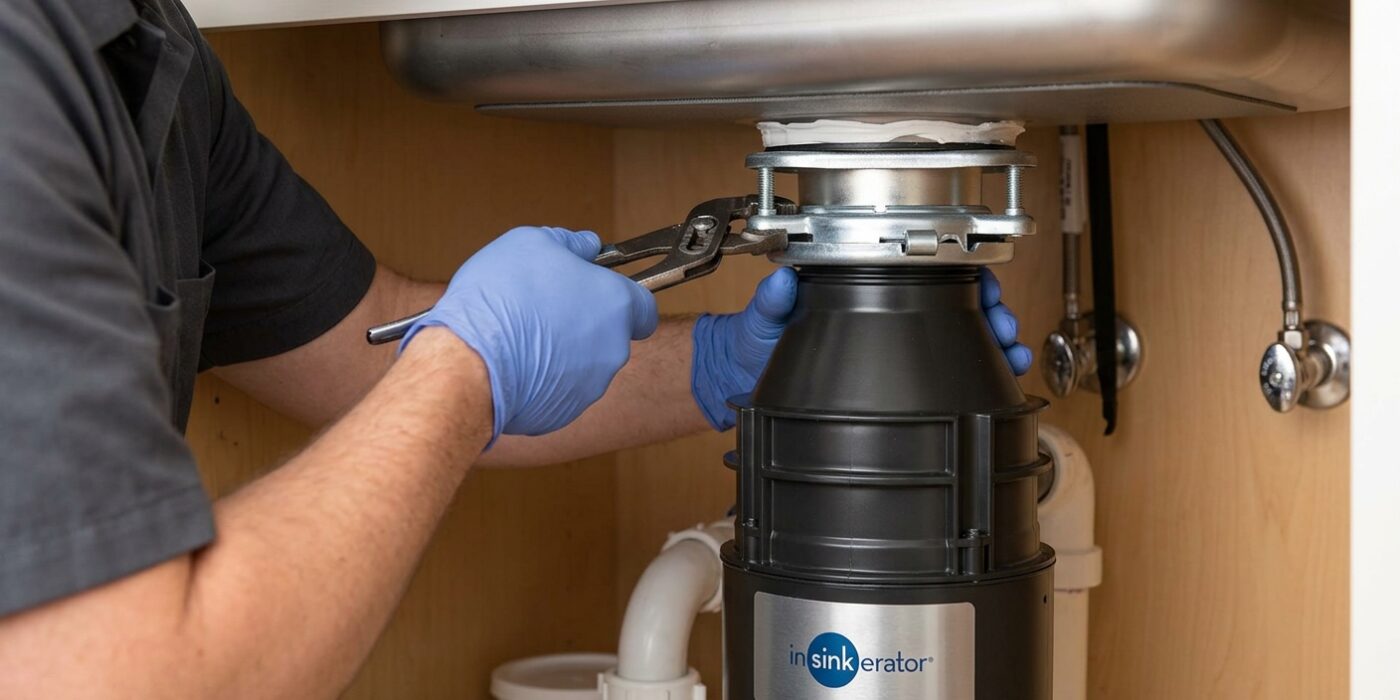
If you notice water pooling directly underneath the garbage disposal where it meets the kitchen sink, the culprit is almost always the sink flange. Over time, the plumber’s putty creating the watertight seal between your metal sink and the drain flange dries out and cracks. To fix this, first twist the disposal unit off its mounting assembly – you may need to insert a screwdriver into the mounting ring tabs to help rotate it counter-clockwise.
Once the unit is removed, unscrew the large mounting nut from underneath the sink. From inside the basin, lift the flange out. Use a plastic putty knife to scrape away every bit of the old, hardened putty until the sink surface is smooth and clean. Roll a golf-ball-sized portion of fresh plumber’s putty between your palms until it forms a uniform “rope” about 3/8-inch thick. Wrap this rope around the underside of the flange and press it firmly into the sink opening. Tighten the mounting assembly from below until the flange is snug and the putty begins to squeeze out around the rim inside the sink. Wipe away the excess, and you are ready to reattach your unit.
Beginner Tip: Do not use silicone sealant instead of plumber’s putty. Silicone is permanent and nearly impossible to remove if you ever need to replace the drain again; plumber’s putty is designed specifically for this task and remains pliable enough for future repairs.
Pro Tip: Place a heavy object, such as a full gallon jug of water, inside the sink directly on top of the flange while you tighten the mounting assembly underneath. This extra weight keeps the flange perfectly level and prevents it from shifting while you secure the nut.
Step 5: Fix a Leak at the Dishwasher Inlet
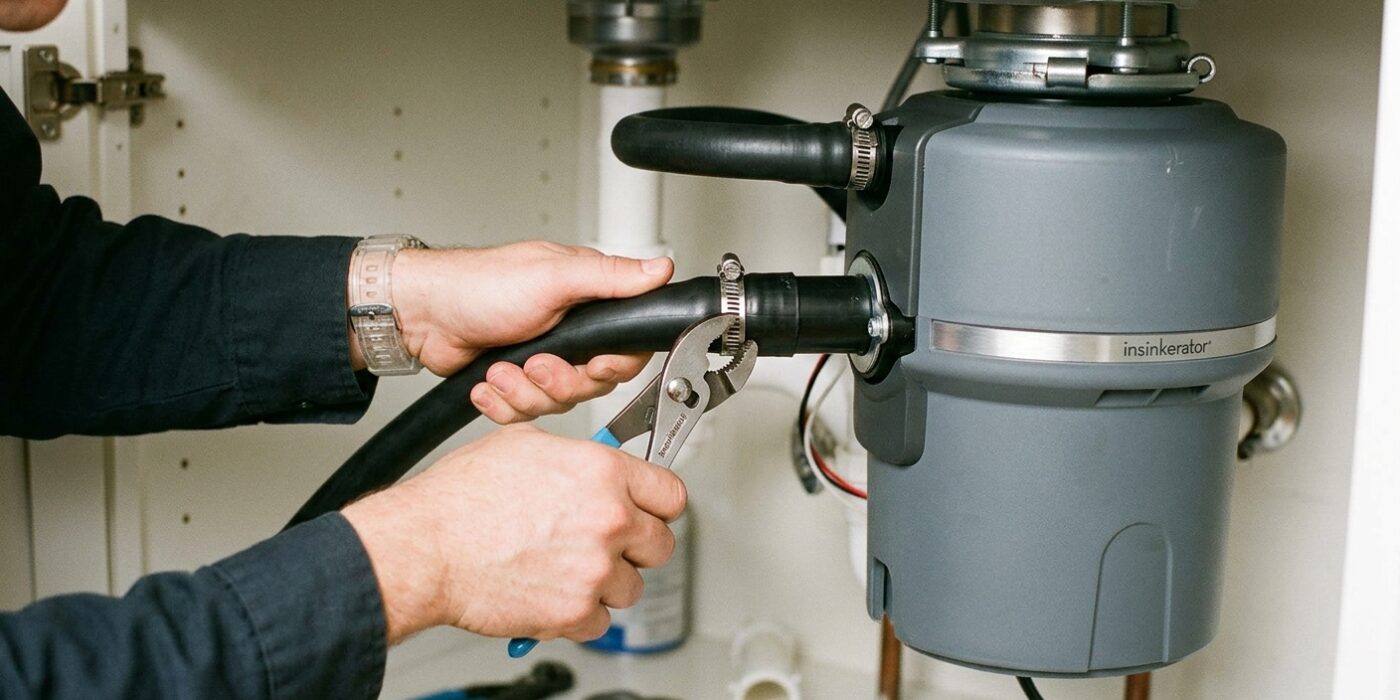
If you notice water pooling under your disposal, the culprit is often the dishwasher drain hose – a small rubber tube connected to the side of the unit. First, locate the metal clamp holding the hose to the inlet. Using a flathead screwdriver or a nut driver, tighten this clamp clockwise by about a half-turn. If the leak persists, you will need to replace the internal rubber gasket. Place a towel or small bowl underneath to catch excess water, then loosen the clamp completely to slide the hose off the inlet. Inspect the small rubber ring inside; if it looks cracked or flattened, pull it out and replace it with a new universal dishwasher gasket from the hardware store. Push the new gasket in until it sits flush against the rim, slide the hose back over the inlet, and tighten the clamp firmly, but be careful not to overtighten and strip the screw.
Beginner Tip: Never rely on duct tape or waterproof sealant to fix a leak at this connection. These materials will not withstand the hot water and pressure from your dishwasher, and they will only create a messy, difficult-to-clean failure later on.
Pro Tip: To make sliding a stiff, stubborn dishwasher hose back onto the inlet much easier, dip the end of the hose into a cup of hot water for thirty seconds before reattaching it. This softens the rubber, allowing it to glide over the connection fitting without a struggle.
Step 6: Fix a Leak at the Drain Line
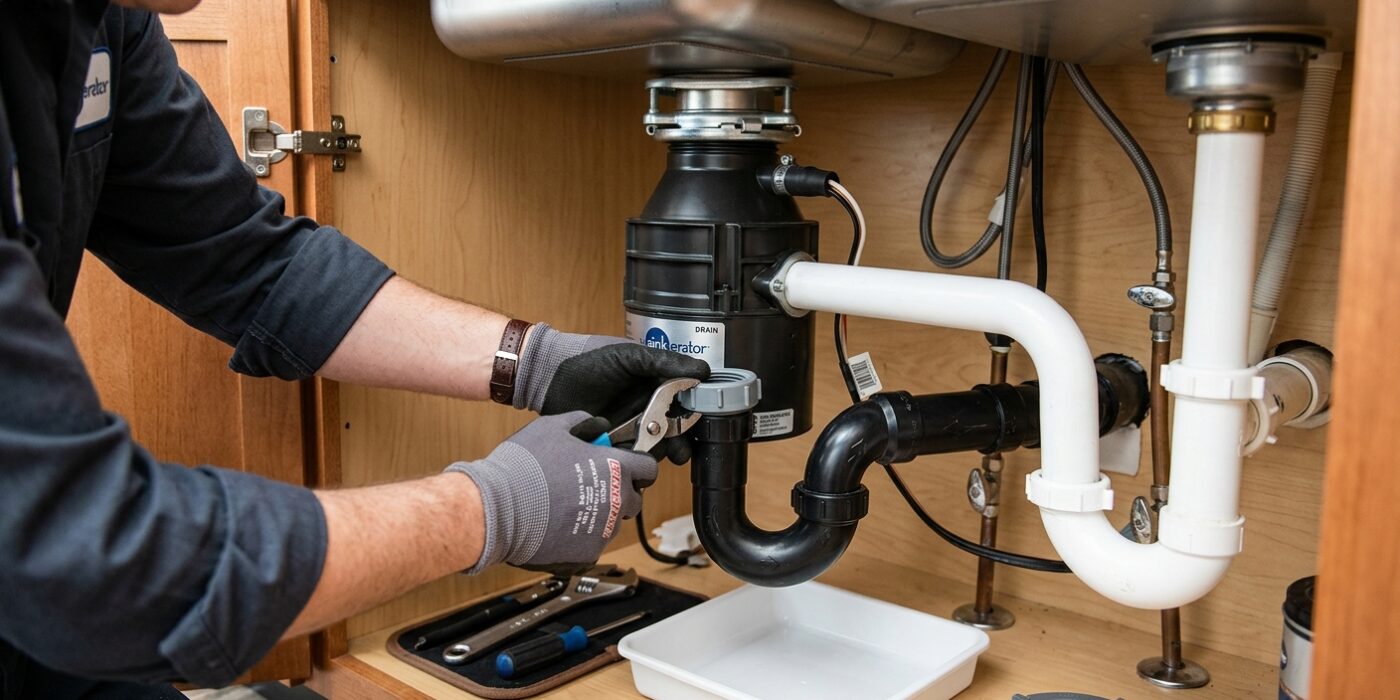
If you notice water dripping under your sink, the most likely culprit is the drain line – the pipe connecting your disposal to the wall. Over time, the vibration from the motor can loosen the plastic slip nut holding these pipes together. To fix this, place a small bucket or a folded towel underneath the connection to catch any residual water. First, try tightening the plastic nut by rotating it clockwise with your hand. If the leak persists, unscrew the nut completely, pull the pipe away, and check the rubber gasket (or washer) inside. If it looks cracked, flattened, or brittle, simply take the old one to any local hardware store to find an exact match for less than a dollar. When reassembling, make sure the pipe is seated squarely and the threads catch smoothly before tightening, as cross-threading the plastic can create new, frustrating leaks.
Beginner Tip: Never use a wrench or pliers to tighten plastic slip nuts. Because plastic is soft, it is very easy to accidentally crack the nut or strip the threads if you use too much force. Always stick to hand-tightening, which is more than enough to create a water-tight seal.
Pro Tip: Before reassembling, wipe the inside of the joint and the rubber gasket with a clean, dry rag. Even a tiny piece of grit or old food debris can prevent a perfect seal, causing the connection to drip even when the nut is tightened as far as it will go.