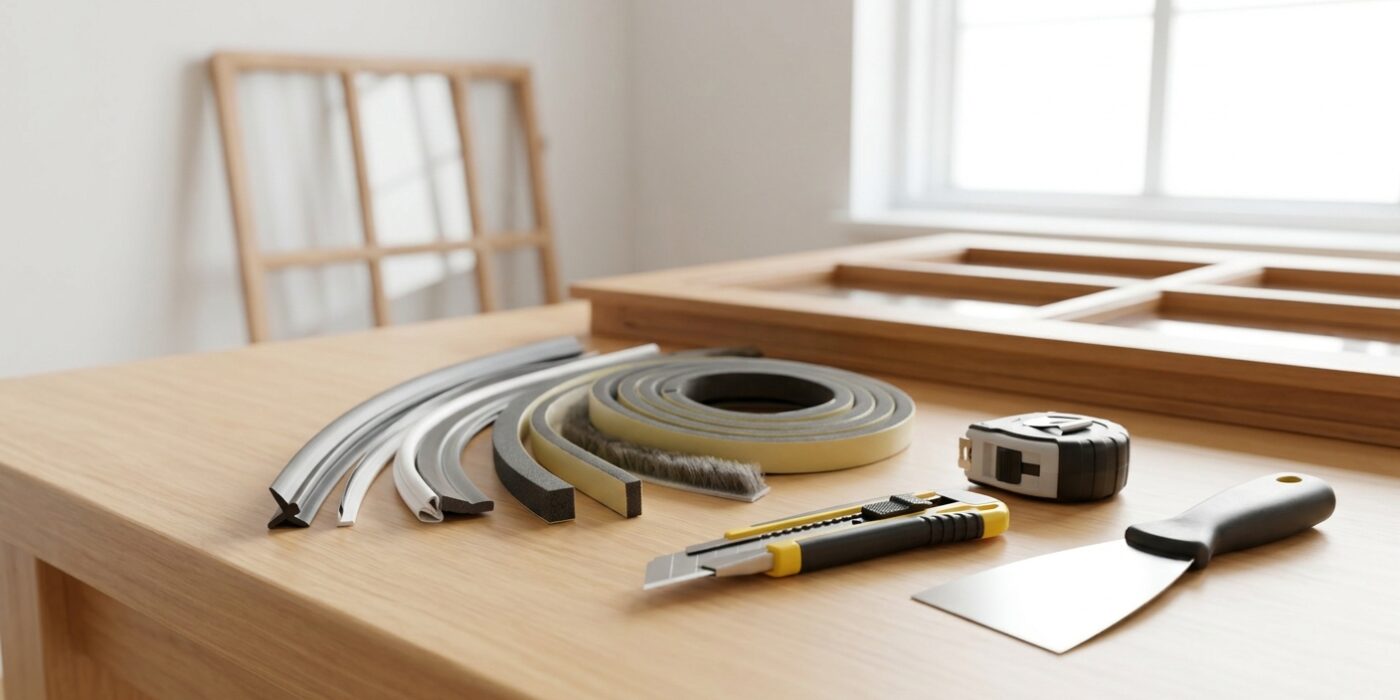
Project Shopping List
Drafty windows aren’t just uncomfortable – they’re expensive. A single window with failed weatherstripping can account for 10–15% of your heating bill in a cold climate. The weatherstripping compresses, hardens, and tears over time, especially on casement and double-hung windows that see daily use. Replacing it is a straightforward afternoon project that pays back its $15–$30 material cost within the first heating season.
This guide covers the most common weatherstripping types for windows – foam tape, V-strip (tension seal), and compression strip – and how to apply each one correctly so it actually seals rather than just adding a layer that falls off in six months.
What You’ll Need
Tools
- Utility knife or scissors
- Putty knife or flathead screwdriver (for removing old weatherstripping)
- Tape measure
- Hammer (for V-strip with nails)
- Cleaning rags
Materials
- Foam adhesive-backed weatherstripping tape (for compression surfaces)
- V-strip (tension seal) weatherstripping – bronze or plastic
- Compression strip (door/window seal with fin) – for sashes and rails
- Isopropyl alcohol for surface prep
- Painter’s tape (to help hold strip while adhesive sets)
Step 1: Identify the Gap Locations
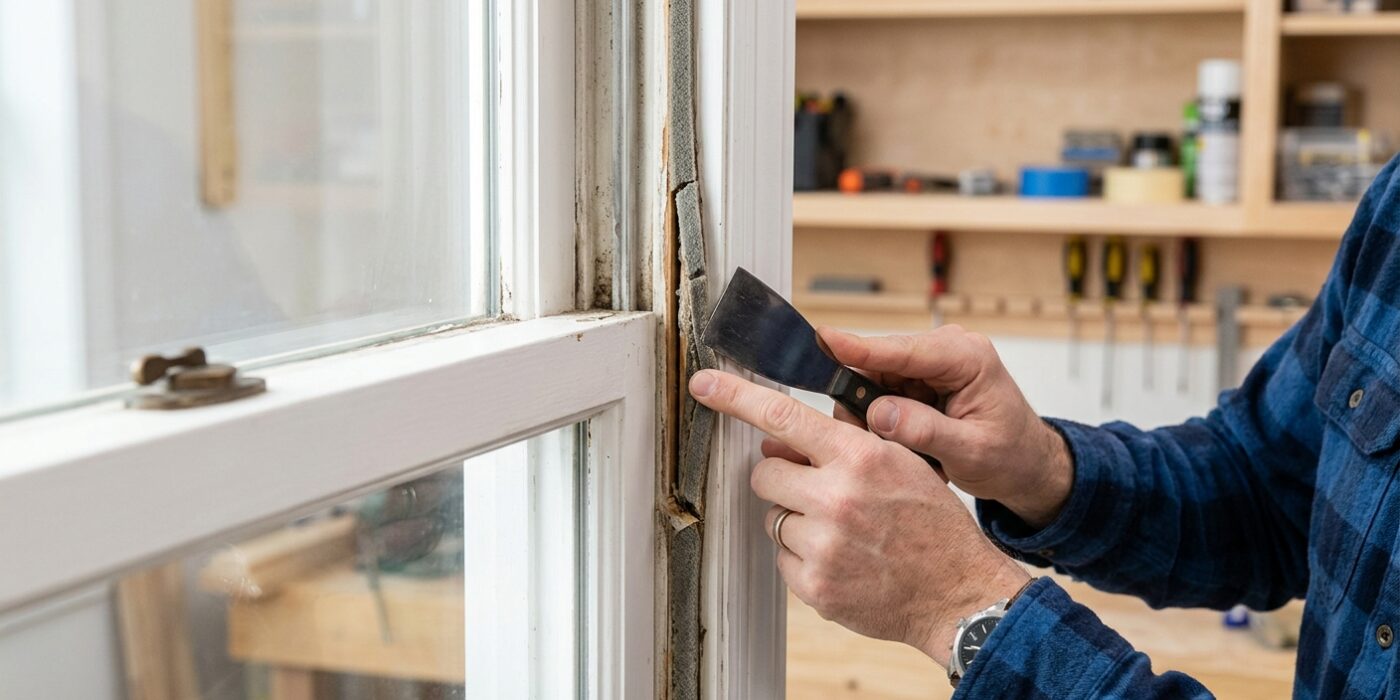
Before you purchase any materials, you need to map out exactly where your windows are leaking. Your goal is to find where warm air is escaping and cold air is sneaking in. On a windy, chilly day, close your windows and lock them. Slowly move your hand around the entire perimeter of the window frame, specifically focusing on the meeting rail – the horizontal center where the two sashes overlap – and the vertical channels where the window slides up and down. If you feel a draft, that is a prime spot for new weatherstripping.
Beginner Tip: A common mistake is assuming that weatherstripping is one-size-fits-all. Don’t rush to the store yet! Each area requires a different type of seal – such as adhesive foam tape for the meeting rail or V-strip tension seals for the channels. Identify every gap first so you can buy the correct material for each specific trouble spot in a single trip.
Alternative Method: If you don’t have incense, a dampened hand works just as well. Simply moisten your fingertips and trace the window frame; the evaporation of the water on your skin will make you much more sensitive to even the slightest breeze, allowing you to pinpoint the exact location of the leak.
Pro Tip: Use small pieces of bright painter’s tape to mark each drafty area as you find it. Because weatherstripping is invisible once installed, having a visual map already taped to the window glass makes it much faster to remember exactly where your focus needs to be once you start the repair process.
Step 2: Remove All Old Weatherstripping
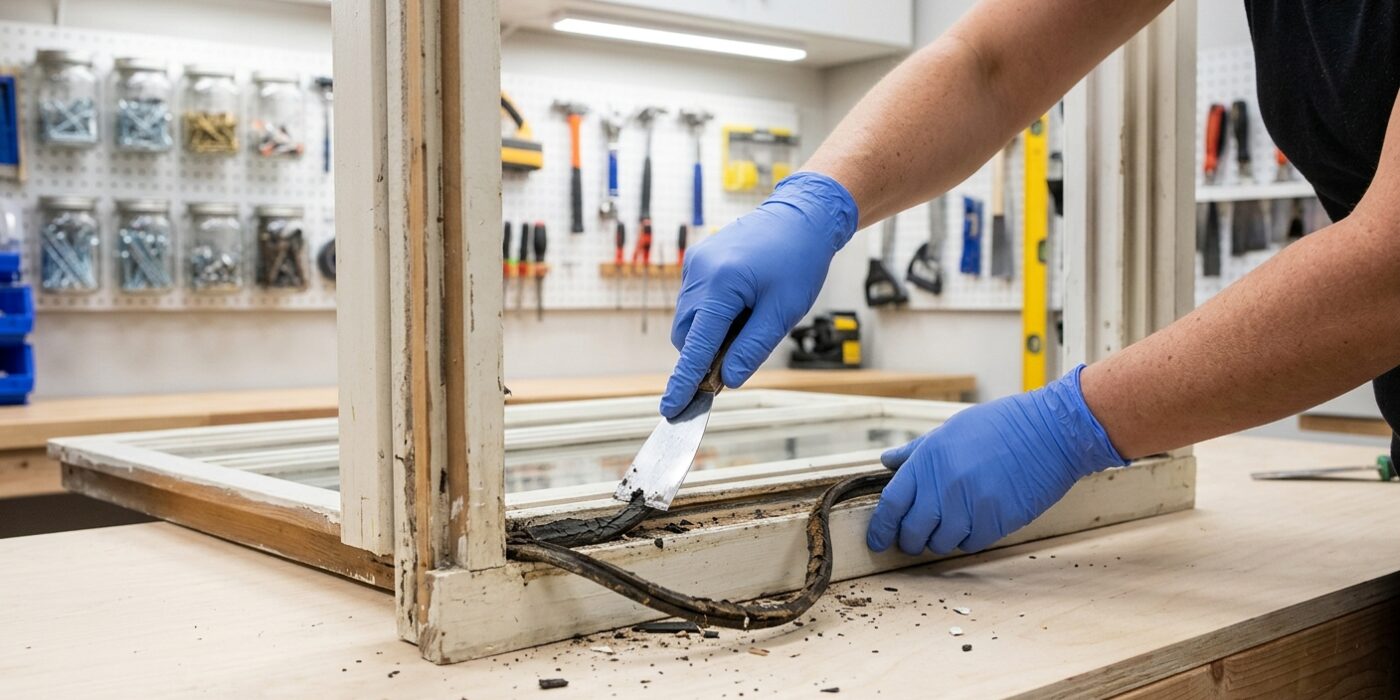
To ensure your new weatherstripping creates a perfect, airtight seal, you must remove every scrap of the old material. If you layer new tape over old residue or fragments, the surface will be uneven, causing gaps that let in drafts and moisture. Start by peeling off any adhesive-backed foam tape. If the tape feels brittle or stuck, use a hair dryer on a low-heat setting to warm the adhesive for 30 seconds; this softens the glue and makes it release much more easily. For stubborn residue, hold a plastic putty knife at a shallow 30-degree angle and gently scrape the frame, being careful not to gouge the wood or vinyl. If you are removing metal V-strip, slide the tip of a flathead screwdriver under the metal and gently pry until the tacks pop out. Always clean the area afterward with a cloth dampened with adhesive remover to ensure the frame is smooth and ready for the new strip.
Beginner Tip: A common mistake is using a metal putty knife with too much force. If you are working on a wooden window frame, a metal blade can easily leave deep scratches or dents. Always opt for a plastic putty knife first to protect the finish of your window frame.
Pro Tip: If you find sticky residue that just won’t budge, try using a little bit of rubbing alcohol or even a drop of eucalyptus oil on a clean rag. These household items often dissolve lingering adhesive faster than harsh chemicals, leaving behind a pristine surface for your new weatherstripping to grip.
Step 3: Clean the Surface
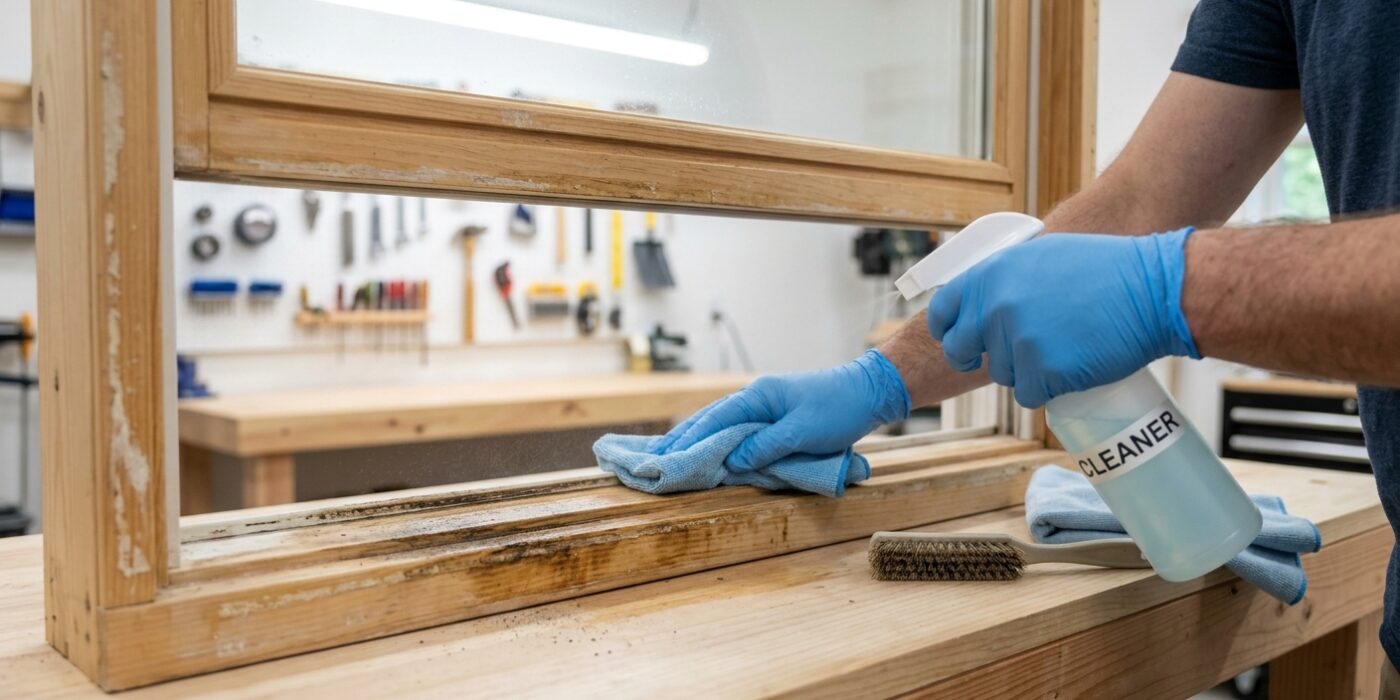
Now that the old weatherstripping is gone, you likely have leftover adhesive residue or grime in the window channel. Cleaning this area is the most important part of your project, as even a tiny speck of dust acts as a barrier that prevents the new adhesive from bonding. Take a clean, lint-free cloth and dampen it – not soak it – with isopropyl (rubbing) alcohol. Gently wipe along the entire length of the window frame or sash where the new strip will sit. If you see stubborn, sticky clumps, use the edge of a plastic scraper or an old plastic gift card to gently nudge them off before wiping again. Once you have cleared the channel, wait about five to ten minutes for the alcohol to evaporate completely. A bone-dry surface ensures the adhesive backing bites into the material, determining whether your work lasts for five years or peels off in just six months.
Beginner Tip: Avoid the urge to use paper towels for this step. Paper towels often leave behind tiny, invisible fibers that interfere with the adhesive’s grip. Stick to an old cotton t-shirt or a microfiber cloth to ensure the surface stays perfectly smooth.
Pro Tip: If the old adhesive is feeling stubborn, try warming the residue with a hairdryer on a low heat setting for about 30 seconds. The heat softens the glue, allowing you to wipe it away with the alcohol cloth much more easily.
Step 4: Apply Foam Tape to Top and Bottom Rails
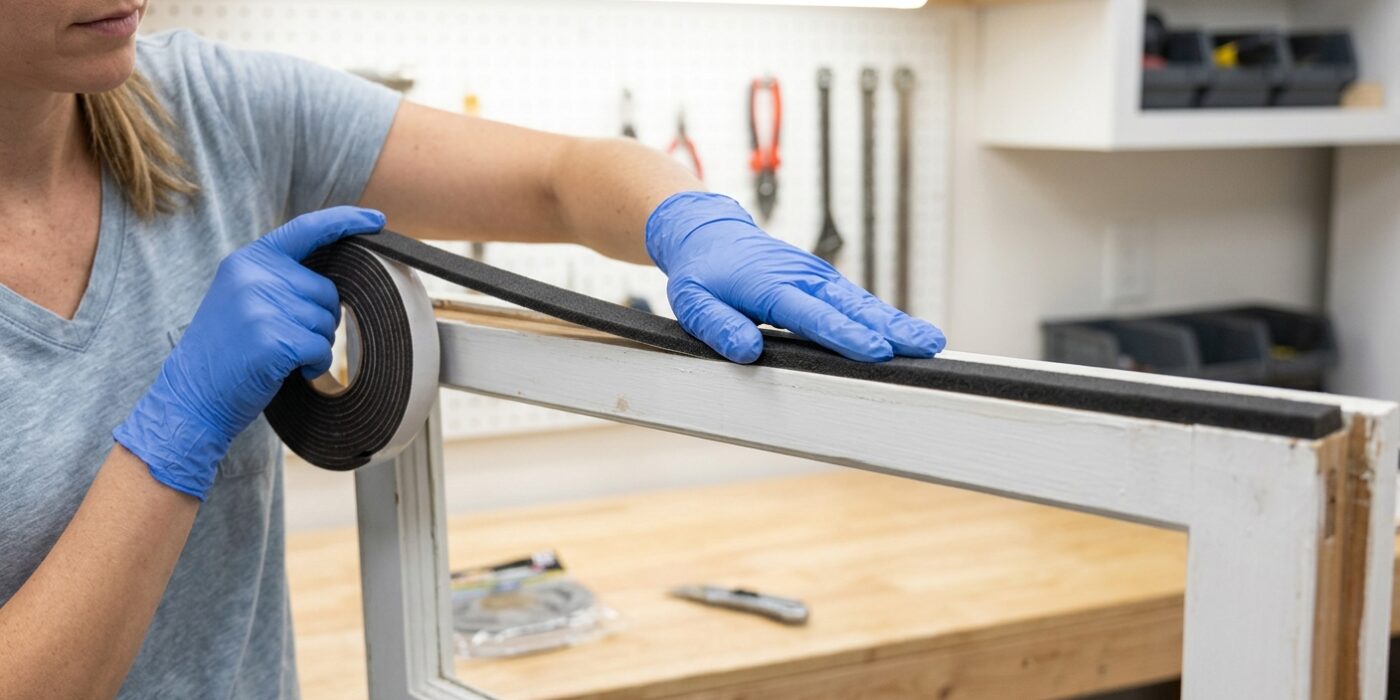
Now that your old weatherstripping is gone, it is time to seal the gaps at the top and bottom of your window. You will be using self-adhesive foam tape, which acts like a soft cushion. When you close the window, the sash compresses this tape, creating an airtight seal that keeps drafts and moisture out.
First, measure the width of your window rail carefully. Use a pair of sharp household scissors to cut a piece of foam tape that matches this length exactly. Peel off the paper backing to expose the adhesive and press the sticky side firmly onto the rail. Aim for a thickness of 3/16 to 1/4 inch; if the foam is too thin, it will not make contact with the window frame when shut, leaving you with the same draft you started with.
Beginner Tip: Avoid stretching the foam tape as you apply it. It is tempting to pull the strip taut as you lay it down, but if you stretch it, the foam will eventually shrink back to its original shape, leaving gaps at the ends of your rails where cold air can sneak in. Apply it with a relaxed, natural pressure.
Pro Tip: Before sticking the foam down, wipe the window rail with a cloth dipped in rubbing alcohol. Dust and grease are the enemies of adhesive; cleaning the surface ensures that your new weatherstripping stays stuck for years instead of peeling off after the first few hot days.
Step 5: Install V-Strip in the Side Channels
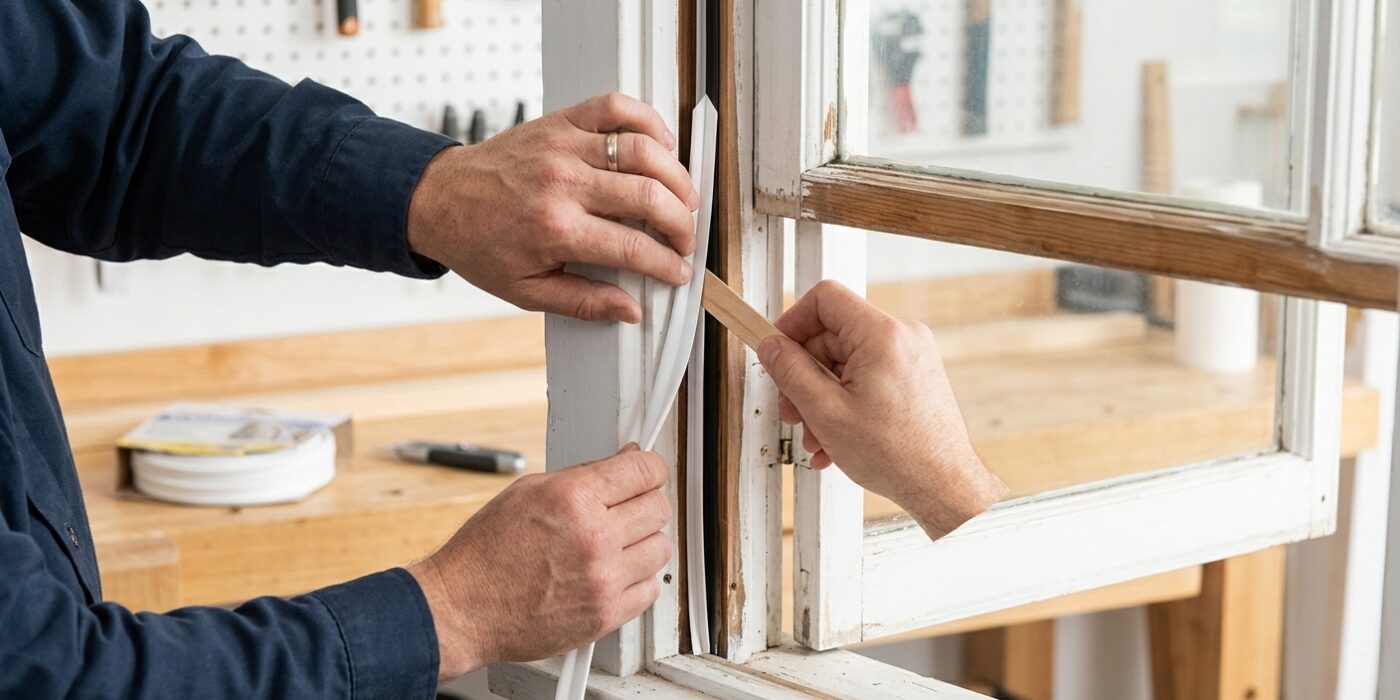
Now it is time to tackle the side channels where your window slides up and down. You will be installing V-strip (tension seal), which acts like a spring to keep drafts out while allowing smooth movement. This material is designed to fold into a V-shape; ensure the opening of the V faces the interior of your home. When the sash slides, it will press against the wings of the V, creating a tight, invisible seal.
First, measure the height of your window channel and use heavy-duty scissors to cut your V-strip to that exact length. If you are using adhesive-backed plastic, peel the backing carefully and press it firmly into the center of the track. If you are using traditional bronze V-strip, align it in the track and use a small hammer to drive the provided nails every two inches. Keep the nails straight to avoid snagging the sash later.
Beginner Tip: The most common mistake is placing the strip too close to the edge of the channel. If it is too far out, the window sash will hit the strip and refuse to close. Before fully securing the strip, test the fit by gently sliding the window halfway down to ensure it moves smoothly against the tension.
Pro Tip: To keep your nails perfectly straight and save your fingers, hold the tiny nails in place with a pair of needle-nose pliers or push the nail through a small piece of cardboard to act as a handle until it is securely started in the wood.
Step 6: Seal the Meeting Rail
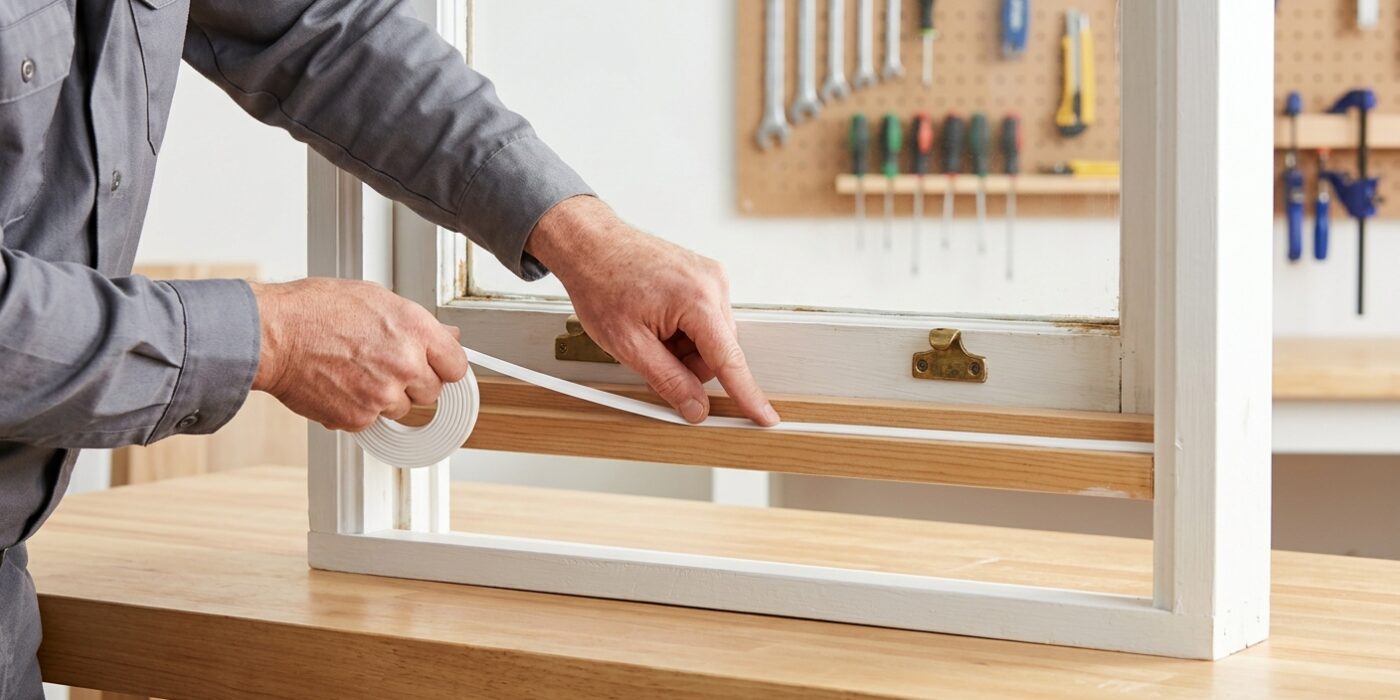
The meeting rail is the horizontal bar where the top and bottom sashes of your window overlap when closed. Because this area is a common point for drafts to sneak in, creating a tight seal here is essential for your home’s energy efficiency. To fix this, locate the bottom edge of the upper sash’s rail. You will apply a strip of adhesive foam compression tape directly onto this flat surface. The goal is to create a soft, cushioned barrier that squishes down when you lock the window, effectively blocking any airflow. Ensure you clean this surface thoroughly with a damp cloth first so the adhesive sticks properly, then press the tape firmly along the entire width of the rail.
Beginner Tip: The most common mistake is applying the tape too far forward or backward. You want the tape to be positioned exactly where the two sashes touch. If you place it too far toward the glass, the window might become difficult to lock; if it is too far toward the room, it won’t compress enough to block the wind.
Pro Tip: Before sticking the tape down, hold the sash lock in the open position. Often, the locking mechanism itself creates a slight hump in the rail. If your foam tape is too thick, simply use a sharp utility knife to carefully notch out a tiny square in the foam where the lock hardware sits. This prevents the lock from hitting the tape and allows the window to pull completely shut.
Step 7: Test and Adjust
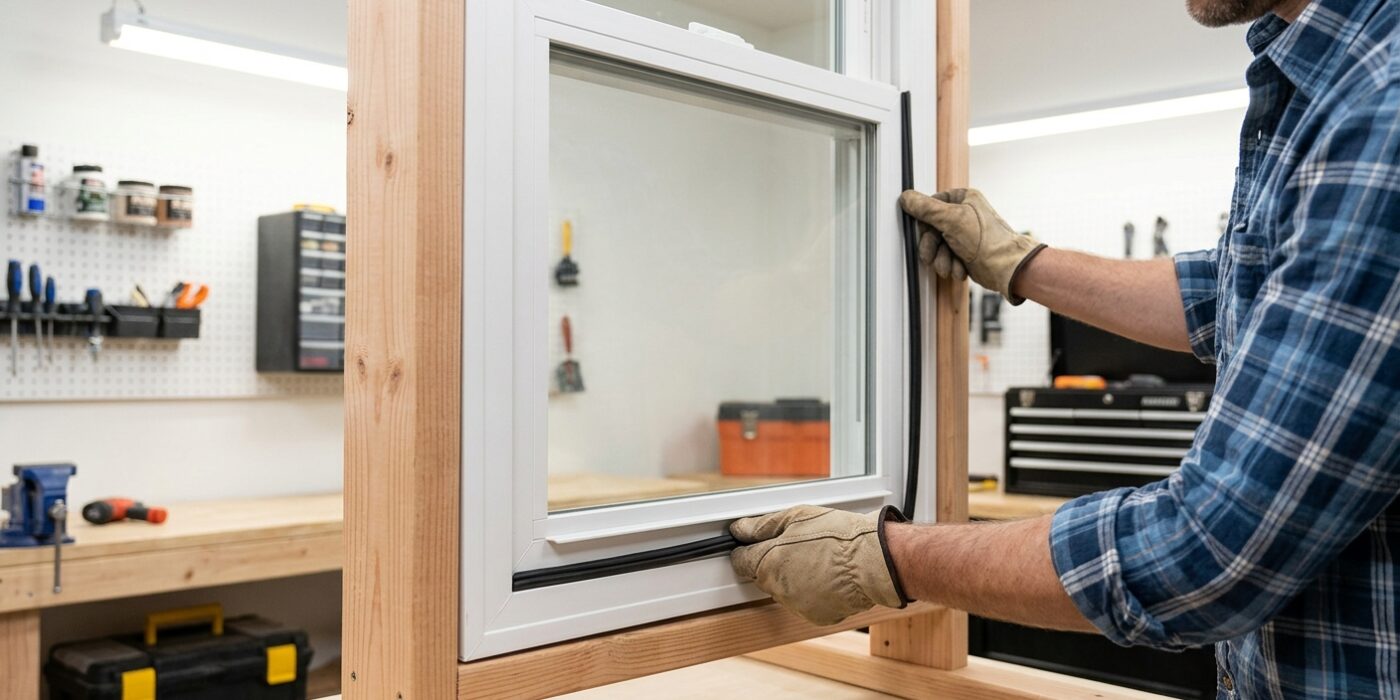
Now that your new weatherstripping is in place, it is time to make sure your window functions perfectly. Gently slide the window sash up and down several times. If it feels like it is dragging or requires excessive force, the weatherstripping is likely creating too much friction. For V-strip, take a flathead screwdriver and gently press the flexible “V” wing closer to the channel wall to reduce the tension. If you used foam tape, ensure the window latches easily; if you have to force the lock, the foam is likely too thick and will prevent a proper seal. In that case, use a utility knife to carefully trim away a tiny bit of the foam’s edge until the window closes snugly without needing a “muscle” effort.
Beginner Tip: Avoid the urge to crank your window lock shut as tightly as possible. If you have to strain to lock the window, you are over-compressing the new material. Over time, this crushes the foam or bends the V-strip, permanently damaging its shape and ruining the airtight seal you just worked so hard to create.
Pro Tip: Before you finalize the fit, rub a small amount of paraffin wax or a light silicone lubricant along the V-strip or the window tracks. This acts as a dry lubricant, allowing your window to glide effortlessly while keeping the weatherstripping material supple and protected from wear for years to come.