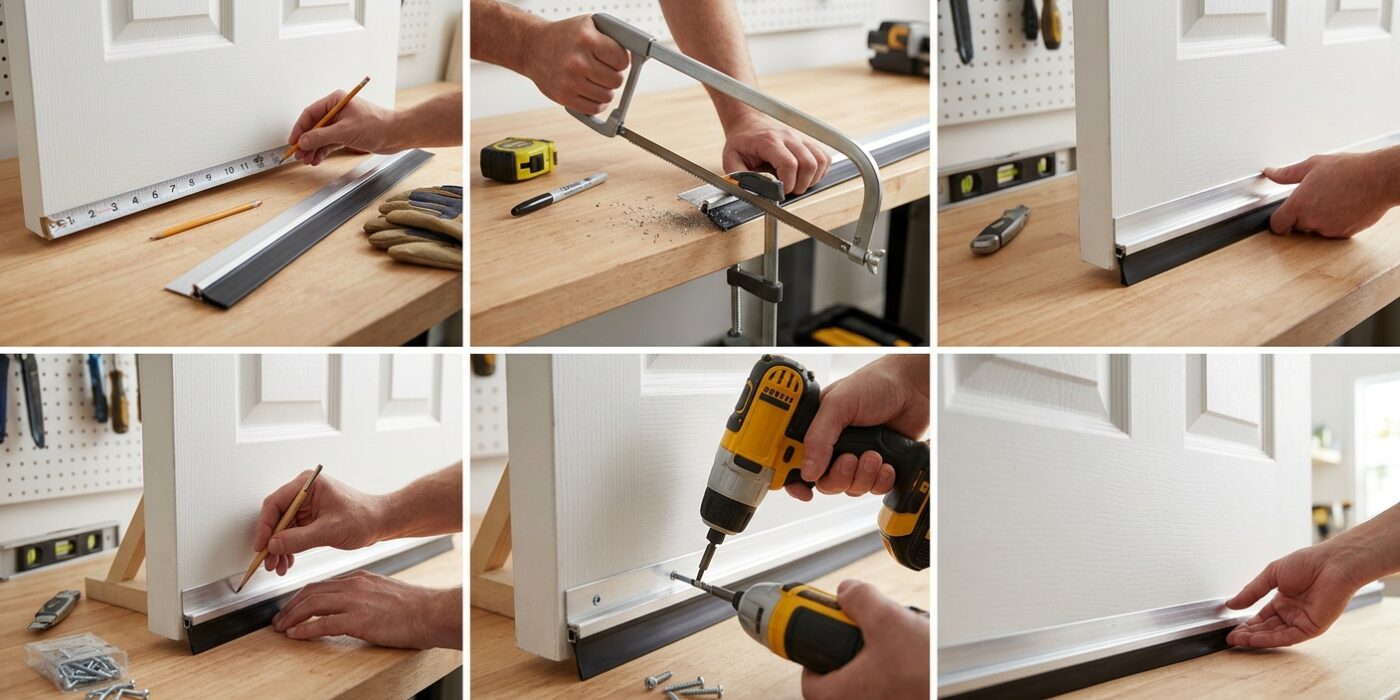
Project Shopping List
A door sweep is a strip of material attached to the bottom of a door that seals the gap between the door and the threshold – that gap where you can see light, feel drafts, and watch bugs march in single file. Installing one takes under an hour and immediately improves heating and cooling efficiency, reduces noise transmission, and blocks pests. It’s one of the highest return-on-investment weatherizing upgrades you can make.
The key is choosing the right sweep type for your door situation, measuring accurately, and cutting it precisely so it seals across the full width without dragging and wearing prematurely. This guide covers that decision and the full installation process.
What You’ll Need
Tools
- Tape measure
- Hacksaw or aviation snips (for metal sweep)
- Drill with bits appropriate to your door material
- Phillips screwdriver
- Pencil
- Sandpaper (80-grit, for smoothing cut ends)
Materials
- Door sweep – choose type based on door situation (see Step 1)
- Screws (usually included, but have 1-inch #8 wood screws as backup)
- Weatherstripping adhesive (for adhesive-mount sweeps)
Step 1: Choose the Right Sweep Type
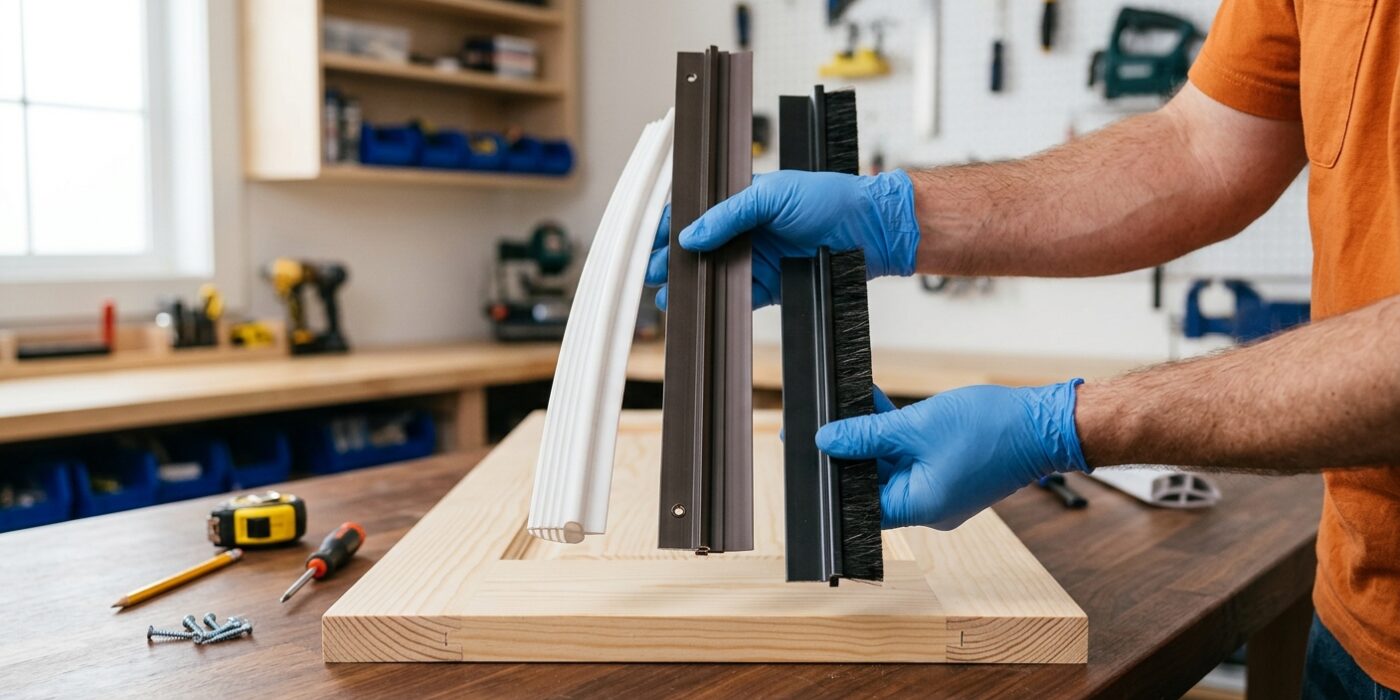
Before you rush to the store, take a moment to measure the gap between your door and the floor. Use a ruler or tape measure to check the space at both the hinge side and the latch side, as floors are rarely perfectly level. If your gap is larger than half an inch, you will need a heavy-duty sweep; if it is smaller, a slim adhesive or brush version will do the trick.
Choose your sweep based on your door’s location and the floor surface. A flat-mount screw-in sweep is perfect for most exterior doors, offering a solid metal backing that won’t peel. If you struggle with a door that sticks or drags across your carpet or tile, an automatic door bottom is your best friend because it lifts clear of the floor as you swing the door open. For interior doors or light-duty needs, adhesive-backed foam strips provide a quick, tool-free solution.
Beginner Tip: Never rely on your eyes alone to gauge the gap size. Always slide a few coins or a folded piece of cardboard into the gap to see what thickness fits snugly; this prevents you from buying a sweep that is either too thin to block the breeze or too thick to let the door close properly.
Pro Tip: If you choose a screw-in model, apply a thin strip of painter’s tape along the bottom edge of the door before marking your holes. This allows you to mark your drill points with a pencil on the tape, ensuring you don’t accidentally scratch the door finish while you align the sweep.
Step 2: Measure the Door Width
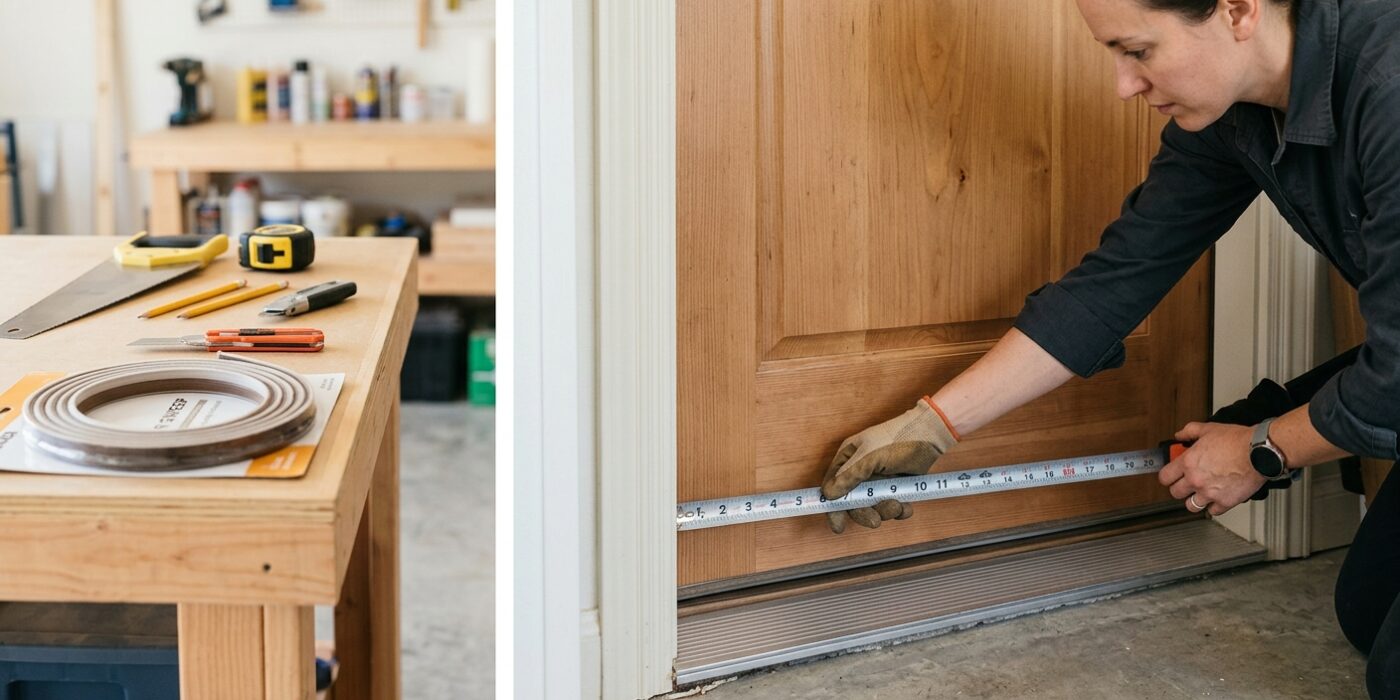
Before you buy your materials, you need to know exactly how much sweep to purchase. Start by using a tape measure to determine the width of the door itself, focusing on the bottom edge where you plan to attach the sweep. Do not measure the space between the door frames, as the door needs to swing freely without hitting the sides. Most standard exterior doors are 32 or 36 inches wide, but always measure your specific door to be safe.
Next, use your tape measure to check the gap between the bottom of the door and the floor threshold. Measure this gap at the left side, the middle, and the right side. If these three numbers are different, your floor is likely slightly uneven. This information is vital because it helps you decide if you need a flexible rubber sweep that can handle gaps or a rigid sweep that requires a perfectly level surface.
Beginner Tip: A common mistake is buying a sweep that is exactly the same width as your door. Always buy a sweep that is slightly longer than your door’s width. It is much easier to trim a piece of metal or plastic down to the perfect size later than it is to stretch a sweep that is too short.
Pro Tip: To get an accurate measurement of your floor gap, slide a stack of coins or a small wedge into the space until it fits snugly, then measure the thickness of the stack with your tape measure. This is much more precise than trying to read a tape measure while it is tucked into a dark, narrow gap.
Step 3: Mark the Gap and Set the Sweep Height
Now that your door is closed, it is time to find the perfect sweet spot for your sweep. You want the rubber wiper to create a light seal against the floor, but it should not press so hard that it bends significantly. A good rule of thumb is to allow for a gap of about 1/16 to 1/8 of an inch when the door is open; this ensures the sweep clears your flooring while you swing the door, which prevents premature wear and tear on your sweep and scratches on your floor.
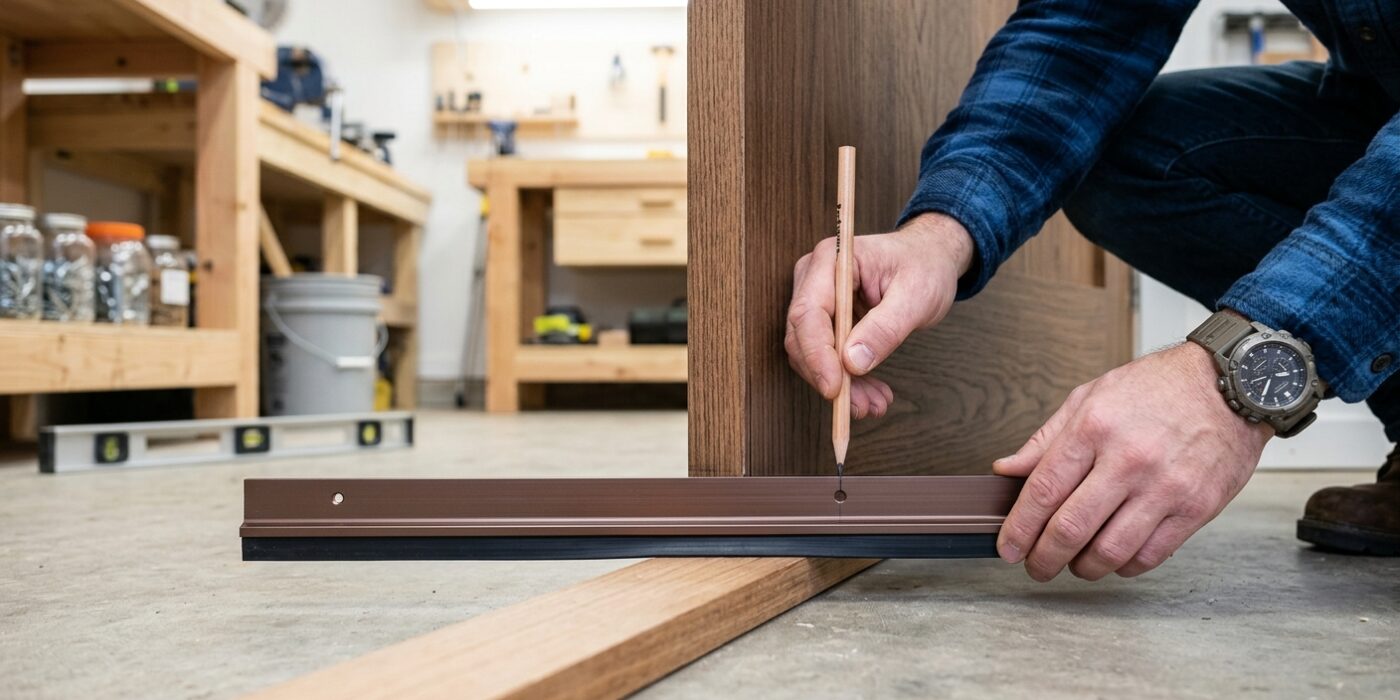
Hold the sweep firmly against the door, ensuring it is level. If your floor isn’t perfectly flat, base your position on the widest gap under the door – the flexible rubber is designed to compress enough to seal those tighter areas automatically. Once you have the height dialed in, use a sharp pencil to mark the center of each screw hole directly onto the door.
Beginner Tip: Do not rely on your eyes alone to keep the sweep level. Before you mark your holes, use a small bubble level held against the top of the sweep to make sure you aren’t installing it at an awkward angle.
Pro Tip: To keep the sweep from slipping while you reach for your pencil, use two small pieces of painter’s tape to hold it in place. This acts like an extra pair of hands, allowing you to step back and check the alignment before you commit to your drill marks.
Step 4: Cut the Sweep to Length
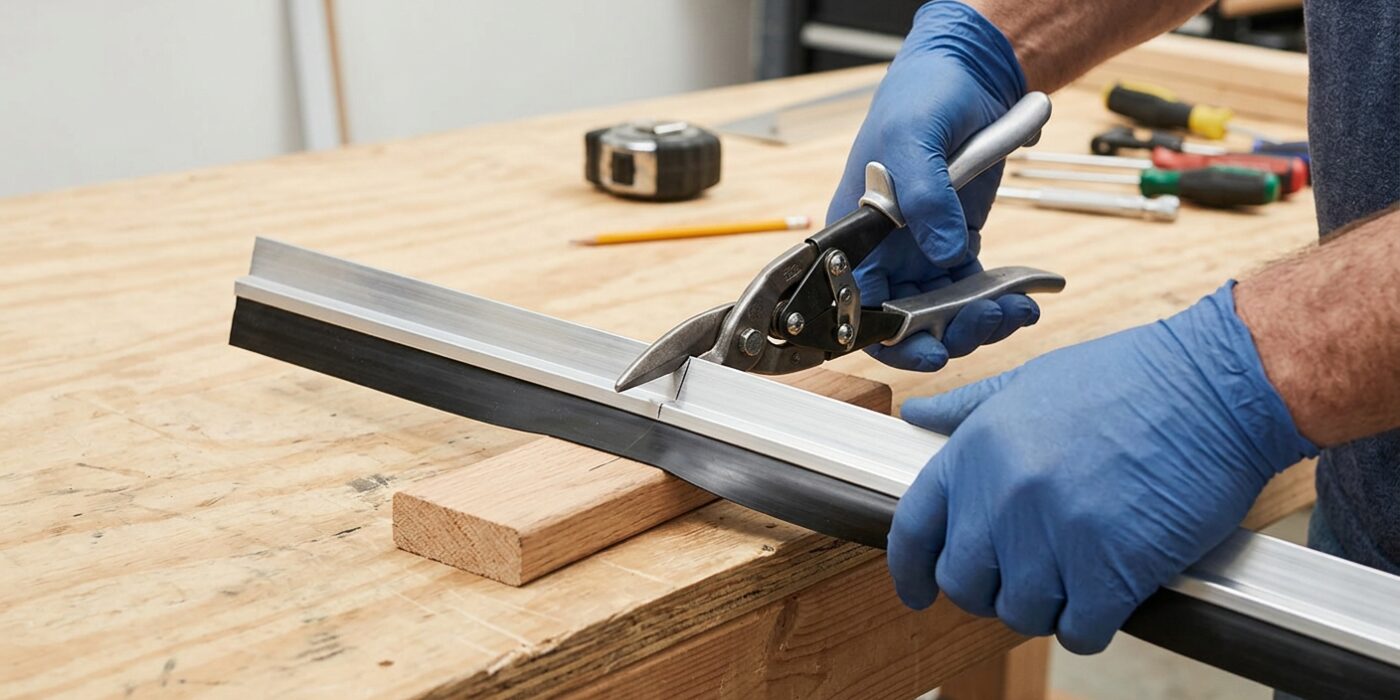
Now that you have your precise measurement, it is time to trim the sweep to fit your door perfectly. Accuracy here is vital; if the sweep is too long, it will catch on the door frame, and if it is too short, you will still feel that chilly draft. Lay the sweep flat on a sturdy surface and align your mark. If you are using a metal-backed sweep, hold a hacksaw firmly and cut slowly, keeping the blade perfectly perpendicular to the sweep to ensure a square edge. An angled cut can create a small, wedge-shaped gap that lets air slip right through. Once cut, use a metal file or a piece of medium-grit sandpaper to smooth away any sharp metal burrs; this makes the edges safe to touch and helps any included plastic end caps slide on easily. If you are using a simple vinyl or rubber sweep, a pair of sharp, heavy-duty kitchen scissors will do the trick just as well.
Beginner Tip: Avoid the temptation to rush the cut. Many beginners press down too hard, which can cause the metal to bend or the blade to jump out of the groove. Use steady, gentle pressure and let the teeth of the saw do the work for you.
Pro Tip: Wrap a small piece of painter’s tape around the area where you intend to cut. Cutting through the tape helps prevent the saw blade from slipping or scratching the finish of the sweep, resulting in a much cleaner, professional-looking edge.
Step 5: Pre-Drill and Mount the Sweep
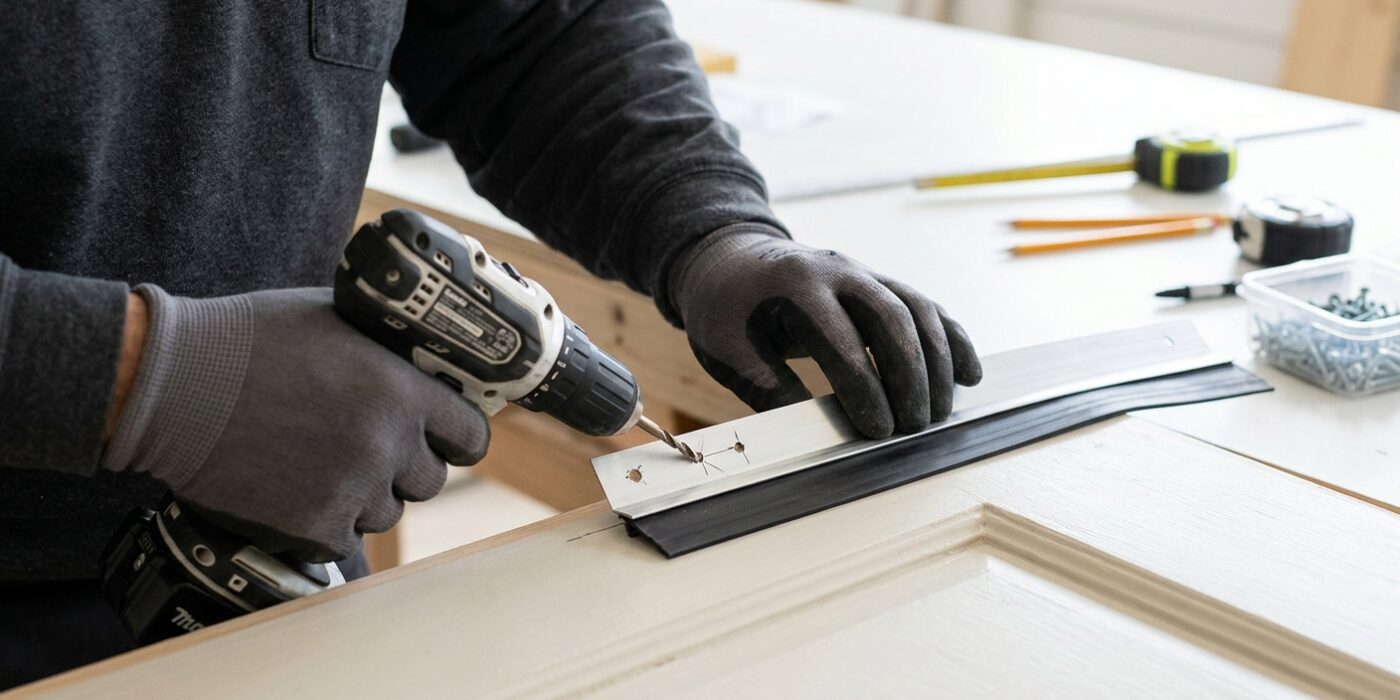
Now it is time to secure the sweep. First, take your drill and a drill bit that is slightly smaller than the shank of your screws. This creates a “pilot hole,” which serves as a guide for your screws, preventing the wood from cracking or splitting as you drive them in. Drill straight into each of your pencil marks, going about three-quarters of an inch deep. If your door is made of steel, use the self-tapping screws provided with your kit, which are designed to cut their own path into metal.
Once the holes are ready, hold the sweep firmly against the door, aligning the pre-drilled holes in the metal backing plate with the pilot holes you just made. Using a screwdriver or your drill on a low-torque setting, drive the screws in until they are snug. Be careful not to overtighten; if you hear the metal plate “pop” or see it start to bow, back the screw out just a quarter turn to keep the seal flat.
Beginner Tip: The most common mistake is letting the drill bit wander while starting your pilot hole. To prevent this, use a hammer and a small nail to tap a tiny “starter dent” at each pencil mark. This creates a small divot for your drill bit to sit in, keeping it from skating across the finish of your door.
Pro Tip: To get the perfect alignment while working solo, apply a small piece of painter’s tape at the top of the sweep to hold it in place against the door. This keeps it from sliding around while you focus on driving your first few screws.
Step 6: Test Operation
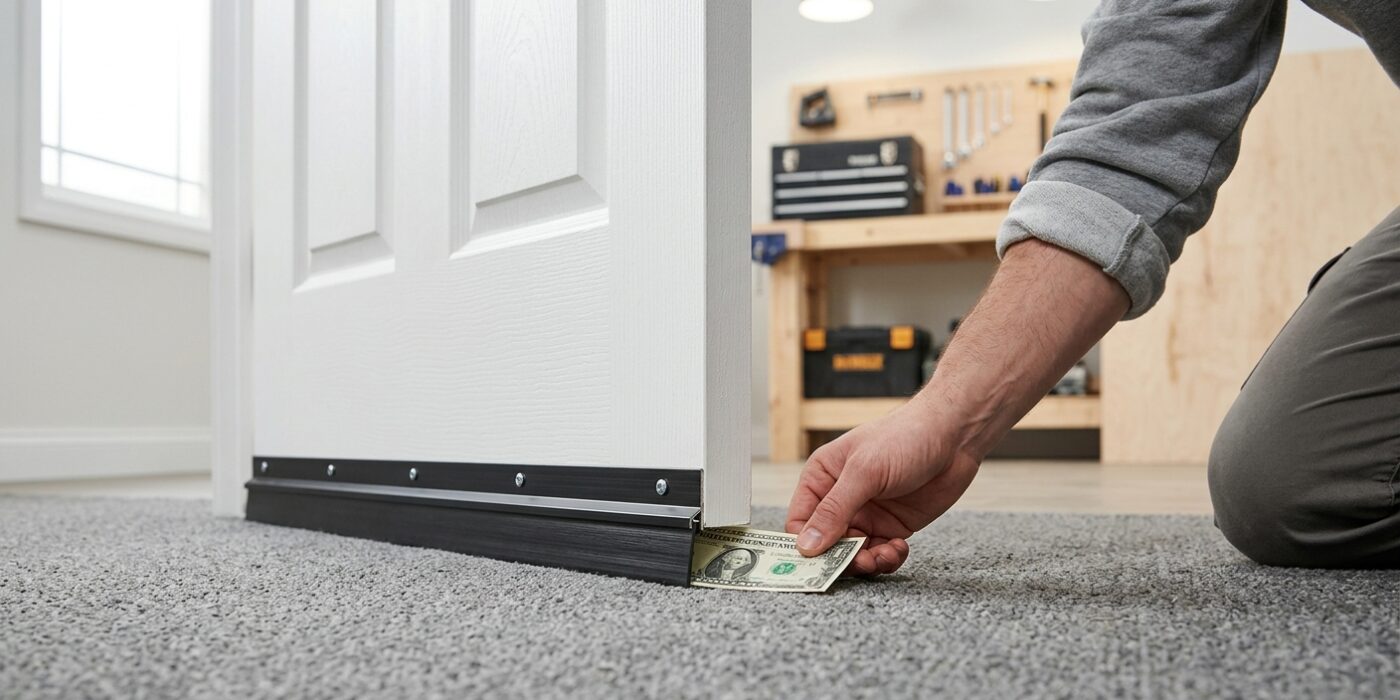
Now that your sweep is secured, it is time to check your work. Open and close the door slowly several times. You want the rubber or vinyl fin to glide against the threshold with very light contact. You should feel a slight, smooth resistance, but you should never have to push or pull hard to latch the door. If the door feels like it is dragging or struggling to close, loosen the screws slightly and shift the sweep up by about 1/16 of an inch – roughly the thickness of a heavy coin. Conversely, if you crouch down and see daylight peeking through underneath, the sweep is too high; move it down just enough to block that light.
Beginner Tip: A common mistake is tightening the screws until they are buried deep into the metal of the sweep. Avoid “cranking” them down too hard, as this can warp the metal backing or cause the sweep to shift out of alignment. Tighten them just until they are snug and the sweep stays firmly in place.
Pro Tip: To get a perfect, uniform height across the entire width of the door, place a piece of standard printer paper on the threshold before you close the door. If you can pull the paper out with just a tiny bit of resistance, your seal is perfectly adjusted for maximum energy efficiency.
Alternative Method: If you find adjusting the height difficult while the sweep is screwed in, use a piece of painter’s tape to hold the sweep in place temporarily. This lets you test the door’s movement and check for gaps before you commit to drilling your final pilot holes.