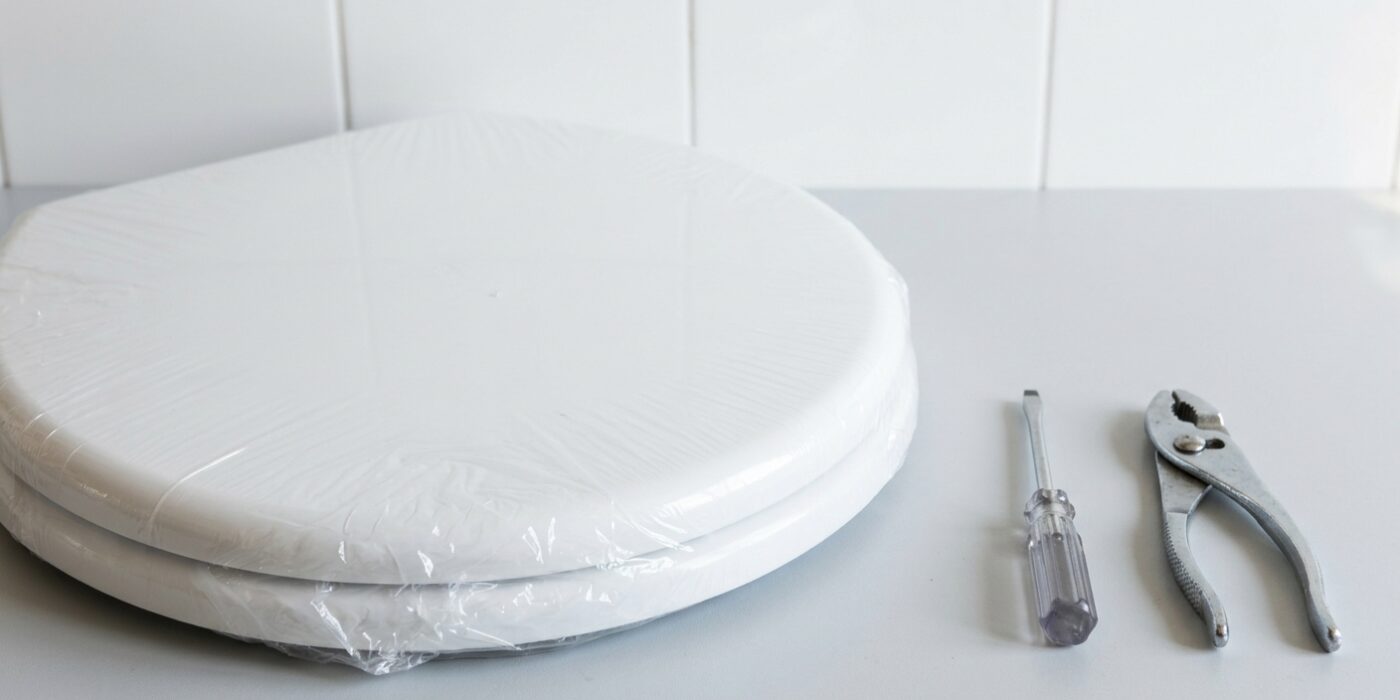
Project Shopping List
Replacing a toilet seat is the simplest plumbing-adjacent repair you’ll do – it takes under 15 minutes, requires no special tools, and dramatically improves a bathroom that has a cracked, stained, or wobbly seat. The only variables are the seat shape (round or elongated) and the hinge bolt type, both of which are easy to identify before you buy.
This guide covers measuring to get the right replacement, removing the old seat (including the common problem of corroded mounting bolts), and installing the new one so it stays aligned and doesn’t shift under use.
What You’ll Need
Tools
- Adjustable wrench or pliers
- Phillips screwdriver
- Tape measure
- Hacksaw or oscillating tool (if bolts are corroded)
- Penetrating oil (PB Blaster or WD-40)
Materials
- Replacement toilet seat (round or elongated, matching finish)
Step 1: Measure the Toilet Shape Before Buying
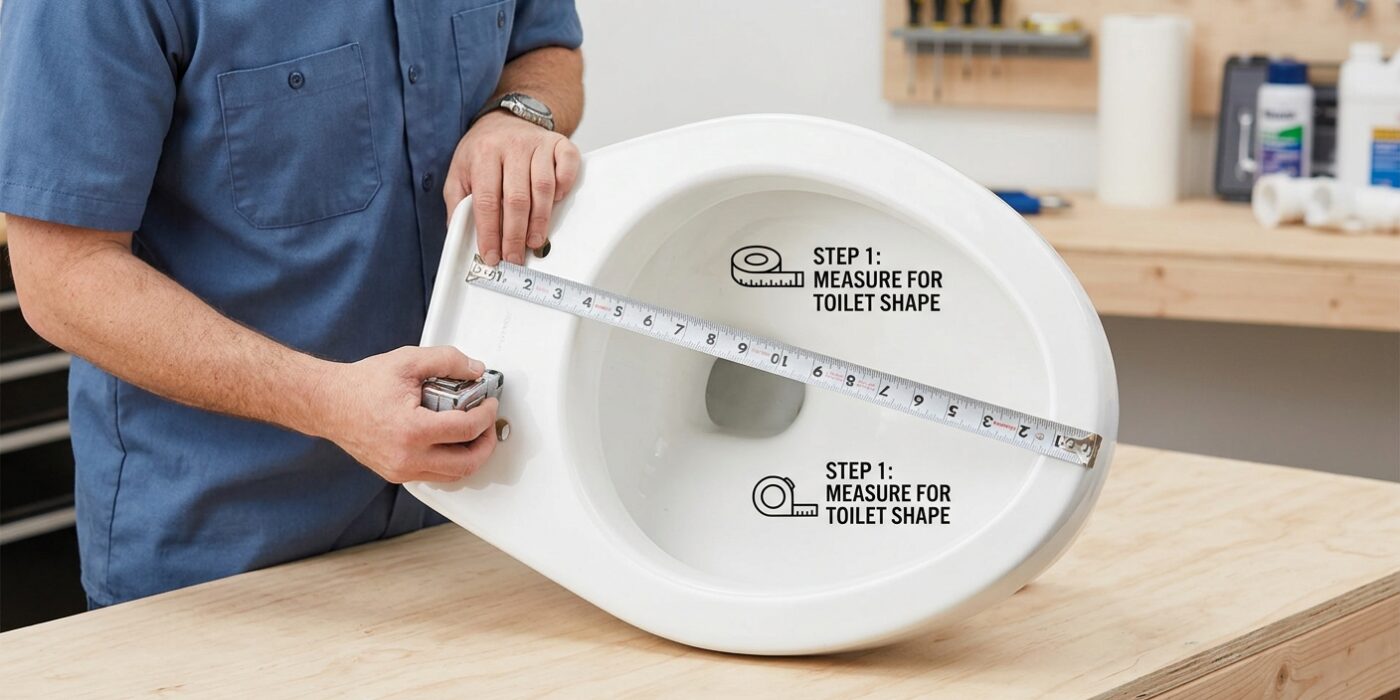
Before you run to the store, you need to identify whether your toilet bowl is round or elongated. This isn’t just about comfort; the wrong shape simply will not bolt onto your toilet, leaving you with a useless seat and a wasted trip. To find your size, take a tape measure and place the end right between the two plastic bolt covers at the back of the seat where it attaches to the bowl. Pull the tape measure straight across the center of the seat until you reach the very front tip of the rim.
If your measurement is approximately 16.5 inches, your toilet is a round shape. If it measures closer to 18.5 inches, you have an elongated toilet. It is helpful to write this measurement down on a piece of paper or take a quick photo of it on your phone so you have the reference handy while standing in the hardware aisle.
Beginner Tip: A common mistake is measuring only the seat itself rather than the bowl. Make sure you are measuring from the center of the bolt holes to the front of the porcelain rim, not just the edge of the old plastic seat, which might hang over the side.
Pro Tip: If you are still feeling unsure, take a quick photo of your toilet bowl from directly above. Many modern packaging boxes have a full-scale template printed on the back that allows you to simply hold your phone up to the box to compare the bowl shape visually.
Step 2: Remove the Old Seat
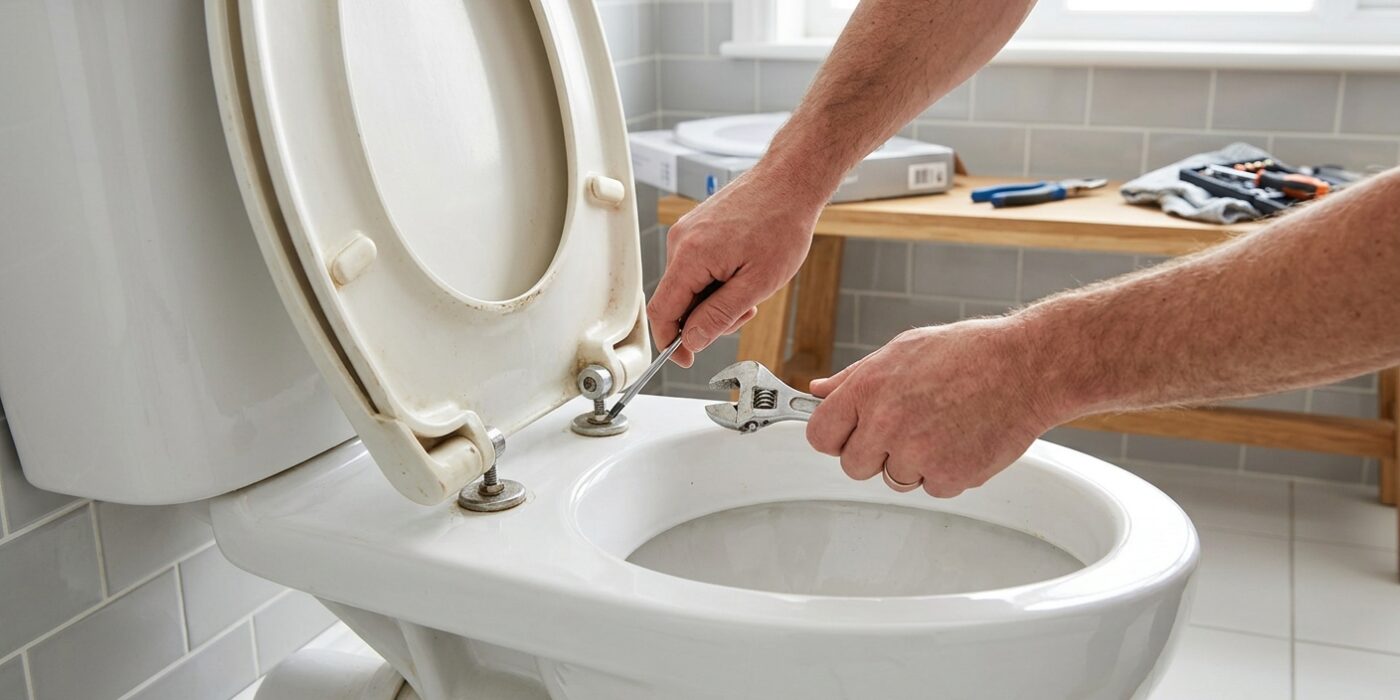
Now it is time to remove the old seat. Look at the back of the seat where it connects to the toilet bowl; you will see two plastic caps covering the mounting bolts. Use your fingernail or a flat-head screwdriver to gently pry these caps open. Once they are open, you will see the hardware holding the seat in place.
Reach under the rim of the toilet bowl to locate the plastic or metal wing nuts attached to the bolts. While holding the nut firmly with one hand to keep it from spinning, use a screwdriver on the top of the bolt to unscrew it. If you find the bolt keeps spinning along with the nut, do not worry! Simply use a pair of pliers to hold the top of the bolt steady while you continue unscrewing the nut from underneath. Once the nuts are fully removed, lift the old seat straight up and away from the bowl.
Beginner Tip: Toilet bolts are often exposed to water and cleaning chemicals, which can cause them to rust or seize. If a nut feels stuck, spray it with a little bit of penetrating oil or vinegar and let it sit for ten minutes before trying again. Never force a stuck bolt, as you do not want to crack the porcelain of your toilet bowl.
Pro Tip: Before you install your new seat, take a moment to thoroughly clean the area where the old hinges were attached. A sponge with warm, soapy water works wonders, as this hard-to-reach spot often collects grime that regular cleaning misses.
Step 3: Handle Corroded Bolts
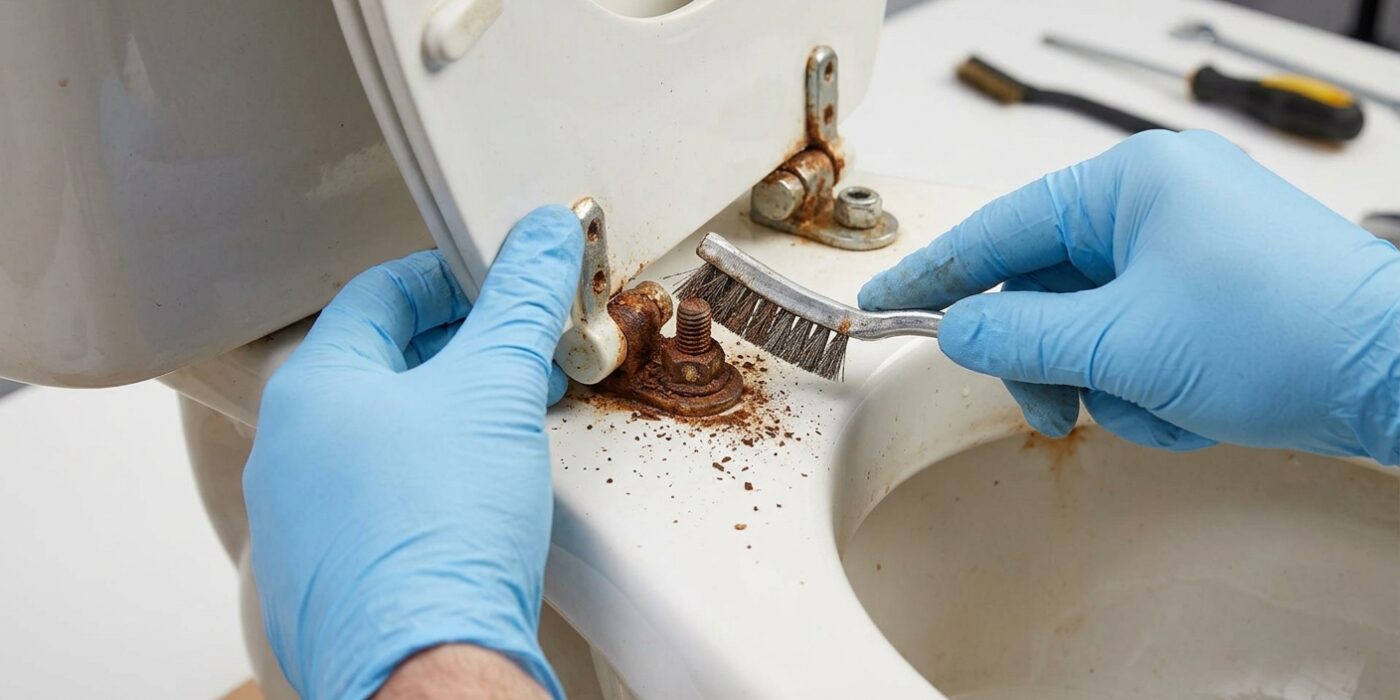
If your toilet seat bolts are stuck, don’t panic – this happens because moisture causes metal hardware to seize over time. First, grab a can of penetrating oil (like WD-40 Specialist) and spray it directly onto the bolt shank and the nut underneath the bowl. Let it sit for 10–15 minutes to allow the lubricant to break down the rust. If the bolt still refuses to turn, you will need to cut it. Hold a hacksaw blade or an oscillating tool parallel to the floor, sliding it carefully into the narrow gap between the toilet bowl and the plastic hinge. Keep your blade flat to avoid hitting the porcelain, as scratches are permanent. Once you cut through the metal bolt, the hinge and seat will simply lift away.
Beginner Tip: Avoid applying excessive upward force with a wrench if the nut feels frozen. If you push too hard, you risk cracking the porcelain rim of the toilet, which is a much more expensive repair than replacing a seat. If it won’t turn with gentle pressure, go straight to cutting.
Alternative Method: If you do not have a hacksaw or power tool, you can often use a pair of long-handled bolt cutters or even a sturdy pair of metal snips. These allow you to reach under the hinge to snap the bolt without needing to maneuver a full-sized saw in a tight space.
Pro Tip: Place a folded towel or a piece of cardboard over the porcelain surface immediately surrounding the bolt before you start cutting. This creates a protective buffer, ensuring that if your tool slips, it lands on the soft material instead of damaging your toilet finish.
Step 4: Clean the Mounting Holes
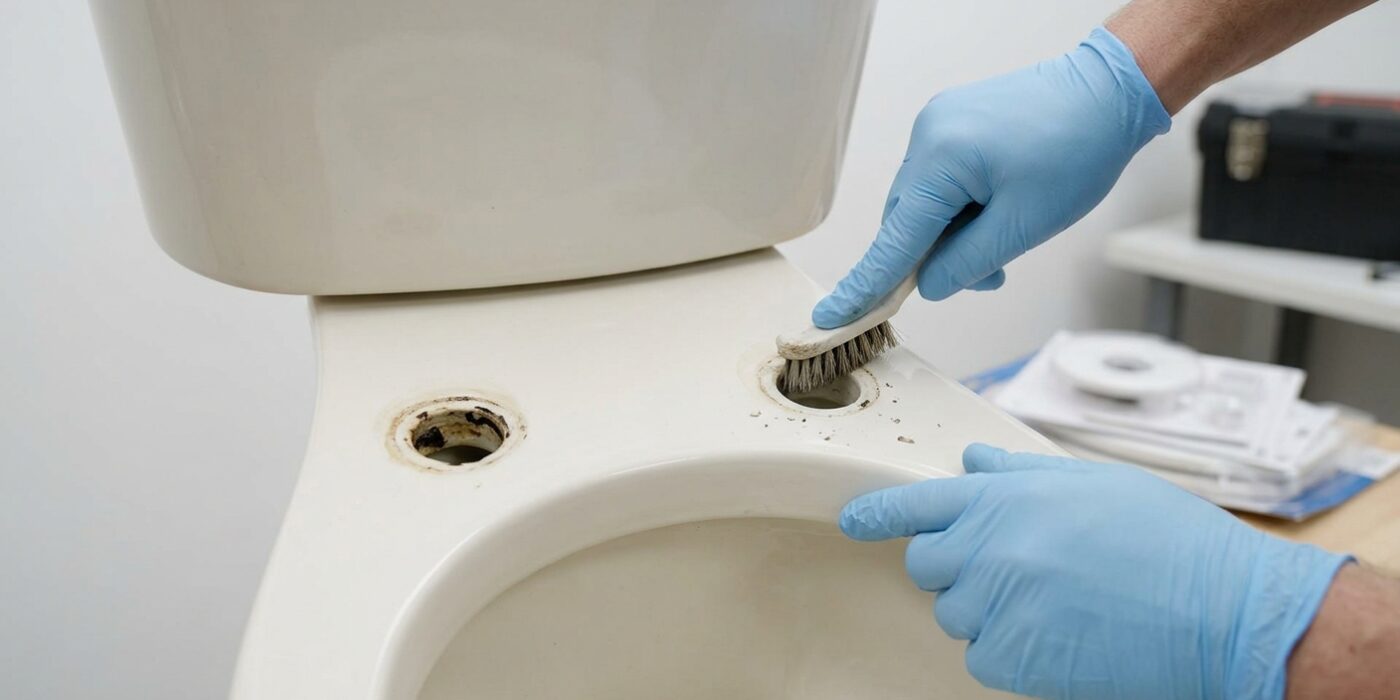
Now that your old seat is out of the way, you’ll likely notice a collection of grime, hair, or mineral buildup where the old bolts used to sit. This area is often neglected, but it is crucial to clean it thoroughly. Spray a mild bathroom cleaner onto the two mounting holes and the flat porcelain surface surrounding them. Let the cleaner sit for about three to five minutes to break down any stubborn rust rings or old gasket remnants. Using a non-abrasive scrub sponge, scrub the area in a circular motion until the porcelain is completely smooth and bright white. Why go to this effort? If any debris remains, your new seat will wobble or sit at a slight angle, which puts unnecessary stress on the plastic hinges and could lead to cracks later on.
Beginner Tip: Avoid using steel wool or highly abrasive scouring pads on your toilet. While they might get the gunk off quickly, they can leave tiny, invisible scratches in the porcelain glaze. Over time, those scratches become magnets for dirt and bacteria that are much harder to clean than the original stain.
Pro Tip: If you find persistent hard water stains or mineral deposits that won’t budge with standard cleaner, try using an old toothbrush dipped in a little white vinegar. The bristles are perfect for reaching deep into the bolt holes, and the mild acidity of the vinegar dissolves mineral buildup without damaging your plumbing fixtures.
Step 5: Install the New Seat
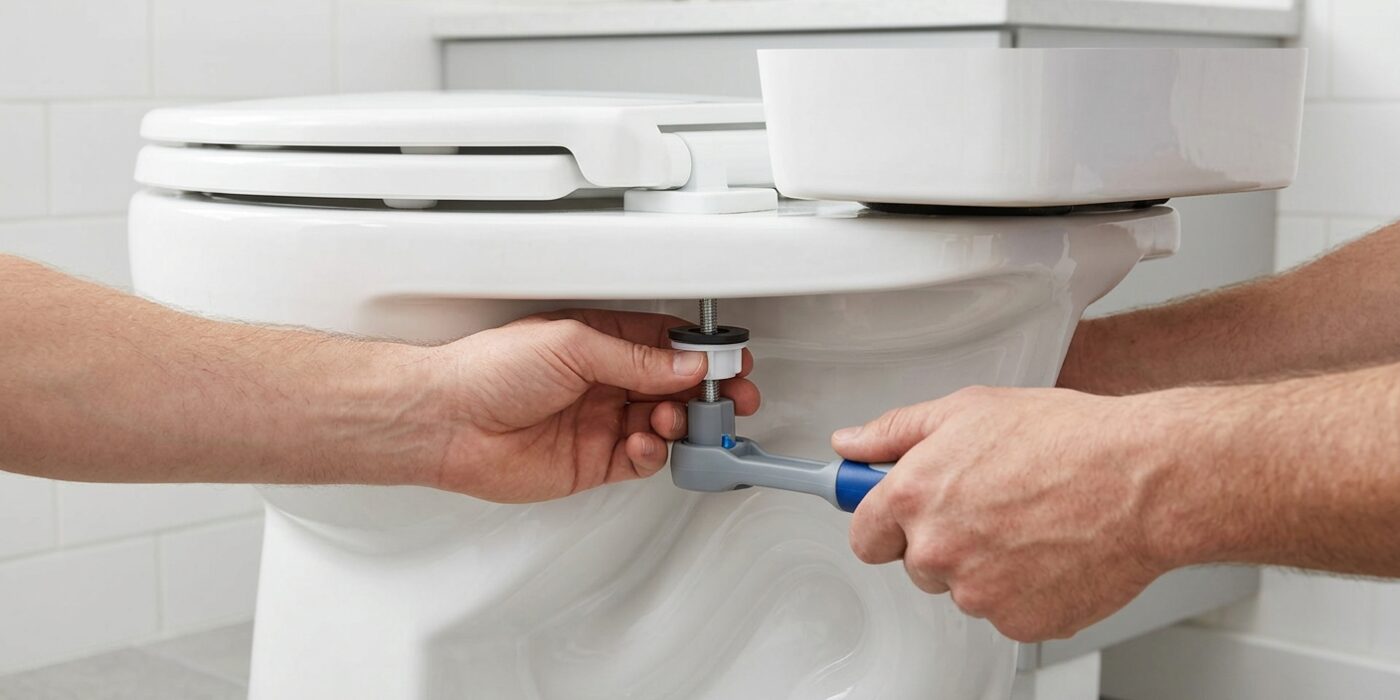
Now that your old seat is removed, it is time to install the new one. Place your new seat’s hinge brackets over the mounting holes on the back of the toilet bowl. Take the provided plastic or metal bolts and thread them down through the hinges and the holes in the bowl. Reach underneath the rim of the toilet and thread the plastic nuts onto the ends of the bolts by hand. Before you tighten anything, center the seat so it aligns perfectly with the edges of your toilet bowl, ensuring the lid can lift fully without hitting the tank. Once positioned, use a wrench to gently tighten the nuts until they are snug. You only need enough pressure to keep the seat from wiggling; stop immediately if you feel resistance, as overtightening can cause the porcelain to crack or the plastic hinge to snap. Finally, snap the decorative plastic caps over the bolt heads for a clean, finished look.
Beginner Tip: The most common mistake is overtightening the nuts with a heavy-duty wrench. Plastic nuts strip easily and porcelain is surprisingly fragile. Always use your fingers for the first few turns to ensure the threads are aligned, and only use your tool for a final quarter-turn to secure the seat.
Pro Tip: Before you fully tighten the nuts, place a small piece of double-sided mounting tape or a thin rubber washer between the hinge and the porcelain. This creates extra friction, preventing the seat from sliding sideways over time and saving you from having to reach under the toilet to re-tighten it in the future.