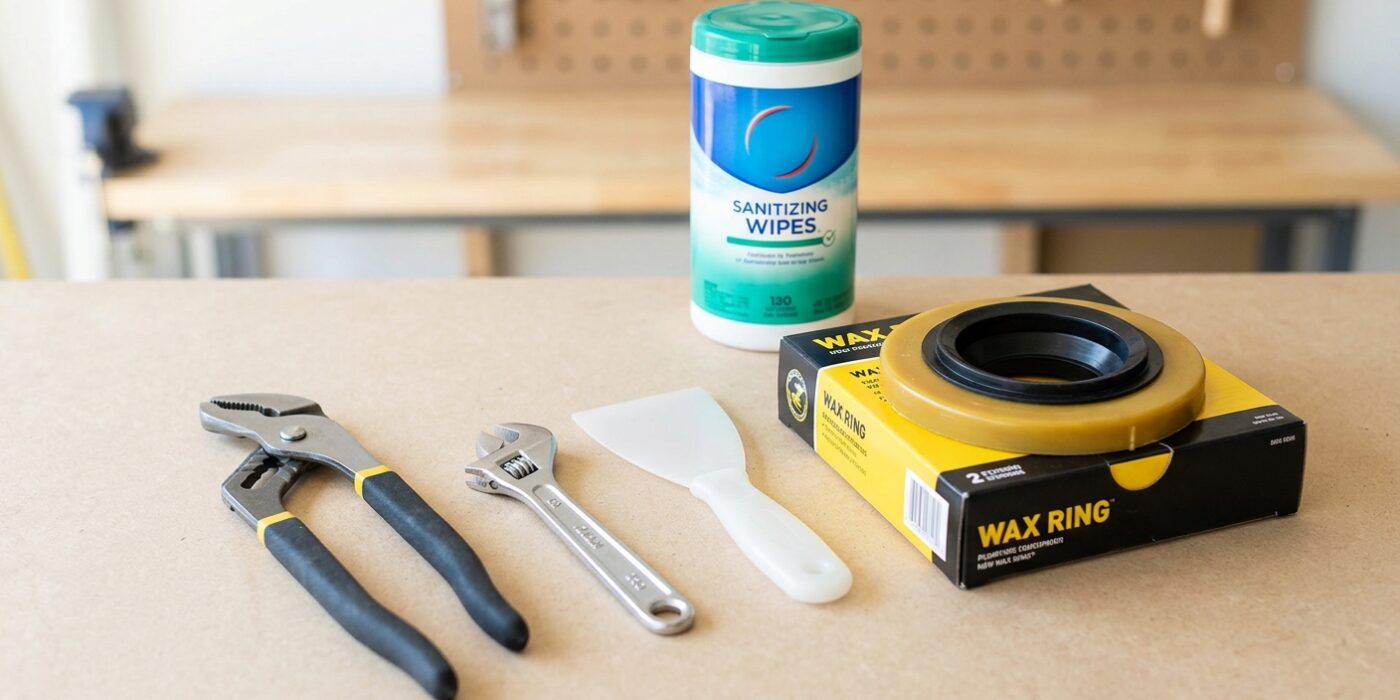
Project Shopping List
The wax ring is the seal between the bottom of the toilet and the drain flange in the floor. When this seal fails – from a rocking toilet, an offset flange, or simply age – you’ll notice a sewer smell, water pooling at the toilet base, or spongy flooring from moisture infiltration. Replacing the wax ring requires removing and resetting the toilet, which sounds intimidating but is a very manageable 2-hour project with the right preparation.
This guide walks through the complete process: draining the toilet, safely removing it, inspecting and cleaning the flange, choosing the right replacement wax ring, and resetting the toilet so it sits solid and sealed for years.
What You’ll Need
Tools
- Adjustable wrench and pliers
- Putty knife or scraper
- Sponge and bucket
- Utility knife
- Level
- Hacksaw (for cutting closet bolt if too long)
Materials
- Replacement wax ring – standard or with horn (see Step 5)
- New closet bolts (the T-bolts that fit in the flange slots)
- Toilet shims (plastic, if floor is unlevel)
- Silicone caulk
Step 1: Drain the Toilet Completely
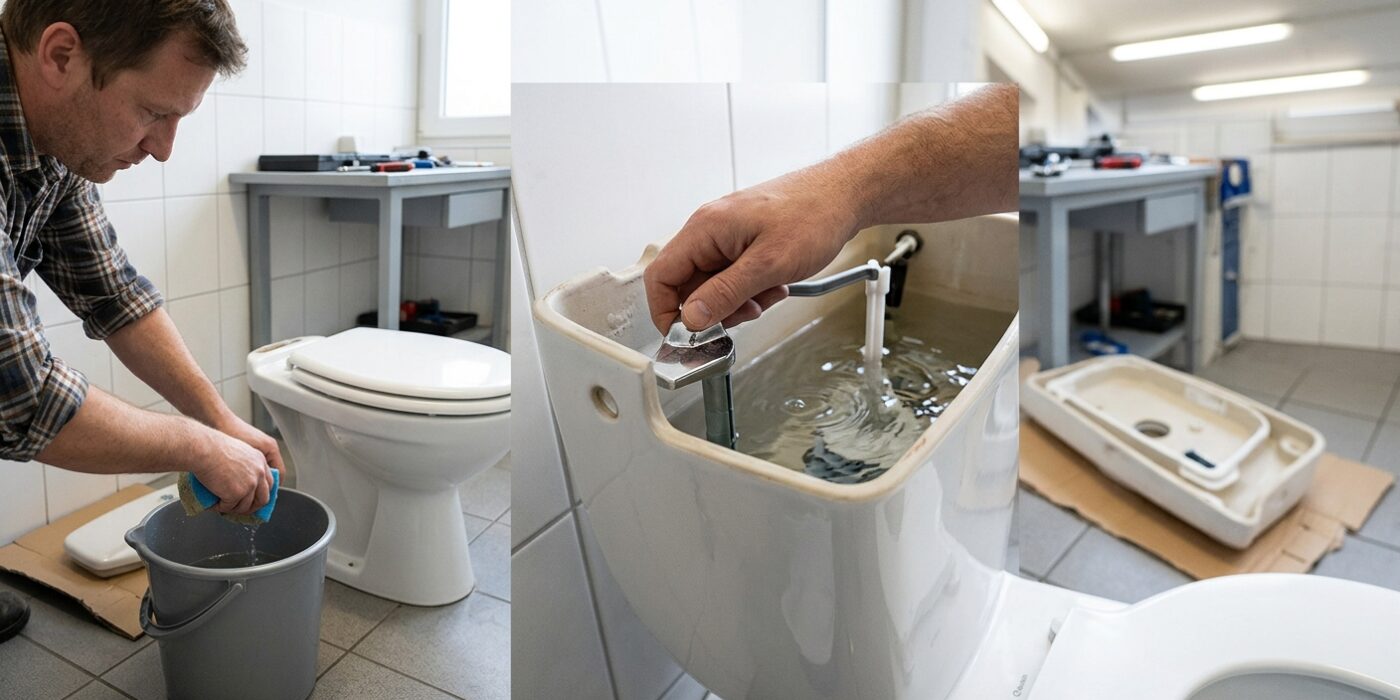
Before you remove your toilet, you must ensure it is completely dry. Start by locating the water supply valve, which is usually a small oval-shaped handle on the wall behind the toilet. Turn this clockwise until it stops to cut off the water flow. Flush the toilet to empty the tank, holding the handle down for a few extra seconds to ensure the bowl is as empty as possible.
Even after flushing, a small amount of water will remain in the bottom of the bowl and the tank. Use a large sponge to soak up this residual water and squeeze it into a bucket. It is vital to remove every drop because a standard toilet weighs between 60 and 100 pounds; adding water weight makes it difficult to maneuver safely and creates a messy spill on your floor when you tilt the unit during removal.
Beginner Tip: Do not skip the sponging process just because the water looks low. If you leave water in the trap or the tank, it will inevitably slosh onto your bathroom floor the moment you break the seal and tilt the toilet, creating a much larger cleanup task than necessary.
Pro Tip: To get that last stubborn tablespoon of water from the bottom of the toilet trap, use a turkey baster or a large syringe. It is the perfect tool for reaching into the narrow curve of the drain where a sponge simply cannot fit, ensuring your workspace stays bone-dry.
Step 2: Disconnect and Remove the Toilet
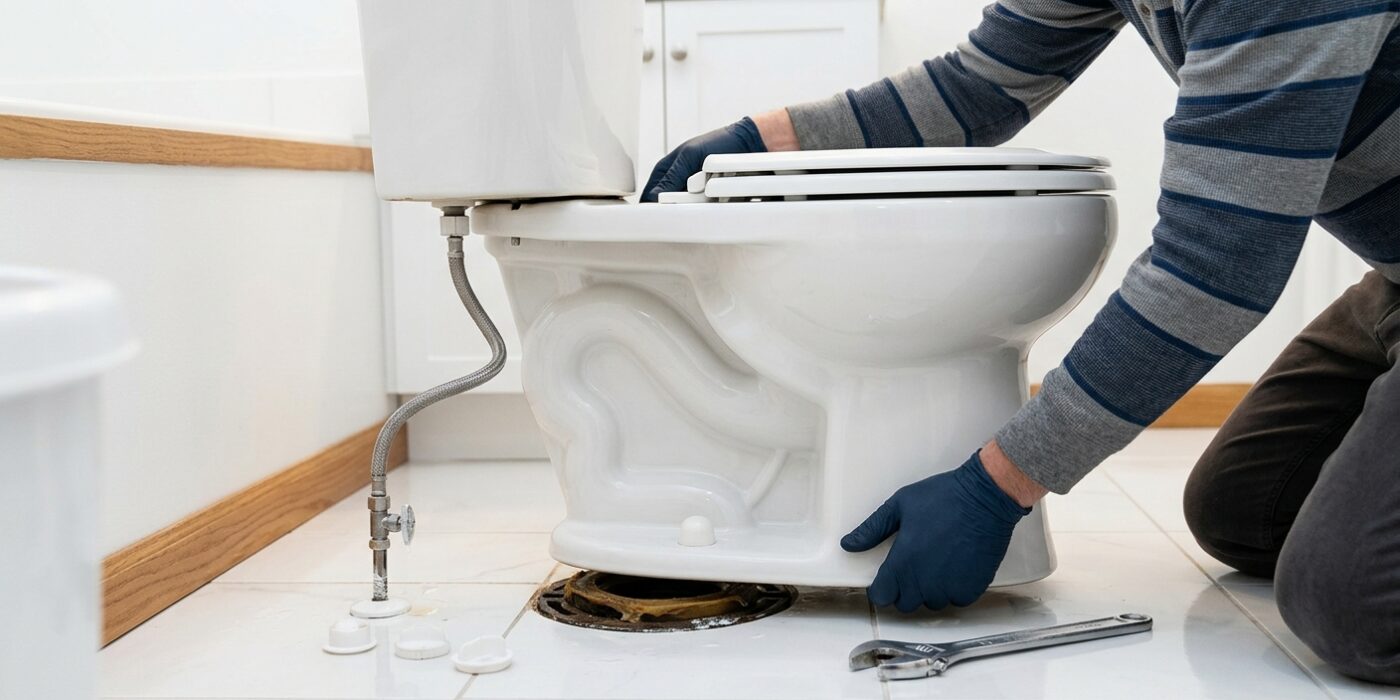
Now that the water is drained, it is time to move the fixture. Start by unscrewing the flexible water supply line from the bottom of the toilet tank by hand; if it is too tight, use an adjustable wrench to turn the nut counter-clockwise just a quarter-turn to loosen it, then finish by hand. Next, locate the two plastic bolt covers at the base of the toilet. Gently pry these off with a flathead screwdriver. Use your adjustable wrench to remove the nuts and washers from the floor bolts.
To break the wax seal, stand over the toilet, place your hands on the bowl, and rock it slowly side to side. You are looking for the seal to “pop” loose, which requires only a few degrees of movement. Never use a metal tool as a lever against the porcelain base, as it will crack instantly. Once it feels loose, have your helper grab one side while you grab the other. Lift straight up to avoid dragging the old wax across your floor. Carry it to a pre-laid towel or a stable outdoor area, setting it down gently on its side.
Beginner Tip: Many people forget to place a towel down before starting. Keep an old towel handy to catch the small amount of “residual” water that often spills out of the trap when the toilet is tilted. It saves you from a messy floor cleanup later.
Pro Tip: When lifting, use your legs, not your back. To make re-installation easier, stuff a rag into the open floor pipe while the toilet is gone; this prevents sewer gases from escaping into your home and stops any small tools from falling down the drain.
Step 3: Inspect and Clean the Flange
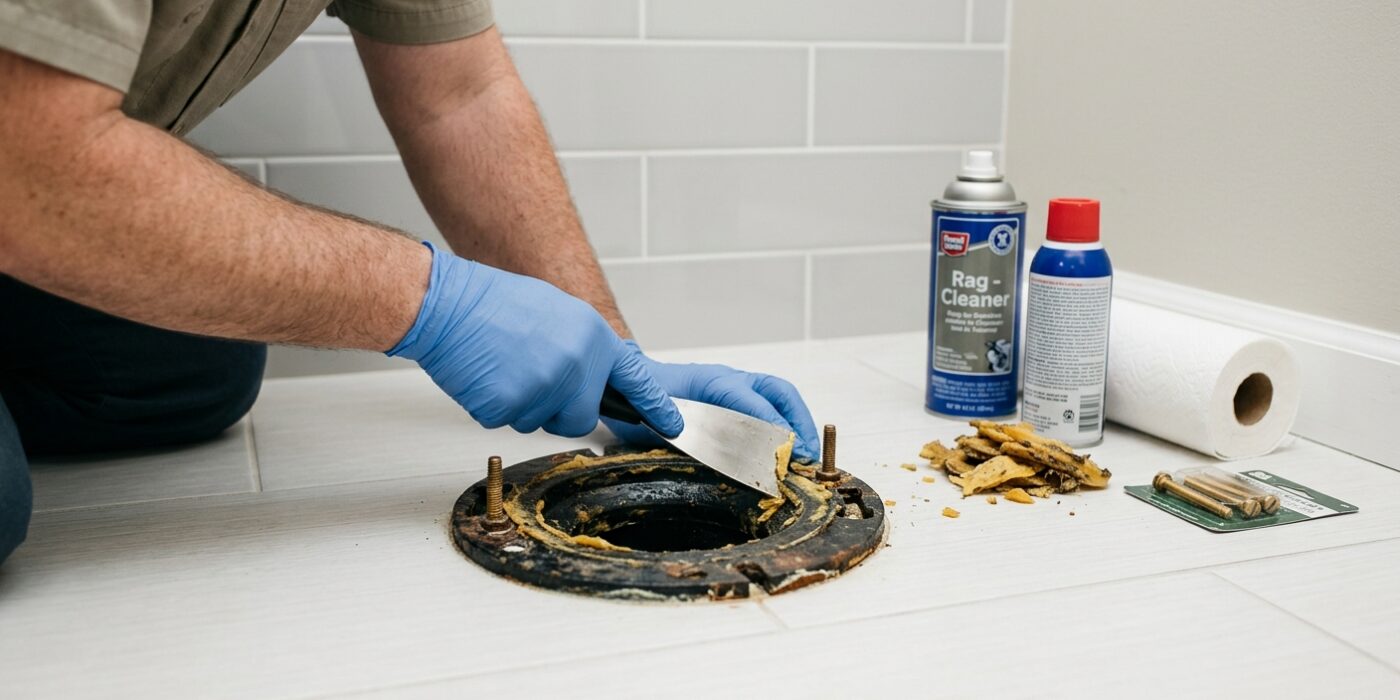
Now that your toilet is out of the way, you’ll see a circular opening in the floor with a plastic or metal ring around it. This is your toilet flange. First, stuff a rag firmly into that pipe opening. This prevents unpleasant sewer gases from entering your home and ensures that if you accidentally drop a bolt, it won’t disappear into your plumbing system.
Next, take your putty knife and gently scrape away all the old, crusty wax from the flange and the surrounding floor. You want the surface completely smooth and clean to ensure the new ring creates a watertight seal. Once clean, inspect the flange closely. It should be level with the finished floor or sitting just slightly above it. If you see cracks, chips, or missing sections, the flange needs to be reinforced with a repair kit. Do not skip this; a compromised flange cannot support the weight of the toilet or maintain a proper seal.
Beginner Tip: Do not use a metal putty knife with excessive force if your flange is made of older, brittle plastic. Use a light, scraping motion at a shallow 30-degree angle to lift the wax rather than digging into the material, which could cause more cracks.
Pro Tip: To get that final, “like-new” level of cleanliness, use a bit of rubbing alcohol on a paper towel to wipe down the flange surface after scraping. This removes the thin, greasy wax film that soap and water often leave behind, allowing your new wax ring to grip perfectly.
Step 4: Install New Closet Bolts
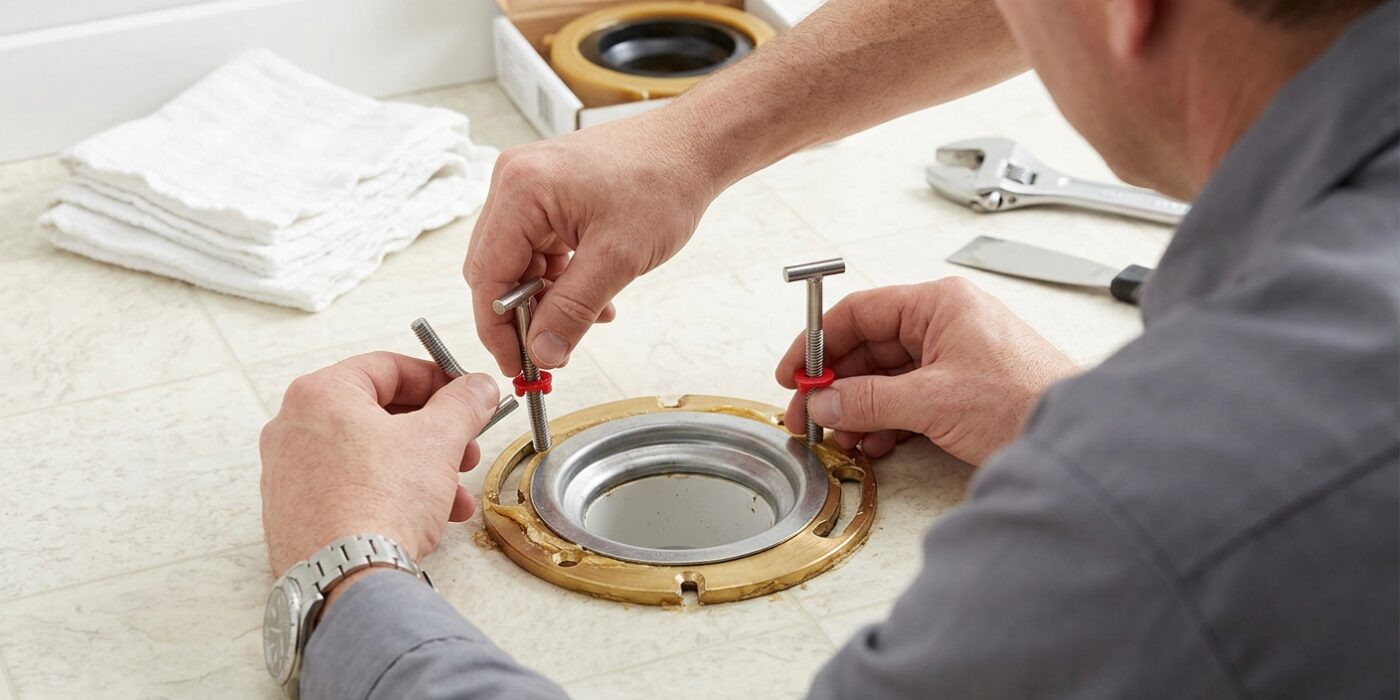
Now that your flange is clean, it is time to install the new closet bolts. These bolts are the secret to keeping your toilet rock-solid and leak-free. Take your new T-bolts and slide the flat, rectangular head of each bolt into the curved metal slots on your toilet flange. The threaded end should be pointing straight up toward the ceiling. You will want to position the bolts directly across from each other, perfectly aligned with the center of the drain pipe.
Beginner Tip: The most common mistake here is letting the bolts tilt or lean. If they are not standing perfectly vertical, the toilet base will not slide down over them later, which can cause frustration. Take your time to ensure they are standing upright, and if they keep flopping over, you can place a small piece of painter’s tape across the top of the bolt to hold it in place temporarily.
Alternative Method: If your bolts won’t stay upright on their own, use a small piece of plumbers putty or a dab of thick grease at the base of the bolt. This acts like a temporary glue, keeping the bolt locked in the upright position so you can lower the toilet without the bolts falling over.
Pro Tip: Before you set the toilet down, place the plastic washers and nuts that came with your kit onto the bolts and tighten them just enough to hold the bolts in place. This ensures they don’t shift while you are lifting the heavy toilet into position.
Step 5: Choose the Right Wax Ring
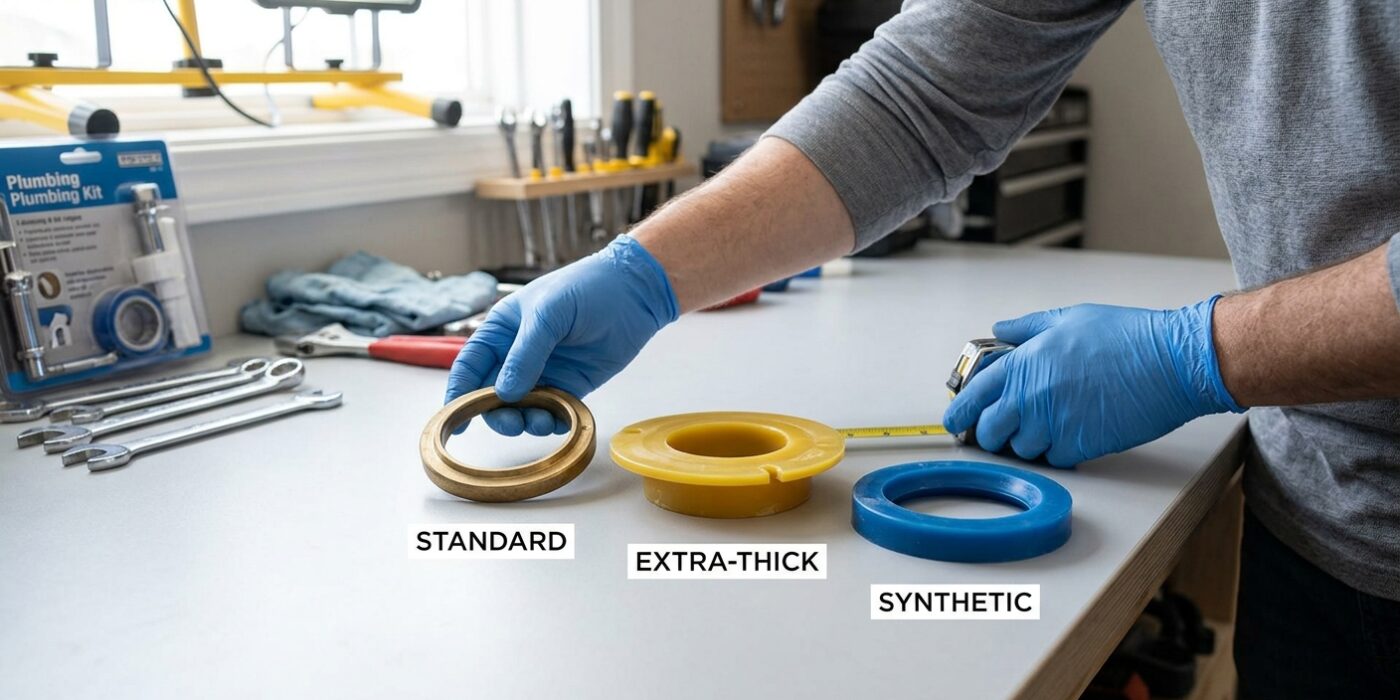
Before you purchase your replacement, take a quick look at your toilet flange – the plastic or metal ring bolted to the floor where the toilet sits. The flange should ideally sit flush with or slightly above your finished floor. If the flange is level with the floor, a standard wax ring will create a perfect, watertight seal. However, if your floor has been recently tiled or if the flange sits deeper than a quarter-inch below the floor surface, a standard ring won’t reach far enough to prevent leaks. In this case, you must purchase a “jumbo” or “extra-thick” wax ring, ideally one with a plastic funnel, or “horn,” attached to the bottom. This funnel acts as a guide to ensure waste flows directly into the pipe, bridging the gap created by your flooring.
Beginner Tip: Never be tempted to buy two standard wax rings and stack them on top of each other to make up for a deep gap. Wax does not fuse together correctly when stacked, which often leads to hidden leaks and significant water damage beneath your floorboards. Always choose a single, high-quality, extra-thick ring instead.
Pro Tip: Before installing your new wax ring, place it in a warm area of your home for about 30 minutes, or keep it in your pocket while you gather your other supplies. Soft, room-temperature wax is much more pliable and will compress more easily and evenly under the weight of the toilet, ensuring a tighter, more reliable seal the first time you set it down.
Step 6: Set the Wax Ring and Lower the Toilet
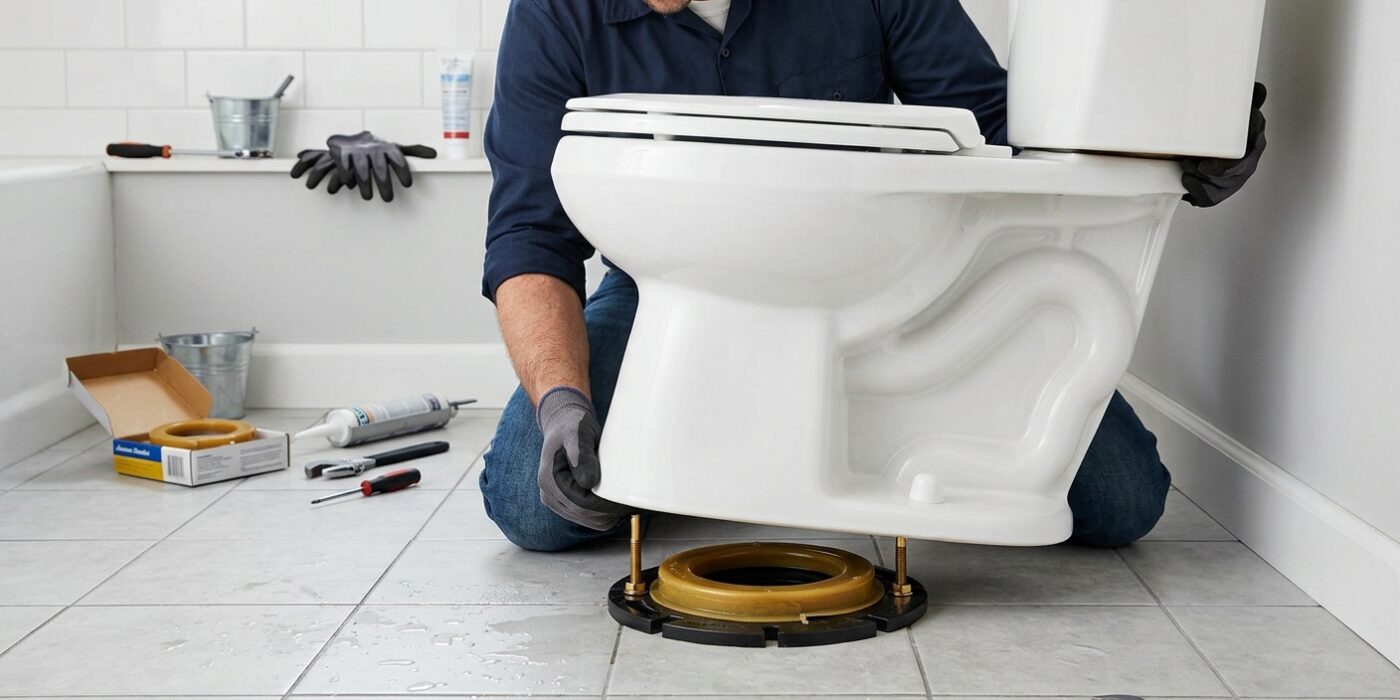
Before you begin, remove the rag you stuffed into the drain earlier. Now, take your new wax ring and press it firmly onto the toilet’s horn – the round opening on the bottom of the toilet base. Make sure the wax side faces away from the porcelain so it will meet the floor flange. The goal is to create an airtight and watertight seal between the toilet and your bathroom pipe.
Carefully lift your toilet and center it over the flange, using the two metal closet bolts as your guide. Lower the toilet straight down in one smooth motion. It is vital to avoid rocking or tilting the unit once it touches the wax, as this can deform the seal and cause leaks later. Once the base is touching the floor, use your body weight to press down firmly and evenly on both sides of the bowl to compress the wax ring securely.
Beginner Tip: If the toilet feels slightly wobbly after you set it down, do not try to fix it by wiggling it into place. If it is not perfectly centered, lift it straight up and start the lowering process again. Shifting the toilet once the wax has made contact with the flange will ruin the seal’s integrity.
Pro Tip: To make the alignment much easier, place a small piece of painter’s tape on the floor on either side of the toilet base before you lift it. These marks will act as a visual guide, showing you exactly where the bolt holes are located so you can drop the toilet perfectly the first time.
Step 7: Secure the Toilet
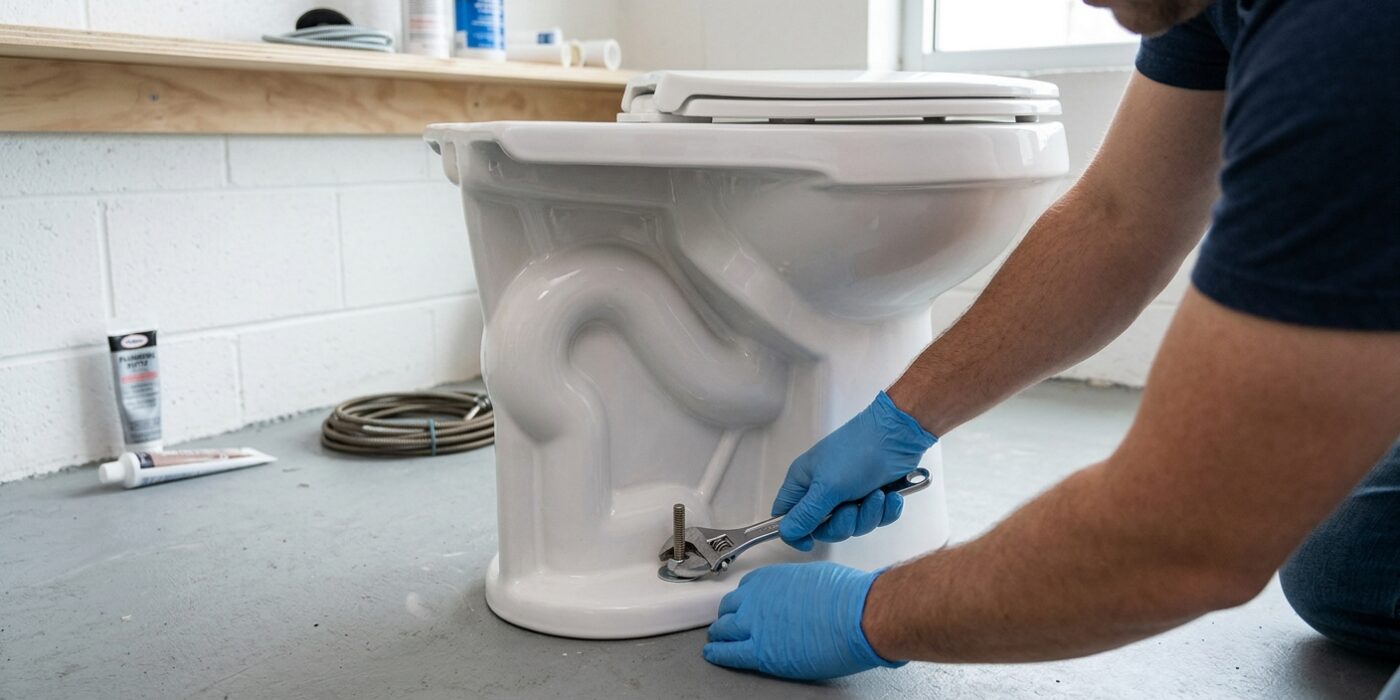
Now that your toilet is perfectly positioned over the flange, it is time to anchor it firmly to the floor. Start by hand-tightening the nuts onto the closet bolts protruding through the base. It is crucial to move slowly and keep the pressure balanced. Give the nut on the left side two full turns, then move to the right and do the same. By alternating back and forth, you draw the toilet down evenly, which ensures the new wax ring creates an airtight, watertight seal. Once hand-tight, use a wrench to snug them up, but stop as soon as you feel resistance. Porcelain is surprisingly fragile, and tightening too much will cause the base to crack.
Beginner Tip: Many beginners worry the toilet isn’t tight enough and keep turning the wrench. If you feel the porcelain “give” or hear a slight clicking sound, stop immediately! A snug fit is plenty; the wax ring does the heavy lifting for the seal, not the brute force of the metal bolt.
Pro Tip: If you find the toilet still wobbles even after tightening the bolts, your bathroom floor is likely slightly uneven. Do not just keep tightening, as this will crack the base. Instead, slide plastic toilet shims into the gap between the floor and the toilet until the rocking stops. Once stable, trim the excess plastic with a utility knife, finish tightening your bolts, and proceed with your caulking to hide the shims.
To finish, trim any excess bolt length with a hacksaw so your plastic bolt covers snap on cleanly. Finally, reconnect your water supply line, turn the water back on, and flush to ensure everything is secure.