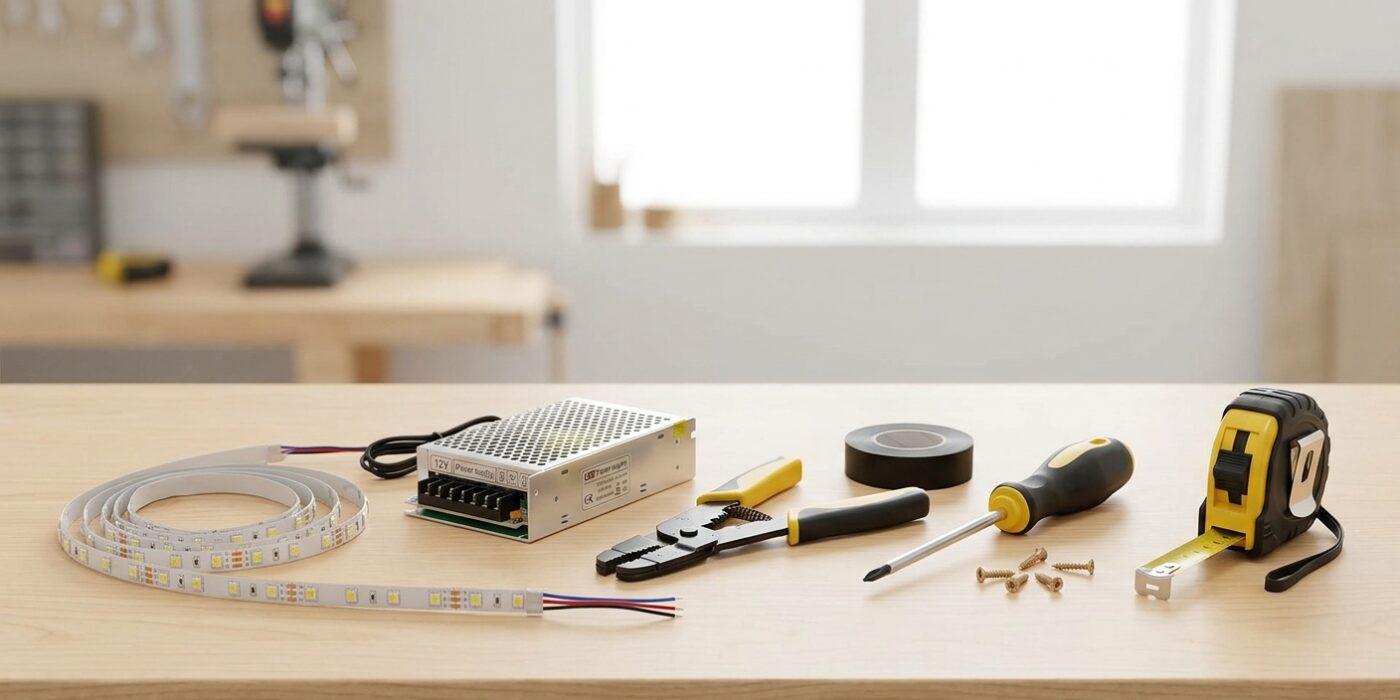
Project Shopping List
Under-cabinet lighting transforms a kitchen from functional to professional-looking – task lighting on the counter makes cooking safer, eliminates shadows, and reveals the actual colors of food and surfaces. LED strip lights or puck lights are the most common options and both can be done as a clean, professional install in a half day with basic wiring skills. The result looks like it came with the kitchen.
This guide covers hardwired LED strip under-cabinet lighting – the permanent solution that disappears behind trim and uses no visible cords. If you want a plug-in temporary solution, the wiring steps are simpler (just connect to a plug), but the mounting and trim work is identical.
What You’ll Need
Tools
- Non-contact voltage tester
- Drill and small bits
- Jigsaw or oscillating saw (for cutting cabinet bottom)
- Fish tape or wire puller
- Wire stripper
- Screwdrivers
Materials
- LED strip lights (12V or 24V DC with warm white 2700K–3000K color temperature recommended for kitchens)
- LED driver/power supply – sized for the total strip wattage (include 20% headroom)
- Low-voltage wire (18 or 16 AWG, 2-conductor)
- Wire channel or raceway (to hide wire runs)
- Aluminum channel with diffuser cover (gives a finished, professional look to strips)
- Switch or connect to existing under-cabinet outlet
Step 1: Plan the Layout and Lighting Zones
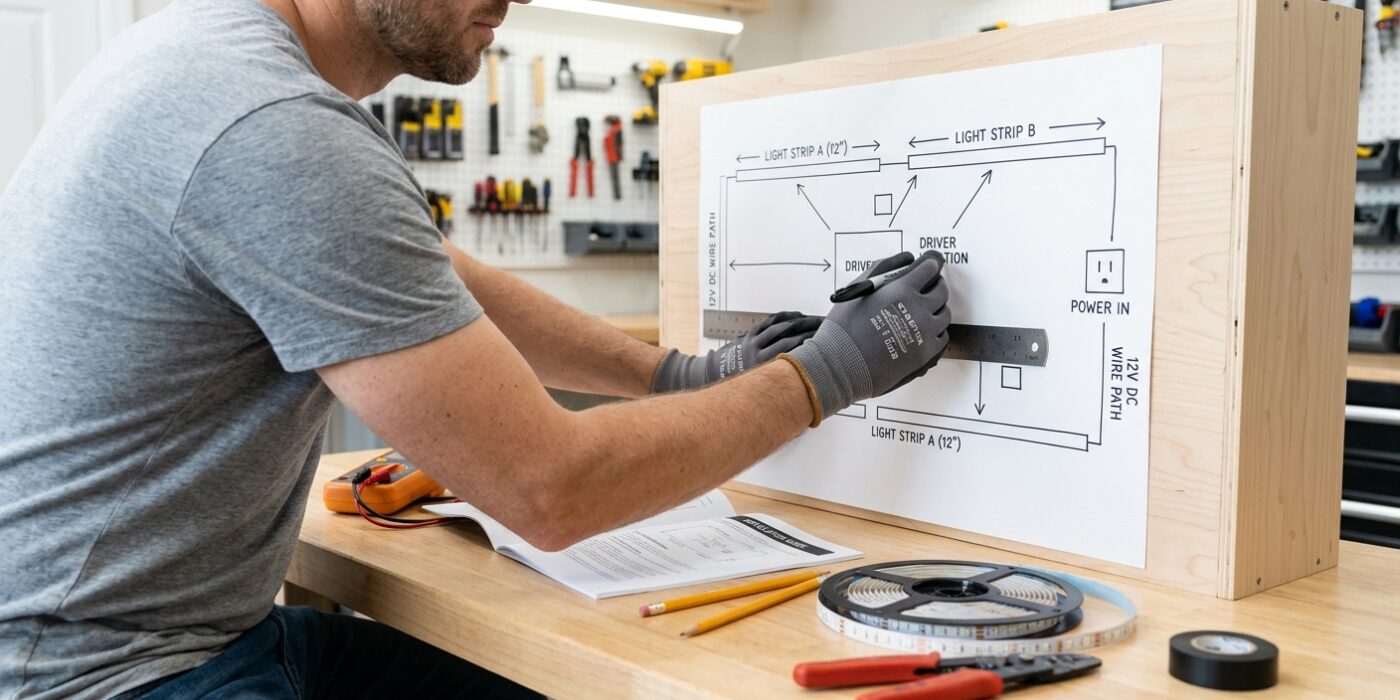
Before you pick up a tool, grab a measuring tape and a notepad to map your kitchen. Under-cabinet lighting works best when broken into zones; think of each continuous run of cabinets – separated by a range hood or a corner – as its own individual zone. Measure the length of each run and subtract about two inches from each end to ensure the light strips remain hidden from view while you are sitting at the table.
When choosing where to mount the strips, aim for the front third of the cabinet bottom, just behind the front trim (the rail). Mounting the lights here ensures the glow illuminates your workspace rather than just hitting the backsplash. Use your notepad to draw a simple diagram showing where your power outlet is located and how the wires will travel from the power source to each strip. This “map” prevents you from buying too little wire or getting halfway through the project only to realize you do not have enough reach.
Beginner Tip: A common mistake is mounting the lights too far back against the wall. If you place them against the backsplash, the light will highlight every imperfection in your tile or paint, rather than illuminating your countertop where you actually need it.
Pro Tip: Before you peel off any adhesive backings, use a small piece of painter’s tape to temporarily stick the lights in place. Step back and turn them on to see if you like the spread of light. It is much easier to adjust a piece of painter’s tape than it is to fix a strip that has been permanently stuck to the underside of your cabinet.
Step 2: Choose the LED Strip and Driver
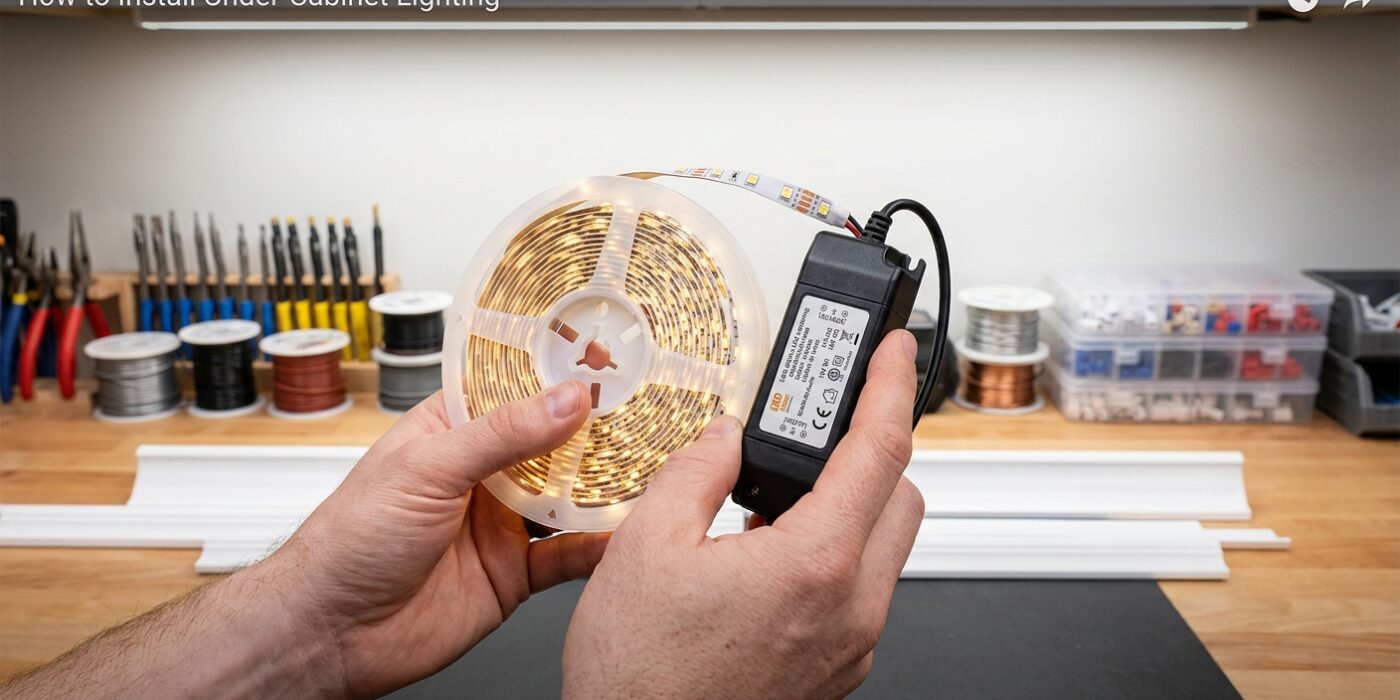
Selecting your lighting components is the foundation of a successful project. To achieve a professional look in your kitchen, focus on two key specs: CRI and color temperature. Aim for an LED strip with a Color Rendering Index (CRI) of 90 or higher; this ensures that your ingredients look fresh and vibrant rather than dull. For the light color, choose 2700K to 3000K, which provides a warm, inviting glow that complements standard wood or stone kitchen finishes.
Next, you must size your power supply, or “driver,” correctly. Calculate the total power needed by multiplying the strip’s wattage per foot by the total length you plan to install. For example, if your strips use 3 watts per foot and you are installing 10 feet, you need 30 watts. Always buy a driver with 20% to 25% more capacity than your total (in this case, aim for roughly 40 watts). Running a driver at its absolute maximum capacity causes it to overheat, which significantly shortens its lifespan.
Beginner Tip: Avoid buying the cheapest LED kit you find online. Low-quality strips often have poor adhesive backing that will peel off within weeks due to kitchen heat and humidity. Look for strips that explicitly mention 3M adhesive tape on the back for a long-lasting hold.
Pro Tip: If your cabinets have glass doors or shiny granite countertops, look for “COB” (Chip on Board) LED strips instead of standard SMD strips. COB strips provide a continuous line of light without visible “dots,” preventing harsh, distracting reflections on your shiny kitchen surfaces.
Step 3: Mount the Aluminum Channel
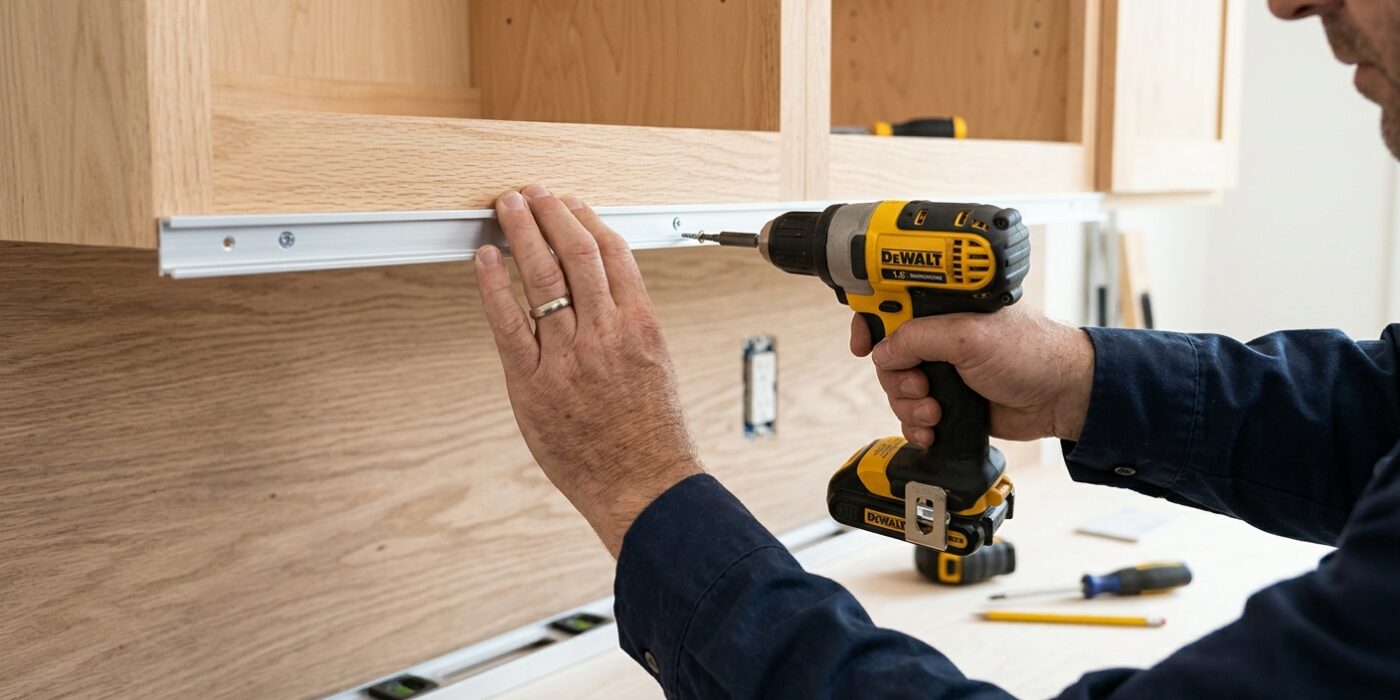
Now that your workspace is clear, it is time to install the aluminum channels. These channels are essential because they act as a heat sink to protect your LED strips and contain a diffuser cover that turns individual light dots into a sleek, continuous glow. You will want to mount these channels along the underside of your cabinets, roughly 2 to 3 inches back from the front edge. This placement ensures the light illuminates your countertops effectively while keeping the hardware hidden from view when you are standing in the kitchen.
Start by holding the channel in place and using a pencil to mark your screw locations through the pre-drilled holes. Carefully drill small pilot holes into the wood, taking care not to drill through the bottom of your cabinet interior. Once the holes are ready, drive your screws through the channel and into the cabinet. Ensure the screws sit flush so they do not interfere with the LED strip when you place it inside later.
Beginner Tip: Double-check the length of your mounting screws before you start. Many kitchen cabinets have thin bottoms, and a screw that is too long will poke through into your storage space, creating a sharp hazard inside your cupboard.
Alternative Method: If you are nervous about using a drill or damaging your cabinets, you can skip the screws entirely by using heavy-duty, double-sided mounting tape designed for metal. Simply clean the underside of the cabinet with rubbing alcohol, apply the tape to the back of the channel, and press it firmly into place.
Pro Tip: Before you screw anything down, use a piece of painter’s tape to hold the channel in position. This lets you step back, turn the lights on, and verify the beam angle to ensure you are happy with the light coverage before you make any permanent holes.
Step 4: Install the LED Strips in the Channel
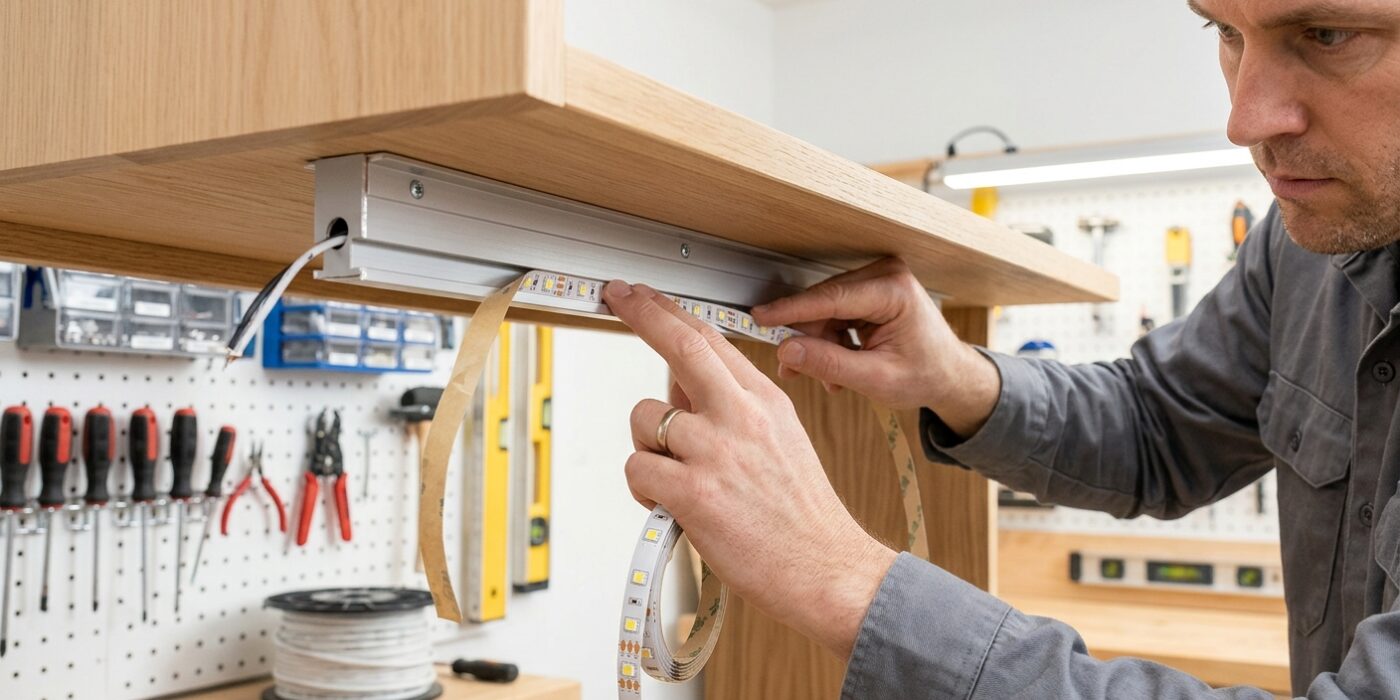
Now that your channels are mounted, it is time to add the light. Begin by peeling the adhesive backing off your LED strip in small, three-inch increments rather than all at once. Lay the strip carefully into the center of the aluminum channel, pressing firmly with your thumb as you go to ensure a secure bond. If your run reaches a corner, stop and use an L-shaped connector. To do this, locate the small copper pads on the LED strip marked with a scissors icon; carefully snip the strip only at these exact points to keep the circuit intact. When connecting, ensure the positive (+) side of the strip aligns with the positive side of the connector. Once installed, slide the frosted plastic diffuser cover onto the channel tracks until you hear a soft click. This softens the light and hides the individual diodes for a professional, seamless glow.
Beginner Tip: Never press down directly on the yellow LED diodes themselves while installing the strip. Apply pressure only to the flat parts of the tape between the lights to avoid damaging the internal wiring, which can cause flickering or dead spots later on.
Pro Tip: Before peeling the adhesive backing, perform a “dry run” by laying the strip inside the channel to check your measurements. If the strip feels too long, it is much easier to trim it before the sticky tape is exposed and attracts dust or kitchen debris.
Step 5: Run the Low-Voltage Wiring
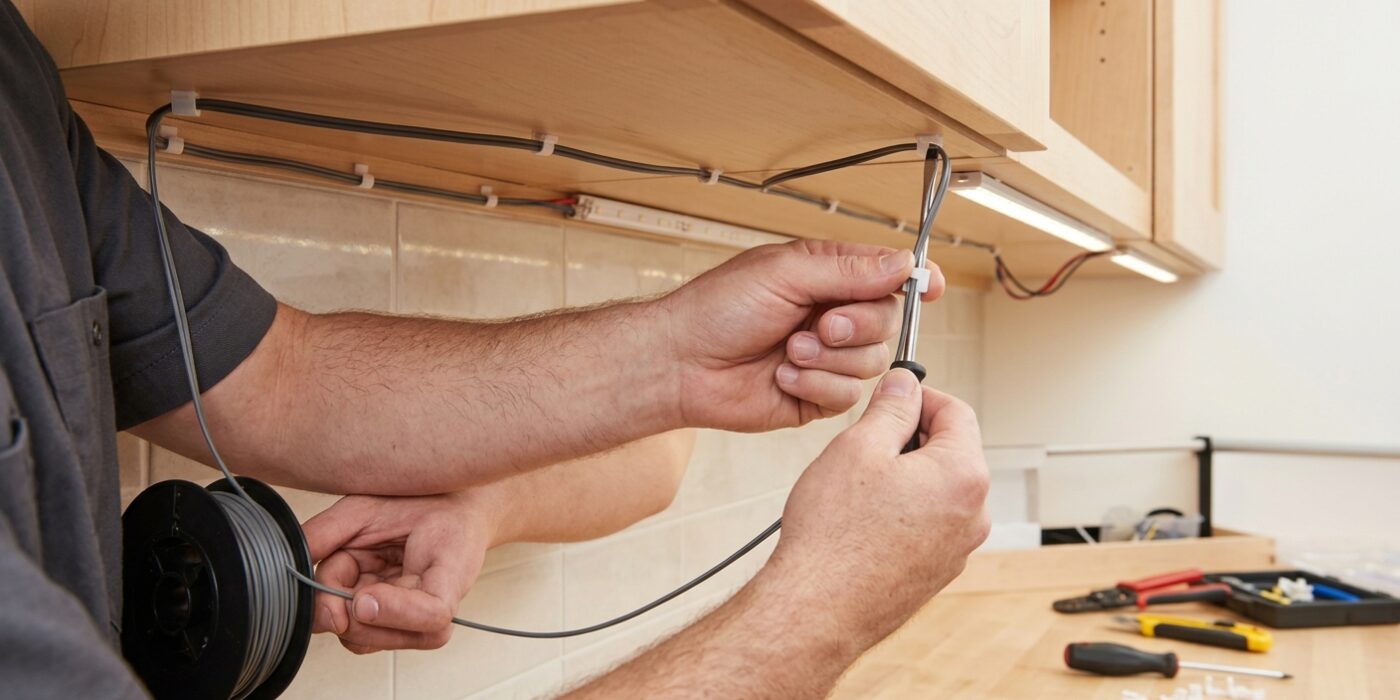
Now it is time to connect your lights using low-voltage wiring. Think of this as the nervous system of your project, carrying power from your driver to each light strip. Because this is low-voltage (12V or 24V), you are working with safe electricity that will not shock you, making it a perfect place to build your confidence.
Start by measuring the distance from your driver – the small box that converts your home’s power – to each light zone. Cut your 18 AWG two-conductor wire to length, leaving an extra six inches at each end for easier connections. You can route these wires through small, quarter-inch holes drilled into the cabinet side panels, or tuck them neatly into adhesive-backed plastic wire channels that stick directly to your backsplash or the underside of the cabinets for a seamless look.
Beginner Tip: Avoid the common mistake of pulling the wires too tight. Always leave a little bit of slack behind each light strip. If the wire is pulled taut, the connection can snap or wiggle loose when you open and close your cabinet doors or when the house shifts slightly with the seasons.
Pro Tip: Use a label maker or a piece of masking tape to tag both ends of each wire segment before you thread them through walls or cabinets. If you are running multiple zones, it is incredibly easy to lose track of which wire goes to which strip; labeling saves you from having to play a frustrating guessing game later.
Step 6: Mount the LED Driver
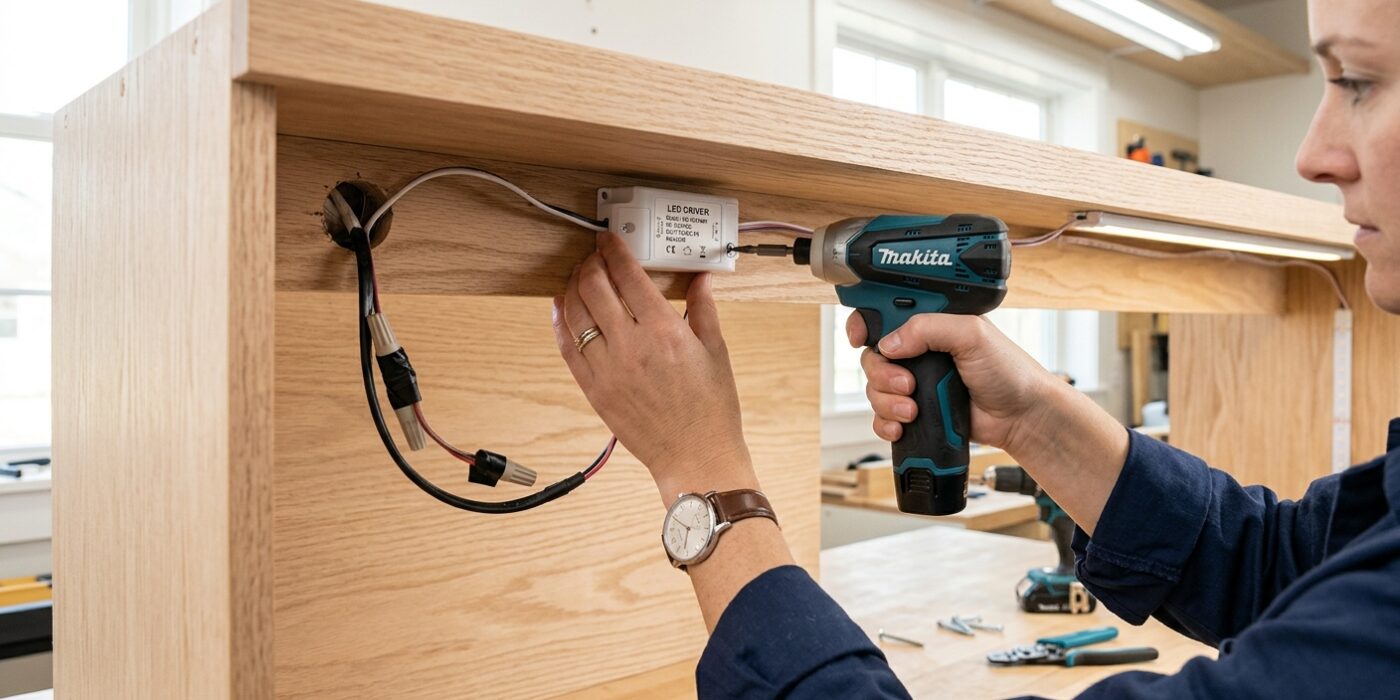
The LED driver is the “brain” of your lighting system, acting as a bridge that safely converts high-voltage electricity from your wall into the low-voltage power your LED strips need. Since electrical components can overheat, you must mount the driver inside an upper cabinet, ideally toward the back corner and as far away from the stove as possible to avoid heat damage.
To mount it, use the mounting tabs on the driver housing to screw it securely to the cabinet interior. Once fixed, connect your low-voltage wires to the output terminals – typically marked with a plus (+) for the red wire and a minus (-) for the black wire. Ensure the connections are snug by gently tugging on them; loose wires can cause flickering lights later on.
Beginner Tip: A common mistake is mounting the driver in a spot that makes it impossible to reach later. Always ensure you can access the driver for future maintenance or troubleshooting without having to tear apart your cabinetry. Keep it behind a cabinet door that opens easily.
Pro Tip: Before you drive any screws, use a strip of painter’s tape to hold the driver in place. This allows you to check if the cabinet door still closes perfectly and lets you visualize the wire path before committing to permanent holes. It’s a great way to “dry fit” your setup without making mistakes.
Step 7: Connect Strips to Wiring and Test
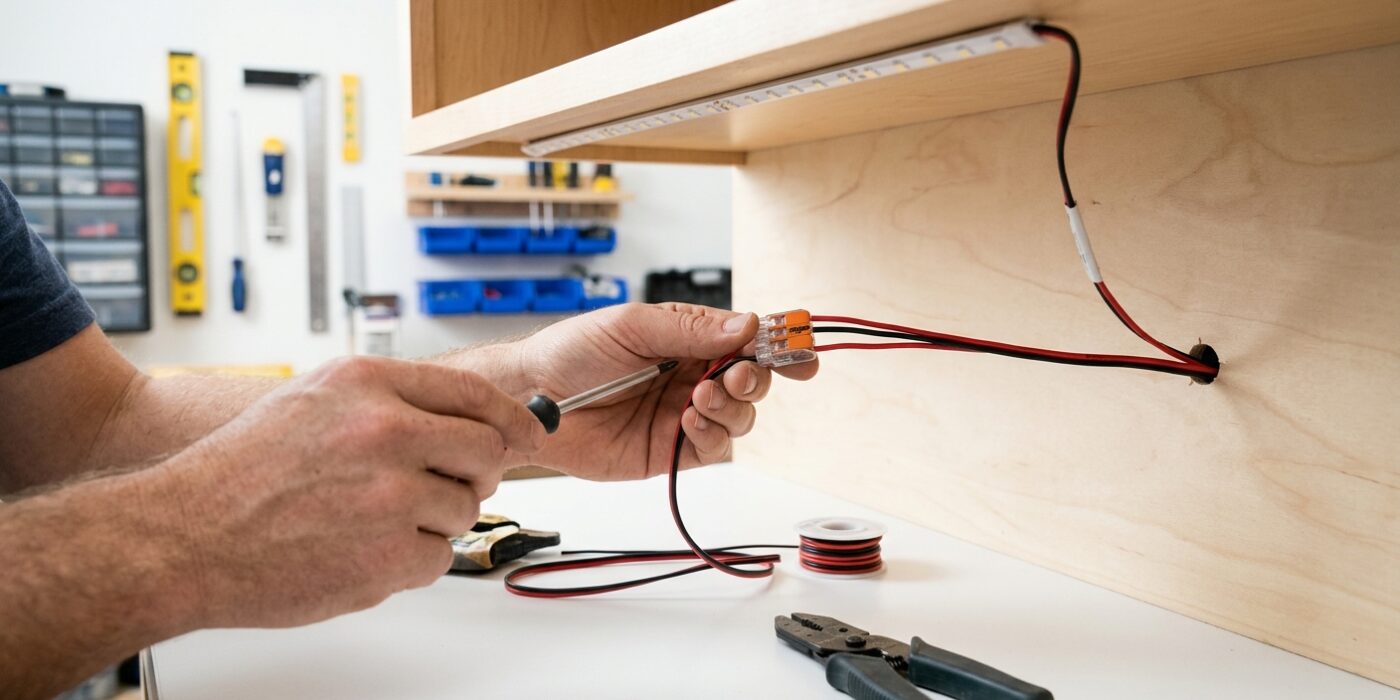
Now that your LED strips are secured in their channels, it is time to connect them to the power supply, or driver. Locate the positive (+) and negative (-) wires on your strip and connect them to the corresponding terminals on your driver. It is critical to match these markings exactly; if you swap them, the lights simply will not turn on. Before you finalize everything, plug the driver into a power source to test the connection. This is the moment to look for dark spots or uneven light distribution. If the light does not look perfect, gently slide or adjust the strip inside the channel until the glow is consistent across your countertop.
Beginner Tip: A common mistake is failing to test the entire run before applying the final diffuser covers. Always illuminate your lights while the setup is still exposed. If a specific section is flickering or dull, it is much easier to re-secure a loose connection now than it is to peel back a diffuser cover or pull a strip out of a channel later.
Pro Tip: To ensure a clean, professional finish without visible “dots,” aim to mount your aluminum channels at a slight angle or recessed toward the back of the cabinet. This directs the light across the backsplash rather than straight down onto your countertop, which helps diffuse the light and hides the individual diodes from your line of sight while you are working in the kitchen.