Project Shopping List
A window seat transforms a plain wall below a window into a focal point that combines seating, storage, and architectural detail. The built-in look it creates feels like it came with the house, and done right, it actually adds perceived value and function that no piece of furniture can replicate. This guide builds a window seat as a hollow box: a plywood carcass that fits the window bay, with a hinged seat lid providing access to interior storage.
This is a true intermediate project because it requires precise fitting to existing walls and trim, planning for the hinge and lid support hardware, and upholstery or cushion work at the end. The carpentry itself is similar to cabinet building: accurate layout, good plywood cuts, and careful face frame work. Plan to spend two days on the build and another half day on the cushion or upholstery.
What You’ll Need
Tools
- Circular saw and jigsaw
- Drill and driver
- Pocket hole jig
- Level and stud finder
- Miter saw
- Router with roundover bit (optional)
- Clamps and tape measure
Materials
- 3/4-inch birch plywood: front panel, side panels, bottom, and lid
- 2×4 framing lumber (base frame)
- 1×4 and 1×3 poplar (face frame)
- Pocket screws: 1-1/4-inch and 2-inch
- Piano hinge (full-length) and two lid support stays
- Wood glue and 1-1/4-inch brad nails
- Sandpaper, primer, and paint
- 3-inch high-density foam, batting, and fabric for cushion
Step 1: Measure the Window Bay
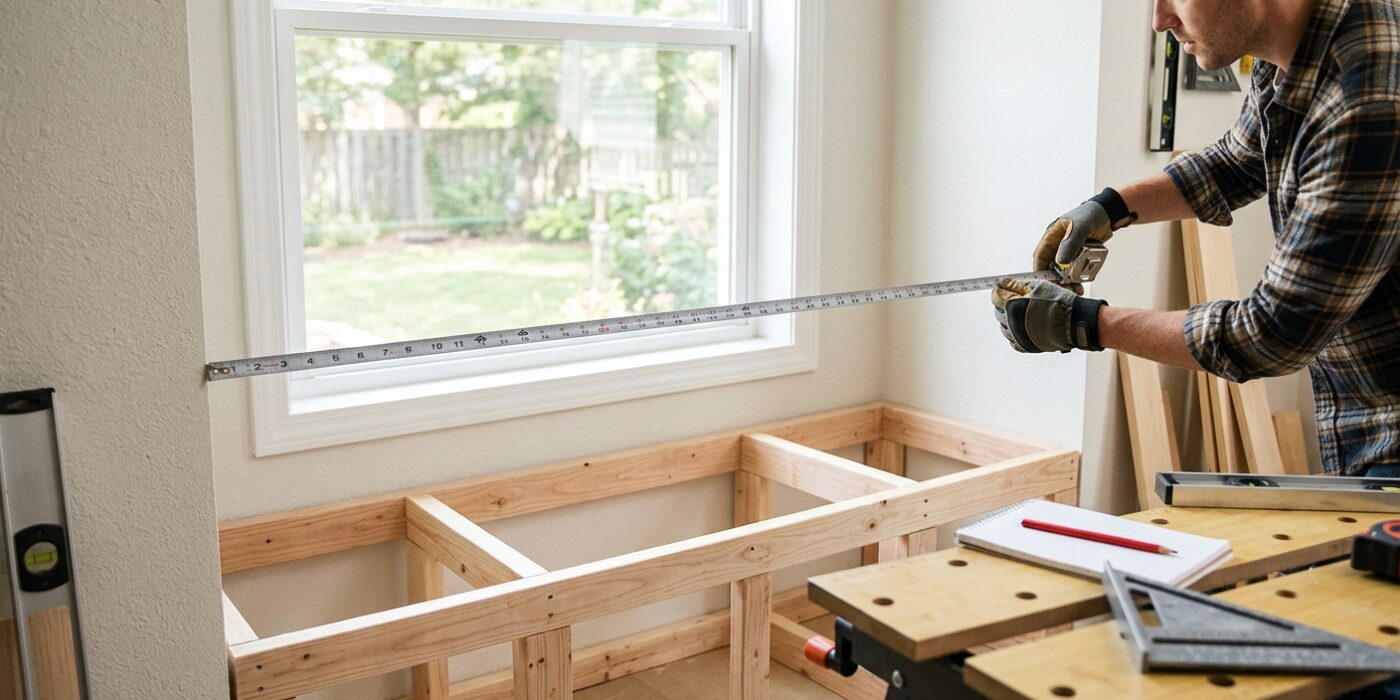
Before you pick up a saw, you must accurately map out your space. Start by measuring the full width of your window casing, the depth from the wall to the edge of the window sill, and the height of your baseboards. Getting these numbers right is the secret to a professional finish; if your seat box doesn’t perfectly clear the existing baseboard, it will look like an afterthought. To avoid a gap, you can either remove the baseboard section behind the unit, notch the wood to fit snugly around it, or build your box on a recessed 2×4 platform to lift it above the trim.
For a comfortable seat that invites you to relax, aim for a finished height between 17 and 19 inches from the floor. If you are starting from scratch, a depth of 18 inches is the industry standard for a cozy, usable seat. Ensure your measurements are taken at both the top and bottom of the wall, as older homes often have walls that are not perfectly square.
Beginner Tip: Never rely on a single measurement. Houses settle over time, meaning your walls might lean inward or outward. Measure in at least three places – left, center, and right – and always use the smallest number to ensure your unit actually fits into the space.
Pro Tip: Use a piece of cardboard or thin foam board to create a physical template of the floor area first. It is much easier to trim a piece of scrap cardboard to fit a crooked corner than it is to cut an expensive piece of plywood multiple times.
Step 2: Build the Base Frame
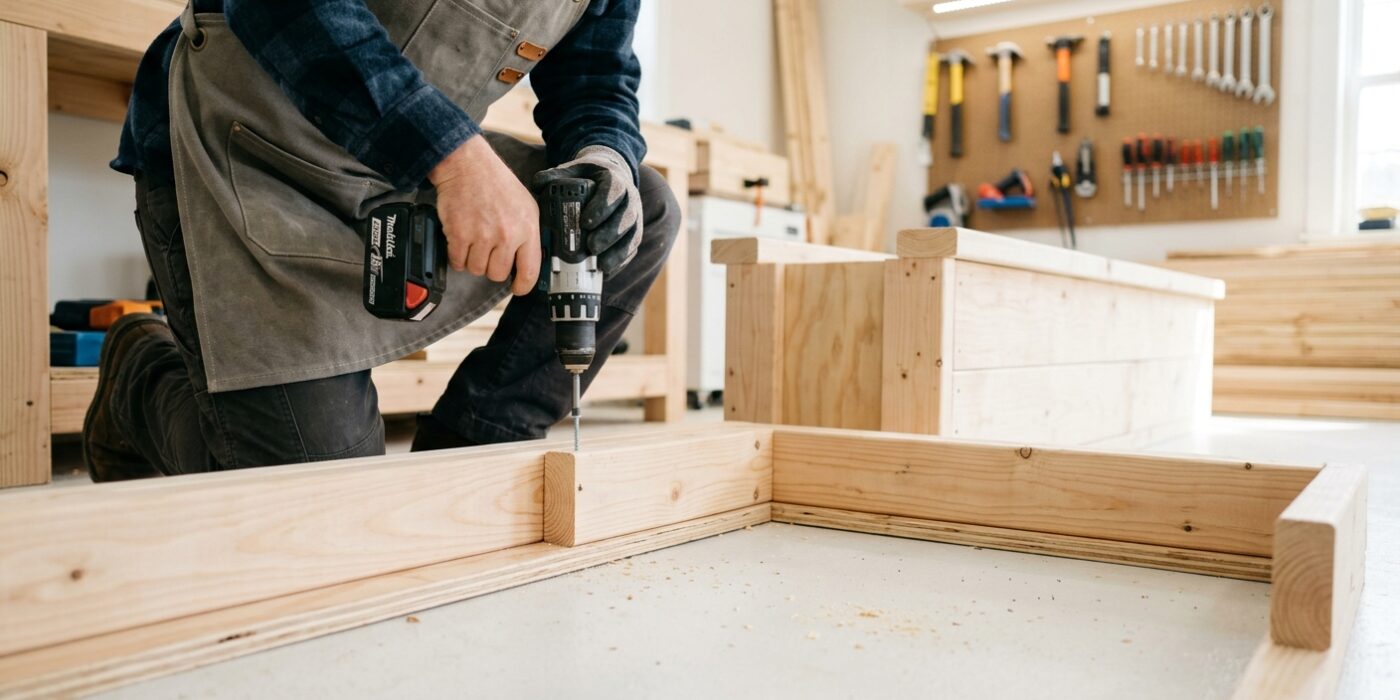
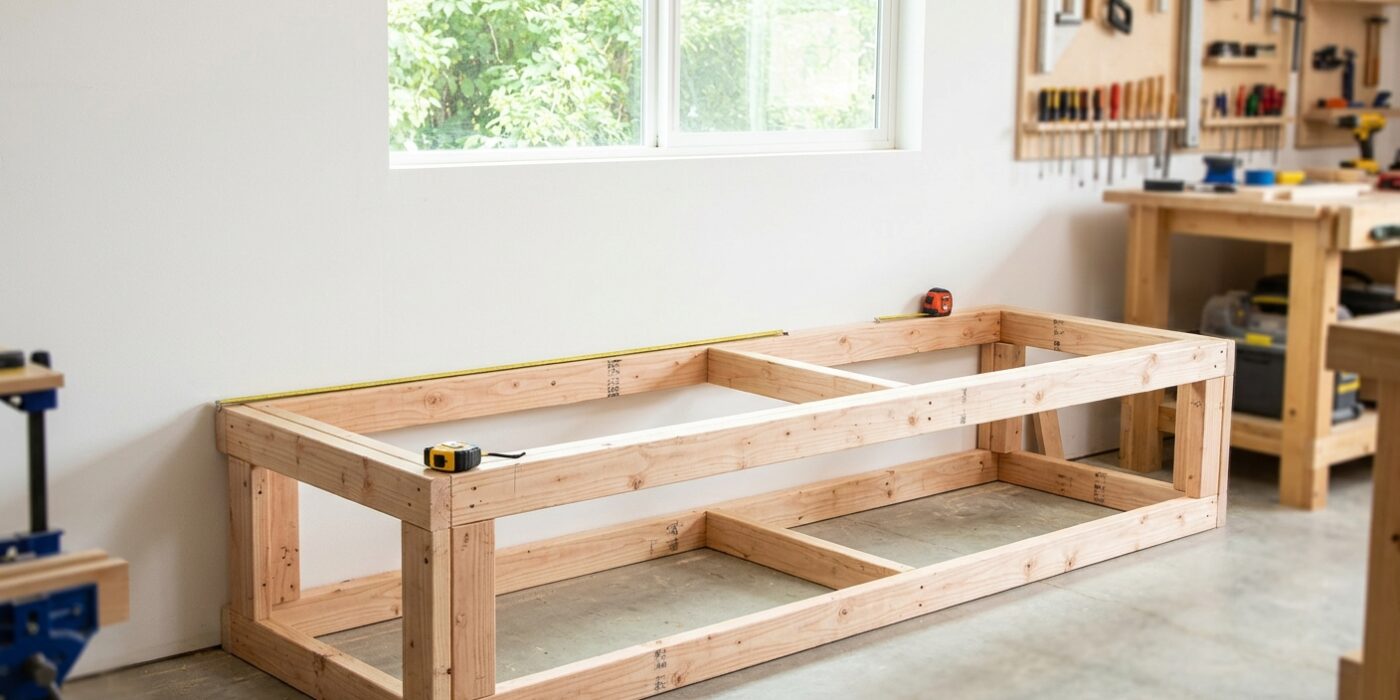
Now, it is time to build your base frame. Think of this as the foundation of a house; a solid start ensures your finished seat won’t wobble or squeak. You will construct a rectangular frame out of 2×4 lumber that matches the exact length and width of your desired window seat footprint. Cut your boards to size and assemble them into a simple ladder-like grid using two 3-inch wood screws at every joint. Once built, place the frame exactly where you want the seat to go and drive 3-inch screws through the frame into the floor joists below to lock it in place.
Why go to the trouble? This frame creates a sturdy, level platform that lifts your storage box off the floor, protecting your belongings from potential spills or drafts. It also creates a convenient hollow channel underneath, which is the perfect place to route electrical wiring if you want to install a sleek, modern USB charging station inside your seat later on.
Beginner Tip: The most common mistake is assuming your floor is perfectly level. Check the frame with a bubble level before you screw it into the floor. If it is uneven, slide thin wood shims underneath the low spots until the bubble sits perfectly in the center to prevent your finished seat from leaning.
Pro Tip: To keep your boards from splitting when you drive the screws, use a drill bit to create a small “pilot hole” first. This removes a little wood and ensures your screws go in straight and tight without cracking the timber.
Step 3: Build the Box
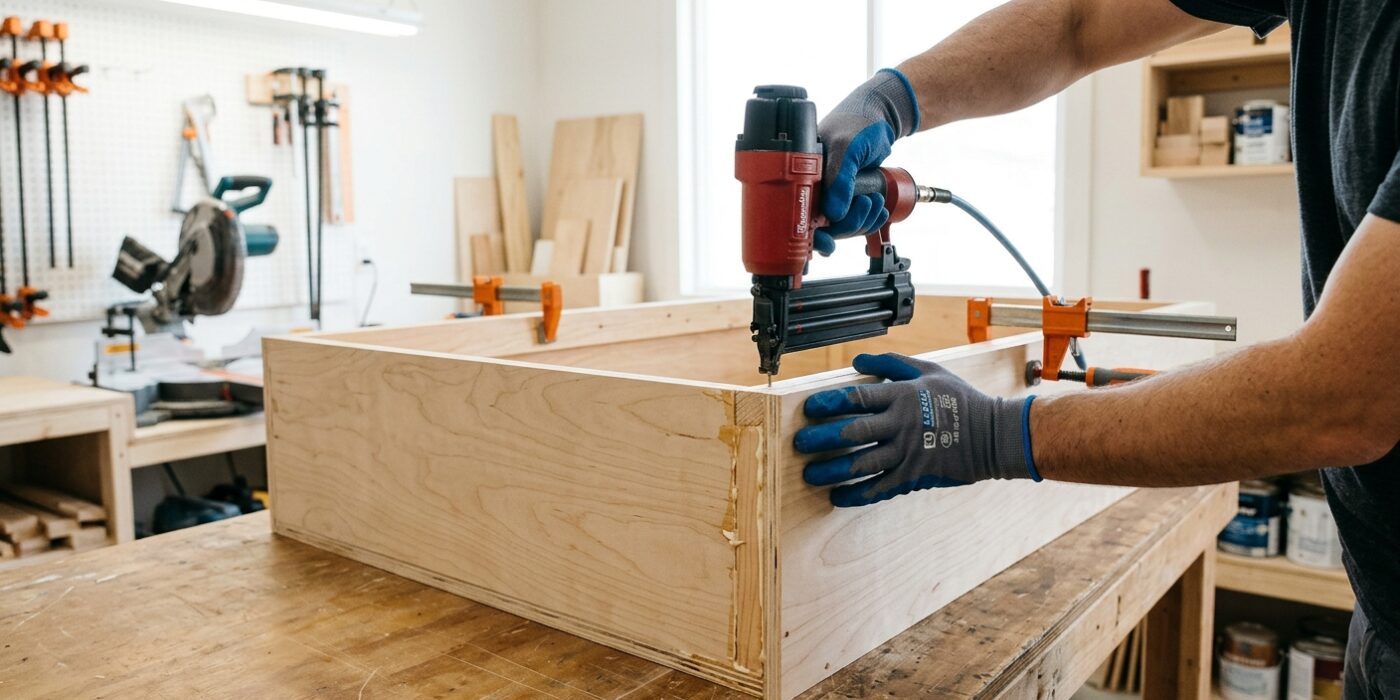
Now that your base frame is level, it is time to build the storage box itself. You will use your 3/4-inch plywood to create the walls and floor of your window seat. Start by attaching the two side panels to the edges of the front panel using wood glue and pocket screws. Position the side panels so they sit just behind the front face, ensuring the front panel remains the star of the show. Next, lower the bottom panel into the frame so it rests securely on your 2×4 base. Secure this floor panel from the underside or through the sides using screws. For a standard 36 x 18 x 15-inch interior, measure twice before cutting; this size is perfect for hiding away bulky items like winter blankets or stacks of board games.
Beginner Tip: When using pocket screws, always use a scrap piece of plywood to test your drill depth first. If your screw is too long, it will poke through the finished exterior of your seat, which is frustrating to fix later. A quick test ensures your screws stay hidden inside the wood where they belong.
Pro Tip: To keep your box perfectly square while the glue dries, measure diagonally from corner to corner. If the two diagonal measurements are identical, your box is perfectly square. If they differ, gently nudge the frame until the numbers match before the glue sets.
Step 4: Install the Box
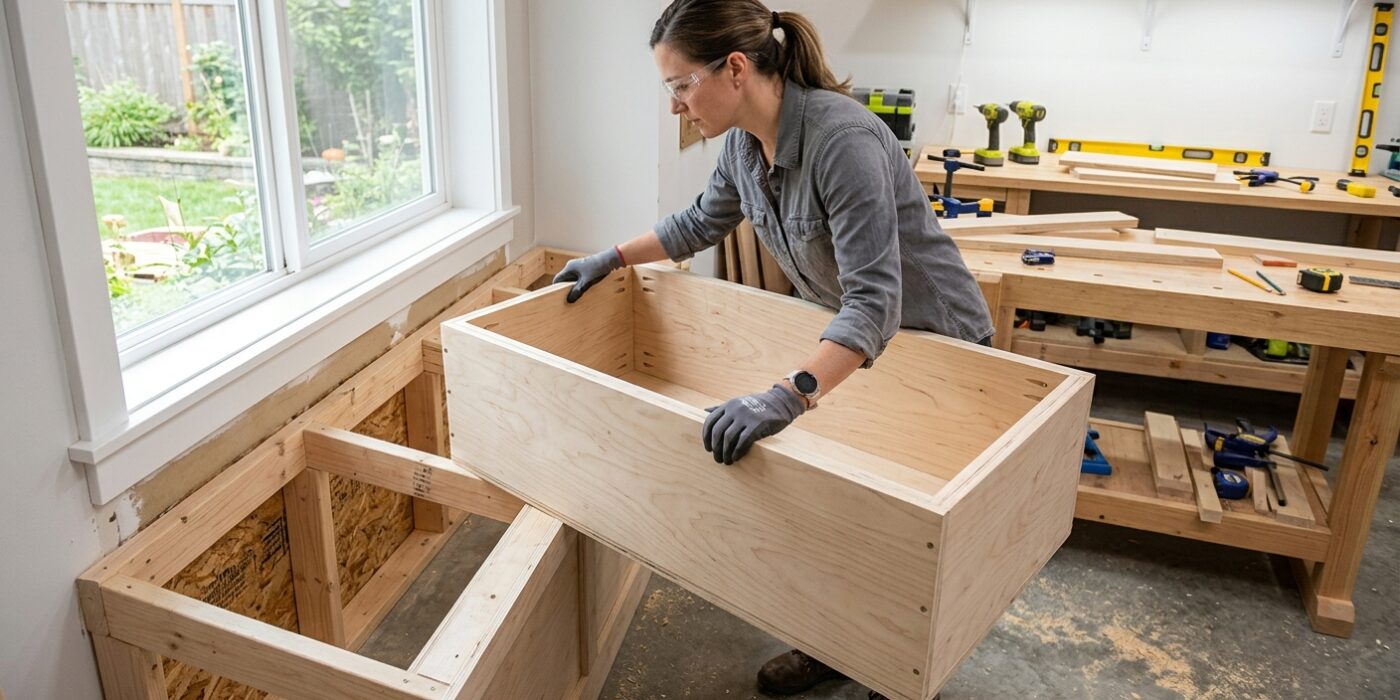
Now that your box is assembled, it is time to secure it to your wall. Carefully slide the box onto your 2×4 base frame, pushing it firmly against the wall until it sits flush. Because houses are rarely perfectly square, use a spirit level on top of the box. If you notice a gap under the base or if the bubble is off-center, slide thin wooden shims underneath the frame until the unit is perfectly level front-to-back and side-to-side. This ensures your future lid will sit flat and open smoothly without binding.
Once level, drive 3-inch wood screws through the back panel of the box and into the wall studs. You must hit the studs to ensure the seat is weight-bearing; use a stud finder to mark these locations before you begin. Repeat this process on the side panels if they touch a wall, using at least two screws per stud. Securing the box tightly prevents it from shifting or squeaking when you sit down.
Beginner Tip: A common mistake is skipping the pilot hole. Before driving your 3-inch screws, use a drill bit slightly smaller than the screw shank to pre-drill your holes. This prevents the wood from splitting, which is especially important when working near the edges of your panels.
Pro Tip: To find your studs easily, look for the nails or screws holding your baseboards to the wall; they are almost always driven directly into the center of the studs. You can mark these points with painter’s tape for a clean, damage-free guide.
Step 5: Apply Face Frame
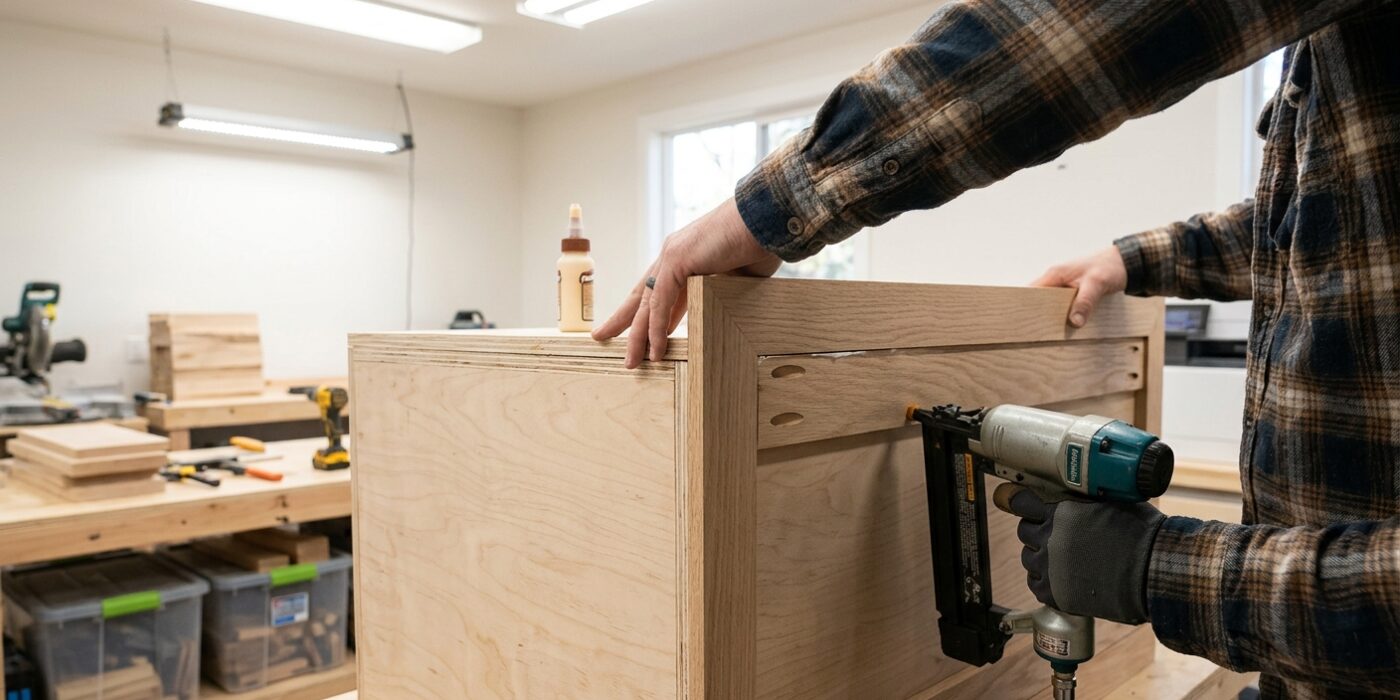
Now it is time to give your window seat that polished, high-end look by attaching the face frame. Think of this frame as the “picture frame” for your storage box; it covers the raw edges of your plywood and provides a sturdy foundation for the front of your piece. Start by cutting your vertical 1×4 boards (stiles) to match the exact height of your base, and your 1×3 horizontal boards (rails) to bridge the gaps between them. Apply a thin bead of wood glue to the back of each piece, then press them firmly against the front of your box, ensuring they are perfectly flush with the top edge. Secure them using 1 1/2-inch finish nails spaced about six inches apart. Filling the small nail holes with wood filler and sanding the surface smooth before you paint will make the transition between boards look seamless.
Beginner Tip: A common mistake is letting the wood glue dry before you have everything perfectly aligned. Take a moment to do a “dry fit” by holding all the pieces in place without glue first. This ensures you won’t be scrambling to fix an crooked board while the glue starts to set.
Alternative Method: If you do not own a nail gun, you can use high-quality wood screws. Simply drill pilot holes first to prevent the wood from splitting, then use a countersink bit so the screw heads sit slightly below the surface, where they can be easily hidden with filler.
Pro Tip: To keep your face frame perfectly aligned with the top of your seat, use a small scrap of plywood as a spacer block. By resting the frame pieces on this block while you nail them in, you ensure a consistent, professional-looking gap every single time.
Step 6: Cut and Hinge the Lid
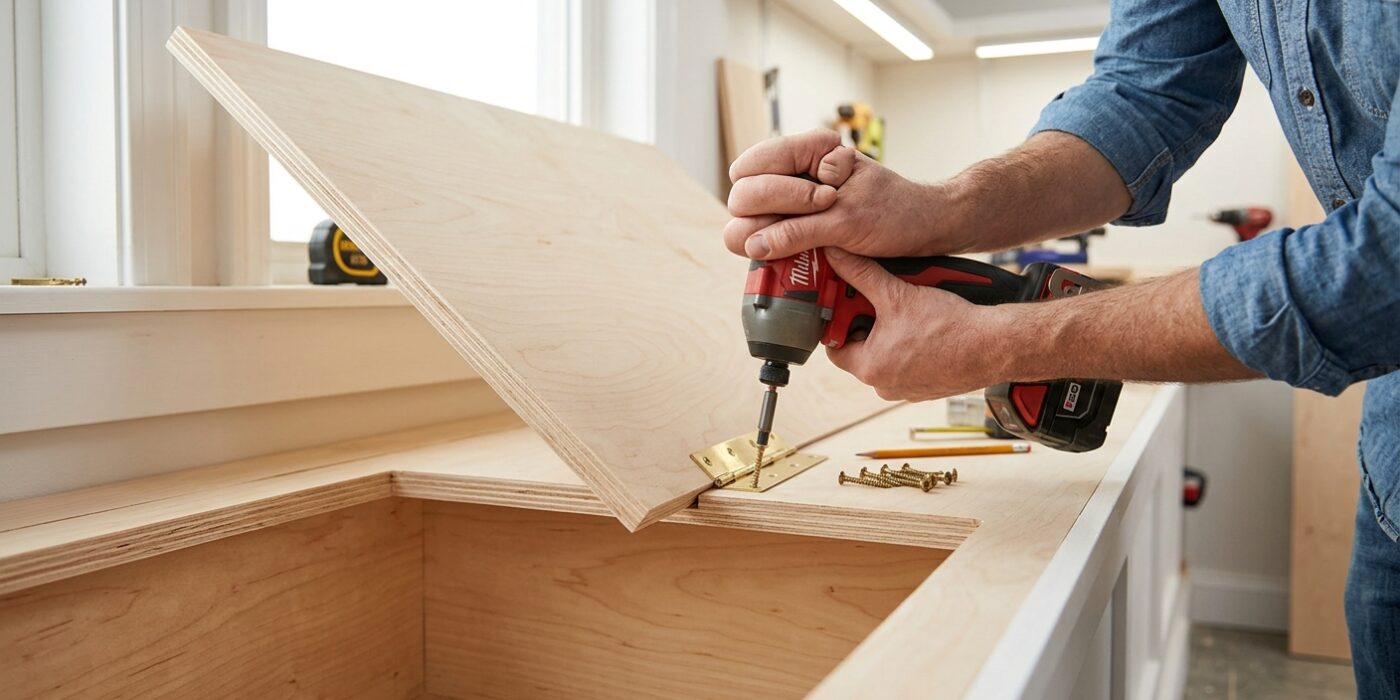
Now that your base is sturdy, it is time to create the top. You will use a 3/4-inch plywood panel for the lid. Measure the inner dimensions of your frame and subtract 1/4-inch from both the length and width; this creates a 1/8-inch gap on all sides so the wood can expand and contract without sticking. Once cut, use a sanding block to smooth the top edges, rounding them off slightly for comfort. A piano hinge is the best choice here because it runs the entire length of the lid, distributing the weight evenly to prevent sagging and ensuring the lid opens smoothly every time.
Beginner Tip: A common mistake is installing the piano hinge too tightly against the frame. Before you screw anything down, place a folded piece of cardboard between the lid and the back frame to create a tiny shim. This prevents the wood from binding against the back wall when you lift the seat.
Alternative Method: If you are nervous about using a router or power sander, simply hand-sand the edges with medium-grit paper. It takes a little extra elbow grease, but it gives you total control over how soft and rounded the corners feel.
Pro Tip: To keep your lid perfectly aligned while attaching the hinge, use masking tape to hold it in the correct position on the frame before driving in your screws. This acts as a third hand, keeping the lid steady so you can focus on driving the screws straight and centered.
Step 7: Add Trim and Caulk
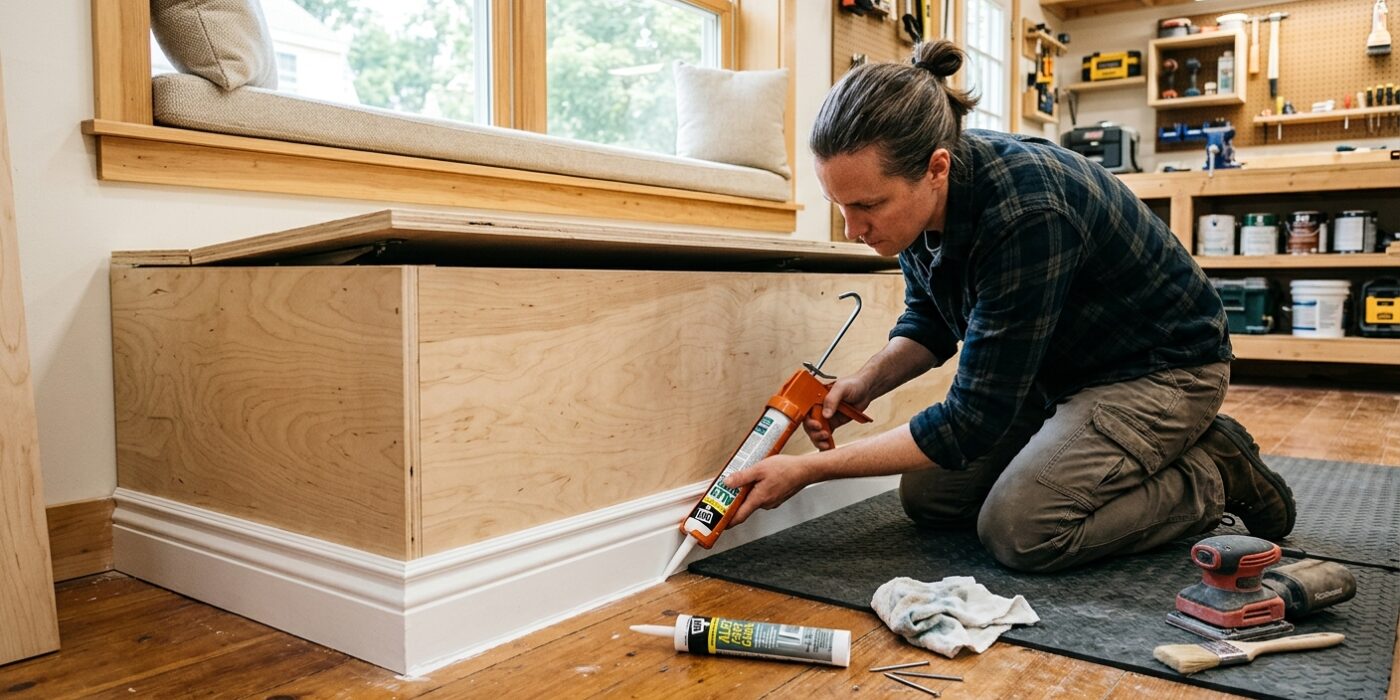
Now that your structure is solid, it is time to make it look like a seamless part of your home. Start by installing baseboard along the bottom edge where your seat meets the floor. Measure the length of your seat front, cut your trim at 90-degree angles to match, and secure it with wood glue and finish nails. Next, apply a thin bead of paintable latex caulk to every seam where the wood meets the wall. This fills unsightly gaps and hides minor imperfections, making the seat look built-in rather than added on. If your seat sits beneath a window, install a piece of casing trim (an apron) to bridge the gap between the window frame and the top of your seat. Finally, sand any rough patches with 220-grit sandpaper, wipe away the dust, and apply two coats of high-quality primer and paint for a professional finish.
Beginner Tip: A common mistake is over-applying caulk. If you squeeze too much out of the tube, it creates a messy, uneven glob that is difficult to paint. Aim for a very thin, consistent bead, then immediately smooth it out with a damp finger or a specialized caulk finishing tool.
Pro Tip: Before you begin painting, apply a strip of painter’s tape to the floor and the wall right next to your trim. This saves you from having to scrub paint off your baseboards or wallpaper later, resulting in perfectly crisp, clean lines.
Step 8: Make the Cushion
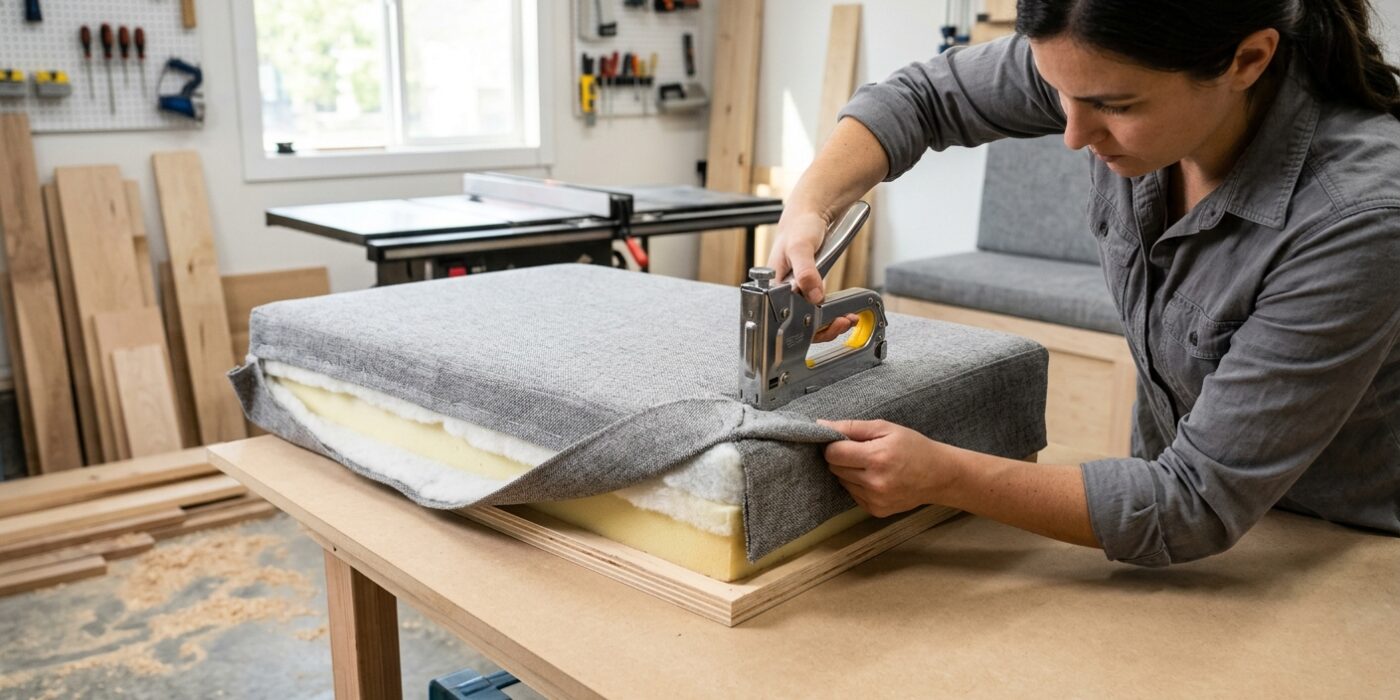
Now it is time to make your window seat truly comfortable. You will start by cutting 3-inch high-density upholstery foam to the exact dimensions of your seat lid. Next, wrap the foam in a layer of 1-inch thick polyester batting; this softens the edges and prevents the fabric from looking bumpy. Pull the batting tightly around the foam and secure it to the underside of the lid with a staple gun. Finally, place your chosen upholstery fabric over the batting, pull it taut, and staple it to a 1/4-inch plywood backer cut to match the lid. Once finished, simply drop this assembly onto your lid. If you measured correctly and it fits snugly, you do not even need to fasten it permanently.
Beginner Tip: A common mistake is pulling the fabric too hard at the corners, which creates bulky folds. Instead, fold the fabric like you are wrapping a present, creating crisp, flat pleats. Take your time at each corner, and use extra staples to hold the folds in place so they remain sharp and professional-looking.
Alternative Method: If you do not have a heavy-duty staple gun or don’t feel comfortable working with upholstery fabric, you can purchase a premade seat cushion in a standard size. Simply build your lid to match the dimensions of the cushion, and use adhesive-backed Velcro strips to keep the store-bought cushion from sliding around.
Pro Tip: To keep your cushion looking fresh, add a “dust cover” to the bottom of your plywood backer. Staple a piece of thin, breathable fabric over your staples and exposed wood. This creates a clean, finished look and prevents the staples from scratching the wooden lid of your storage box.