
Project Shopping List
Pathway lighting makes your home safer after dark, extends the usable hours of your garden, and gives landscaping a polished professional look at night. Low-voltage LED path lights are inexpensive, easy to install without an electrician, and use so little electricity they cost almost nothing to run year-round. This guide walks you through planning, sizing, wiring, and installing a complete pathway system.
Wired Low-Voltage vs. Solar
Solar lights need zero wiring but depend entirely on sun exposure and produce noticeably dimmer output than wired systems. Wired low-voltage lights plug into a transformer at a standard outdoor outlet and deliver consistent brightness every night regardless of weather or cloud cover. For a permanent reliable installation, wired is the right choice.
Planning the Layout
Walk your path at night and mark each planned fixture location with a stake or flag. Most installers space lights 6 to 8 feet apart. Count your flags to get the fixture total. Measure the total wire run from your outdoor outlet to the farthest light. Size your transformer to at least 125 percent of total connected wattage — for example, 10 fixtures at 4 watts each is 40 watts, so buy a 50-watt or 60-watt transformer.
Tools You Will Need
- Rubber mallet
- Wire strippers
- Flat spade or edging tool for burial
- Measuring tape
- Flathead screwdriver
Materials
- Low-voltage LED pathway fixtures per your count
- 12V low-voltage transformer with built-in timer, sized to your load
- Landscape wire, 12-gauge for runs over 50 feet or 14-gauge for shorter
- Wire staples or burial clips
Step 1 — Mount the Transformer
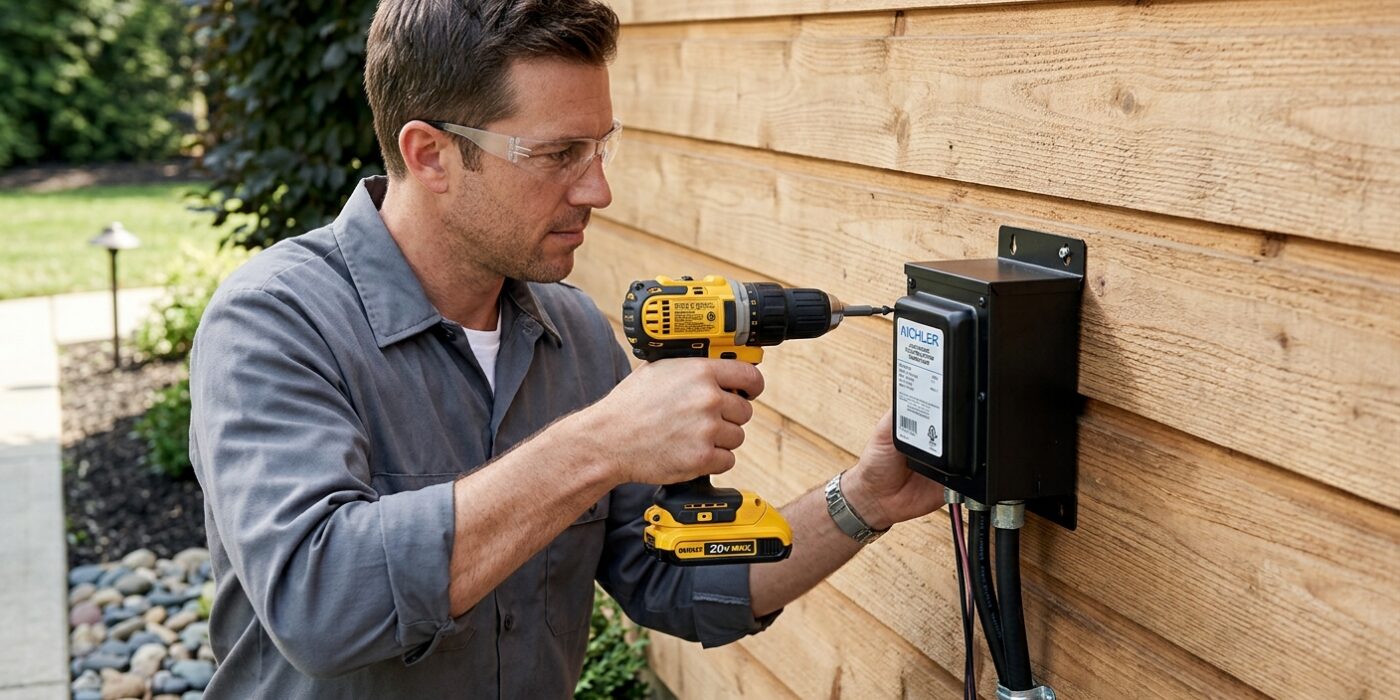
The transformer is the brain of your lighting system, converting high-voltage household electricity into safe, low-voltage power for your path lights. To install it, choose a location on your exterior wall or a sturdy fence post that is within 18 inches of your GFCI (Ground Fault Circuit Interrupter) outlet. This proximity is critical because landscape lighting transformers must be plugged directly into the outlet to prevent fire hazards and connectivity issues; never use an extension cord.
Hold the transformer against your chosen surface at least 12 inches above the ground. This height is essential to keep the unit clear of lawn mowers, weed whackers, and potential water accumulation or splashing during heavy rain. Use a pencil to mark the mounting holes, then secure the unit using the screws provided in your kit. If you are mounting onto brick or masonry, you will need a drill with a masonry bit to create pilot holes first; for wood surfaces, a standard screwdriver or drill will suffice.
Beginner Tip: Avoid mounting your transformer in an area that receives direct, intense afternoon sunlight. While these units are weather-rated, excessive heat can cause them to shut down prematurely as a safety precaution, leaving your garden dark until they cool off.
Pro Tip: To make installation effortless, use a piece of painter’s tape to create a paper template of the mounting holes. Stick the tape onto the transformer to mark the hole locations, then peel it off and stick it onto your wall. This ensures you drill your pilot holes in the exact right spot without having to hold the heavy transformer steady while you mark the wall.
Step 2 — Run the Wire

Now it is time to map out your lighting path. Start by unrolling your low-voltage landscape wire directly from your transformer toward the farthest point of your yard. As you lay the wire along your planned route, ensure you leave at least 12 inches of slack at the transformer end; this extra length acts as a safety buffer for making connections later. To secure the wire, use a flat-head spade to cut a thin, 3 to 4-inch deep slit into the soil along your path’s edge. Gently push the wire into this crevice and step firmly on the grass to close the gap. If your path crosses open lawn areas, use metal burial stakes or heavy-duty landscape clips to pin the wire flat against the ground, ensuring it stays well below the reach of your lawn mower blades.
Beginner Tip: A common mistake is pulling the wire too tight while you work. Always keep the wire slightly loose as you bury it. If you pull it taut, the natural expansion and contraction of the soil during temperature changes can cause the wire to pull away from your fixtures or snap connections over time.
Pro Tip: To make burying the wire significantly faster and easier, wait until after a light rain or a thorough manual watering of the path. Soft, damp soil cuts like butter with a spade, allowing you to create a perfect, narrow trench without needing to dig up large chunks of your lawn.
Step 3 — Connect Fixtures to Wire
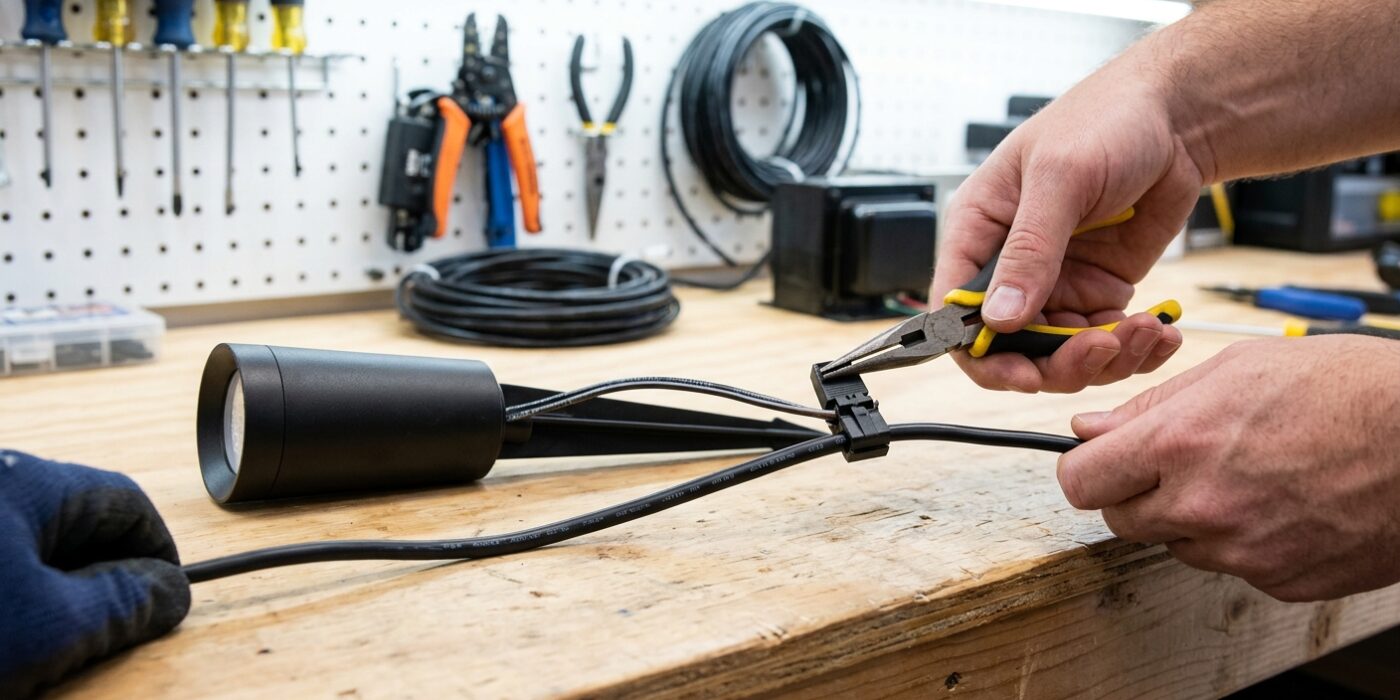
Now it is time to bring your lights to life by connecting them to the main landscape wire. Most modern low-voltage pathway lights feature clever “quick-connect” clips. These are designed to pierce the wire’s rubber coating automatically, so you do not need to strip the wires or use electrical tape.
At each spot where you placed a marker flag, open the plastic connector attached to your light fixture. Lay the main landscape wire flat into the grooved slot of the connector, ensuring it sits perfectly centered. Fold the connector shut and press down firmly until you hear or feel a satisfying “click.” This action drives two small metal pins through the insulation to touch the copper wire inside. After closing it, give the fixture a gentle tug; if it stays put, you have a solid connection. Finally, place the light where you want it and use your rubber mallet to tap the stake into the ground until it is stable and level.
Beginner Tip: Avoid pushing the light stake into the ground using the head of the light fixture itself. Because the top is often made of decorative plastic or metal, it can easily crack under pressure. Always push or tap only the stake portion, which is built to withstand the force.
Pro Tip: Before you finalize the connection, perform a quick “live test” by plugging your main wire into the transformer. If a light fails to turn on, you can adjust the wire placement in the connector immediately without having to dig up the stake again later.
Step 4 — Connect Wire to Transformer
Now that your path lights are positioned, it is time to connect your cable to the transformer. This is the heart of your lighting system. First, use a wire stripper to remove exactly 1 inch of the plastic insulation from each of the two wires at the end of your main cable. You should see copper strands exposed underneath. Next, open the transformer’s terminal block – usually a plastic cover with two small screws inside. Insert one copper wire into each terminal slot. It doesn’t matter which wire goes into which slot because low-voltage landscape lighting uses alternating current, meaning polarity isn’t an issue. Tighten the screws firmly until you cannot pull the wires out with a gentle tug. This ensures a secure connection, preventing flickering lights or power loss later on.
Beginner Tip: A common mistake is leaving too much exposed copper sticking out of the terminal. If the bare wires touch each other, you will create a short circuit that trips your transformer. Ensure the plastic insulation sits right up against the edge of the terminal block, leaving only the copper inside.
Pro Tip: Before you tighten the screws, twist the exposed copper strands together between your fingers to form a neat, solid bundle. This prevents stray “whisker” strands from sticking out, which makes it much easier to slide the wire into the small terminal hole and creates a better electrical connection.
Step 5 — Program Timer and Test
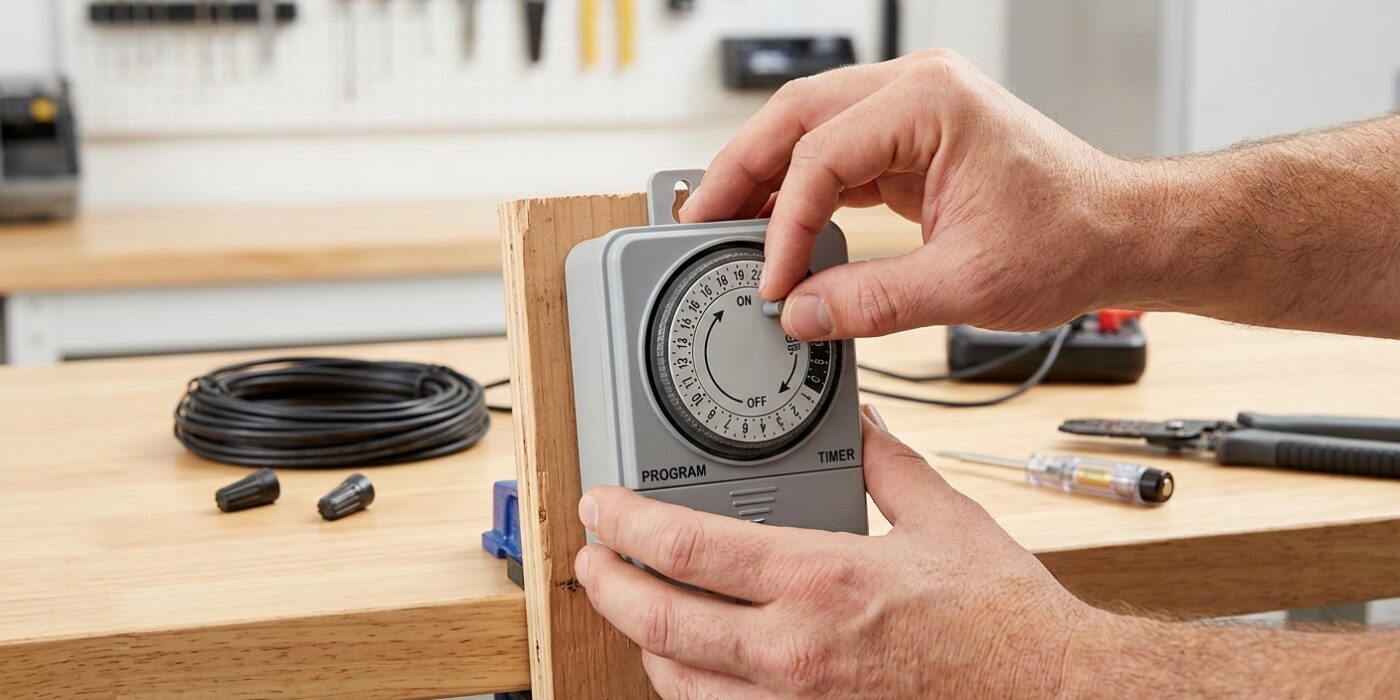
Now that your lights are connected, it is time to bring your path to life. First, plug your transformer into your outdoor GFCI outlet. Set your timer to “Dusk-to-Dawn” or a specific “On at Dusk, Off in X Hours” setting. To test the system, manually toggle the timer to the “On” position during the day. Walk the entire path carefully, checking each fixture. If a light is dim or off, check the quick-connect clip; simply unsnap it, ensure the metal teeth are centered over the wire, and press down firmly until you hear a solid click.
Adjust your fixture heads so the light washes the ground rather than pointing outward. A good rule of thumb is to aim the light at a 45-degree angle toward the path. Stagger your lights on opposite sides of the walkway, spaced about 8 to 10 feet apart, to create a smooth, even glow without jarring dark patches.
Beginner Tip: Do not be discouraged if a light does not turn on immediately. Beginners often worry they have broken the system, but 99 percent of the time, it is simply a connector that didn’t bite deep enough into the wire insulation. A little extra pressure usually solves the problem.
Pro Tip: Wait until it is fully dark outside to perform your final adjustments. During the day, you cannot see where the light beams overlap. Nighttime testing allows you to spot “hot spots” or glare and adjust the heads for a professional, soft-focus look.