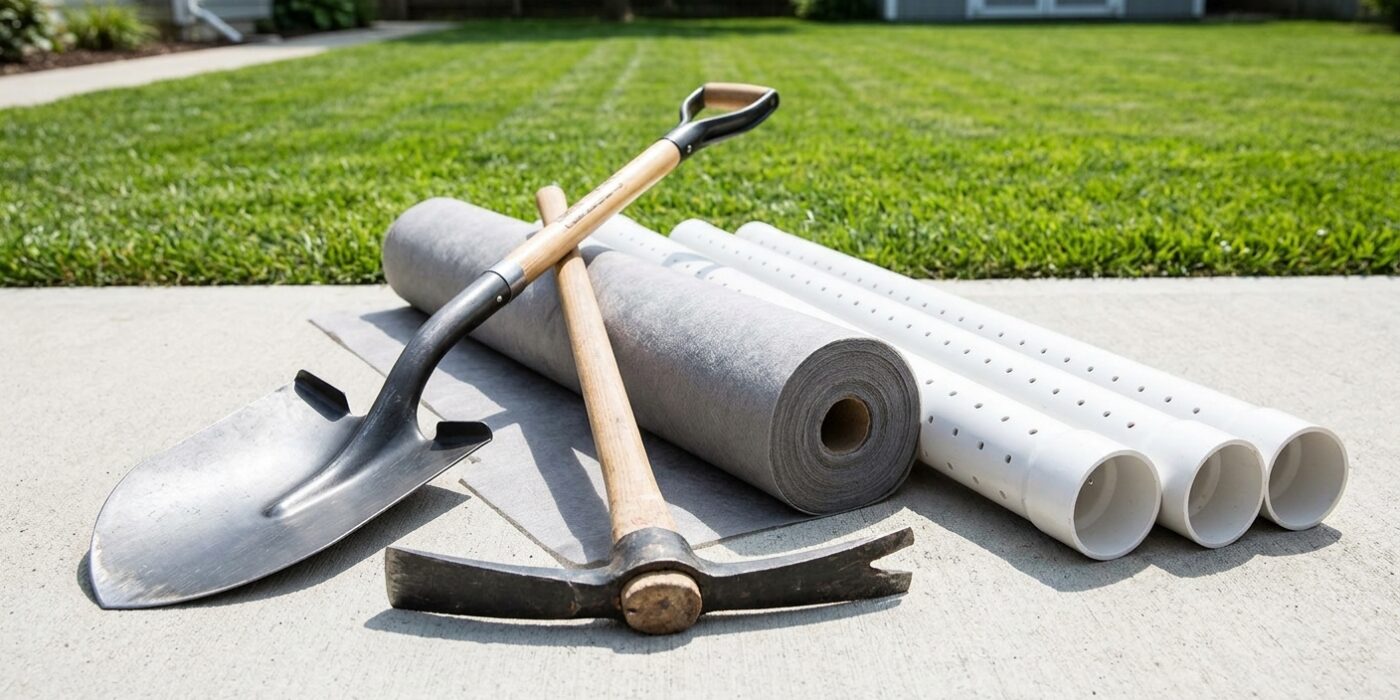
Project Shopping List
A French drain is a gravel-filled trench with a perforated pipe that collects and redirects groundwater and surface runoff away from problem areas. It is the standard solution for a wet basement, a soggy yard, a flooded driveway edge, or water pooling against a foundation. Water enters the trench from the surrounding soil, flows into the perforated pipe, and drains by gravity to a discharge point downhill. This guide covers planning and installing a basic French drain for yard drainage or foundation protection.
A French drain only works where there is a suitable downhill discharge point. Confirm you have a location to discharge – daylight on a slope, a storm drain inlet, or a dry well – before you dig.
What You’ll Need
Tools
- Trenching spade or rented trencher (for longer runs)
- Wheelbarrow
- Plate compactor or hand tamper
- Level and laser level (for checking slope)
- Utility knife
Materials
- 4-inch perforated corrugated pipe (with sock filter pre-installed) or rigid PVC perforated pipe
- Washed drain rock or pea gravel (clean, 3/4-inch stone)
- Landscape fabric (non-woven geotextile)
- Solid end cap and outlet end cap or solid pipe for discharge run
Step 1: Plan the Route and Slope
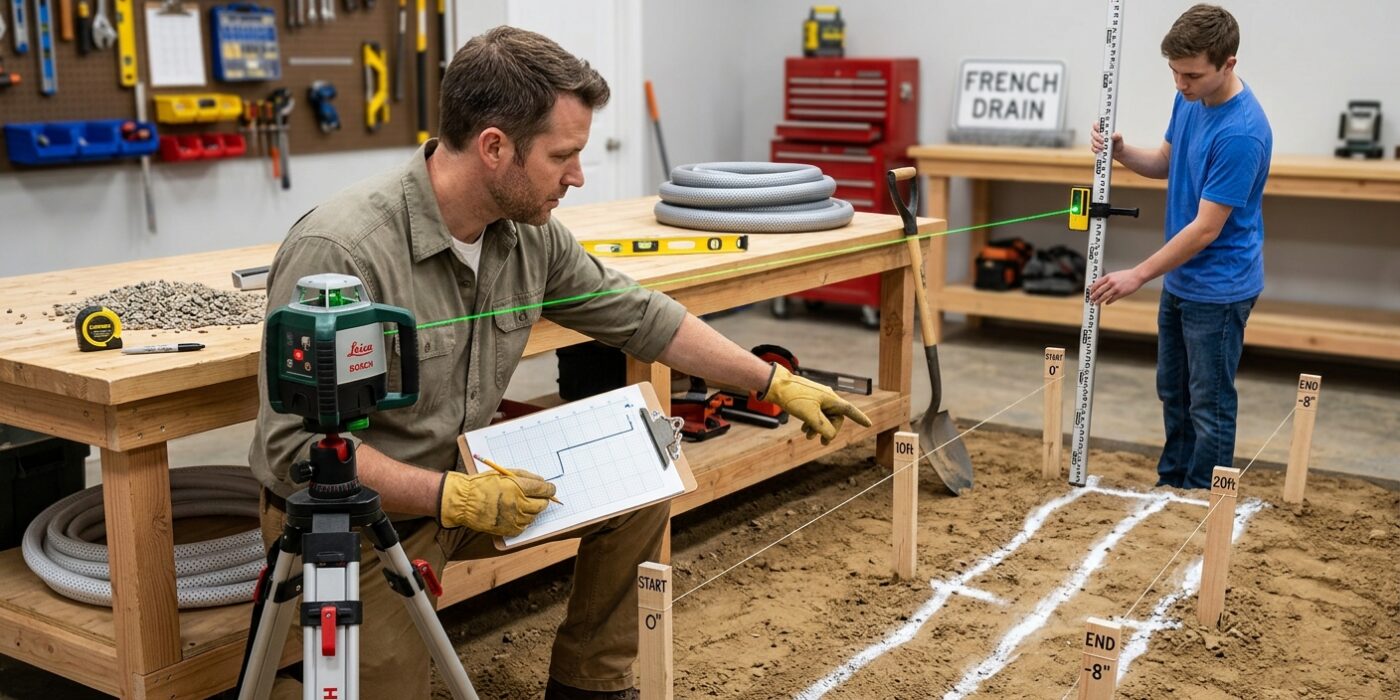
Before you lift a shovel, you need to map your path. Water naturally follows gravity, so your drain must be built on a downward slope to keep water moving away from your home or wet lawn. Aim for a 1 percent grade, which means for every 8 feet of length, the pipe should drop 1 inch in height. If the path is too flat, water will sit stagnant inside the pipe rather than flowing to your discharge point.
Start by marking your route with landscaping flags or spray paint. If you are protecting a foundation, your path should hug the house footing and exit to a lower area, known as “daylighting.” If you are tackling a soggy yard, run the trench perpendicular to the slope to catch groundwater as it moves downhill. Before you break ground, you must call 811 to have your local utility companies mark underground lines; this is a free, essential safety step to avoid hitting gas or electric pipes.
Beginner Tip: A common mistake is failing to account for the depth of the exit point. Make sure your final discharge location is actually lower than where your trench starts, or your drain will just act as a long, underground bathtub that fills up but never empties.
Pro Tip: Use a simple line level – a tiny tool that hangs on a piece of string – to check your slope as you plan. If you stretch a string from the high point to the low point, the level will confirm you have a consistent downward angle before you ever start digging.
Step 2: Dig the Trench
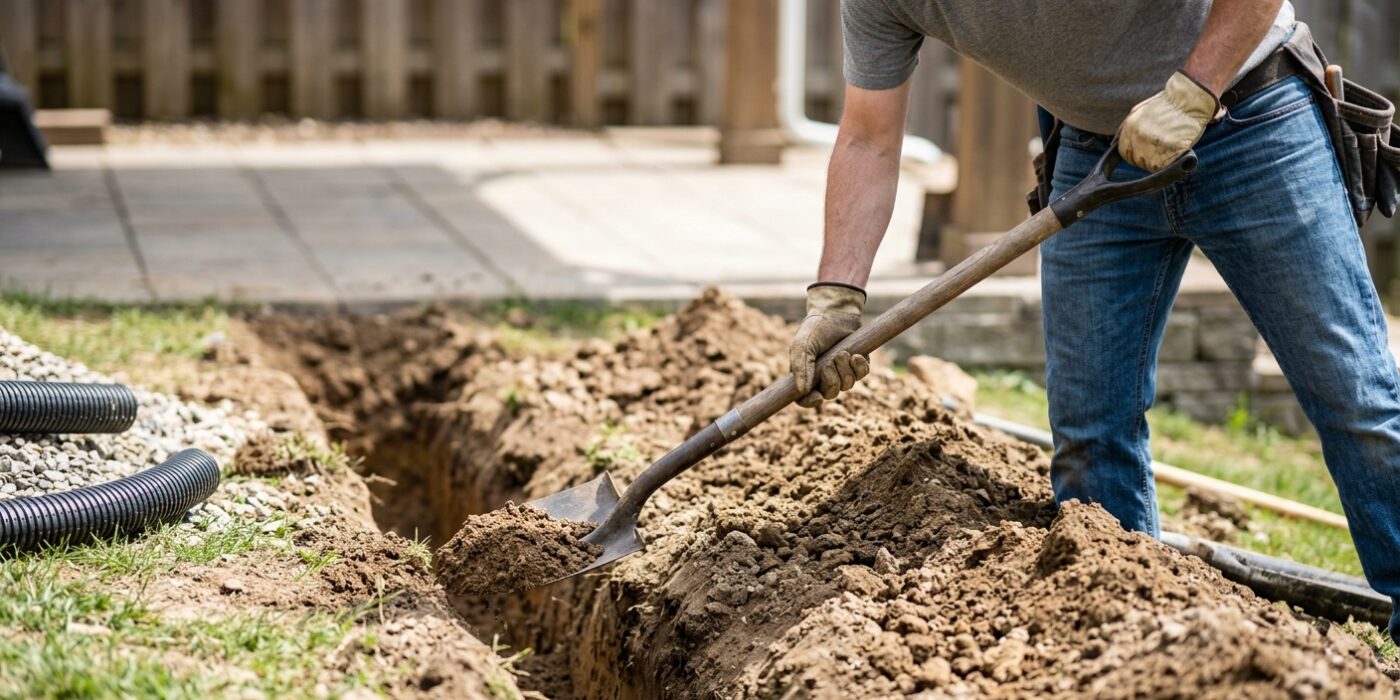
Now it is time to create the path for your drainage system. Using a shovel or a rented trencher, dig a trench that is 12 to 18 inches deep and exactly 12 inches wide. The most important part of this step is the slope: water needs gravity to move, so your trench must decline continuously toward your designated discharge point. You want a 1 percent slope, meaning for every 10 feet of trench, the bottom should drop about 1.2 inches.
To check this, lay a long, straight board along the bottom of the trench and place a carpenter’s level on top of it. If the bubble is just slightly off-center toward your discharge point, you have the perfect angle for consistent flow. Pile the soil you remove on a tarp right next to the trench so it stays tidy and ready for backfilling later.
Beginner Tip: Avoid digging your trench too flat. If the bottom is level or has dips, water will pool inside the pipe instead of flowing away, which defeats the entire purpose of your French drain. Always double-check your slope as you go rather than waiting until the end.
Pro Tip: To keep your trench perfectly straight, run a taut piece of string between two stakes at your start and end points. Use this line as a visual guide while you dig; it prevents your trench from wandering and makes the final job look much more professional.
Step 3: Line the Trench with Fabric
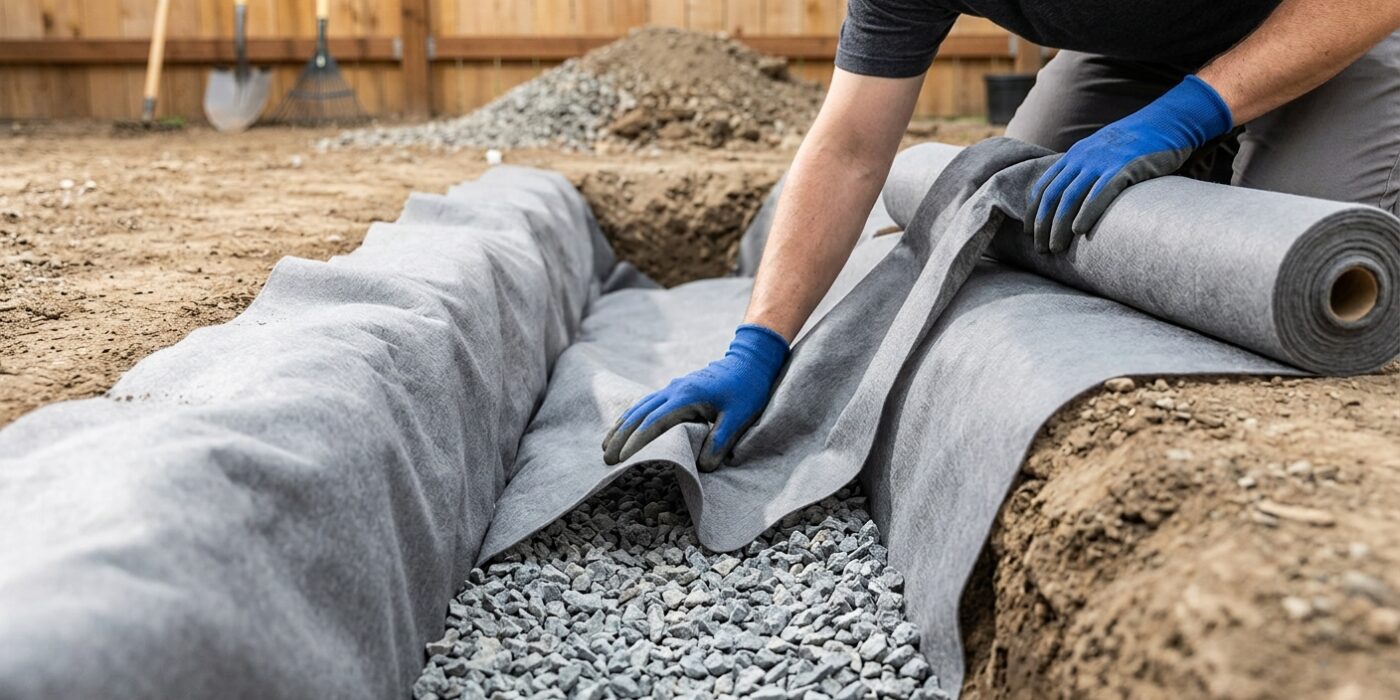
Now that your trench is dug, it is time to line it with non-woven geotextile landscape fabric. This material acts as a protective filter, preventing dirt and silt from migrating into your gravel bed and clogging the system. Without this barrier, your drain will lose its efficiency over time. Lay the fabric along the entire length of the trench, pressing it firmly into the corners and against the sides. Ensure you have at least 12 inches of excess fabric folded over the ground on both sides of the trench; you will fold these flaps over the top of the gravel later to fully wrap the pipe. Be sure to use non-woven fabric specifically rated for drainage. Woven fabrics act more like a solid sheet and will clog much faster, defeating the purpose of your hard work.
Beginner Tip: A common mistake is pulling the fabric too tight across the trench. If you pull it taut, the weight of the gravel will stretch and potentially tear the material. Instead, create a gentle “U” shape by pressing the fabric into the corners so it rests snugly against the soil walls before you add any weight.
Pro Tip: To keep the fabric from blowing away or sliding down while you work, use landscaping staples or simple 6-inch garden spikes to pin the edges of the fabric into the soil at the top of the trench. This hands-free method makes dumping in the gravel much easier and prevents the fabric from shifting out of place.
Step 4: Add Gravel and Set the Pipe
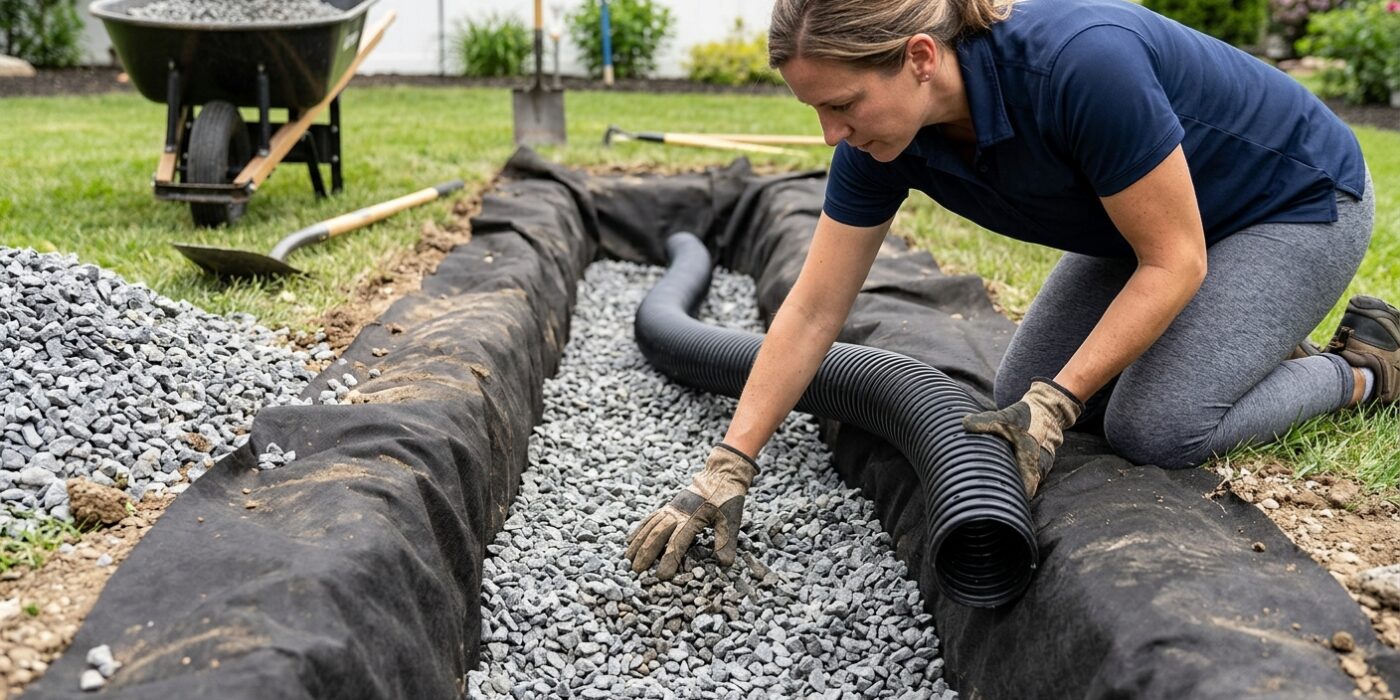
Now that your trench is lined with landscape fabric, it is time to create the foundation for your drainage system. Spread 2 to 3 inches of washed drain rock evenly across the bottom of the trench. This layer acts as a stable bed for your pipe. Use a rake or a shovel to level the rock, then double-check your slope using a long board and a level. You need a “1 percent fall,” which means for every 10 feet of trench, the pipe should drop about 1.2 inches. This gravity-fed slope is essential for keeping water moving toward your discharge point.
Place your perforated pipe onto the gravel with the holes facing downward. By pointing the perforations toward the ground, you prevent silt and debris from settling inside the pipe while still allowing groundwater to seep in from below. Once the pipe is set, connect your segments securely. If your drain outlet terminates above ground, be sure to switch to a piece of solid, non-perforated pipe at the very end to protect your yard from erosion.
Beginner Tip: Avoid the common mistake of skip-checking your slope. It is easy to assume the bottom is level, but even a tiny “hump” in the middle of your trench can cause water to pool and back up rather than drain away.
Pro Tip: Use a string line pulled taut between stakes at each end of the trench to act as a visual guide for your slope. It makes maintaining that consistent 1 percent drop much easier than eyeballing it with a short level.
Step 5: Backfill with Gravel
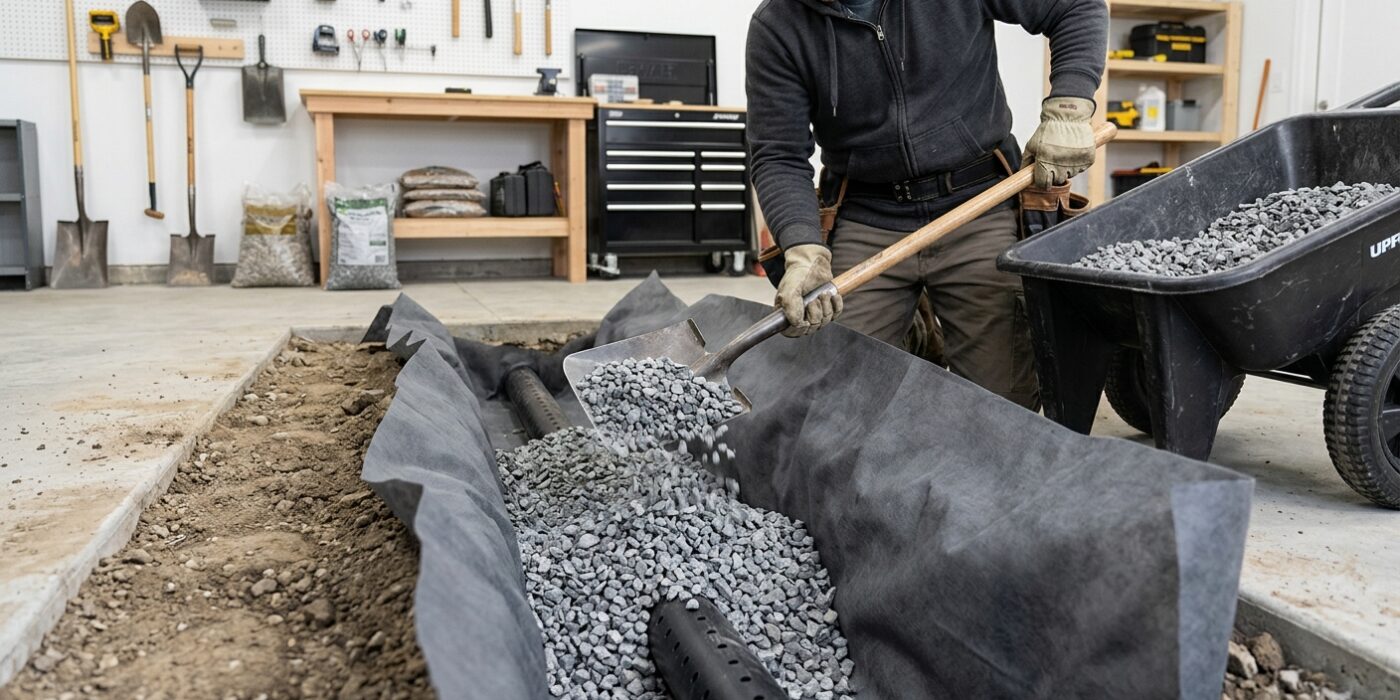
Now that your pipe is securely in place, it is time to create the drainage bed. Carefully pour your washed drain rock into the trench, covering the pipe completely. Continue adding gravel until the fill reaches a level 3 to 4 inches below the surrounding ground surface. The gravel acts as a high-speed highway for water, allowing it to soak through the soil and into the pipe without carrying dirt and debris along with it.
Once the rock is level, take the excess landscape fabric you laid earlier and fold the two sides toward the center. Ensure the fabric overlaps by at least 12 inches to create a secure, dirt-proof seal. This final step is crucial; if you skip it, topsoil will eventually wash down into the rocks and clog your system, turning your hard work into a muddy mess.
Beginner Tip: Avoid dumping the gravel directly from a heavy wheelbarrow onto the pipe. Instead, scoop the rocks in by hand or with a shovel to prevent the weight from crushing or shifting the perforated pipe out of its required alignment.
Pro Tip: To keep the gravel level and prevent it from spilling over the sides of your fabric, use a simple wooden rake or a flat-head shovel to lightly tamp the rock down. Creating a slightly firm surface makes folding the fabric edges much neater and ensures the soil you add later stays right where it belongs.
Step 6: Backfill with Soil and Restore the Surface
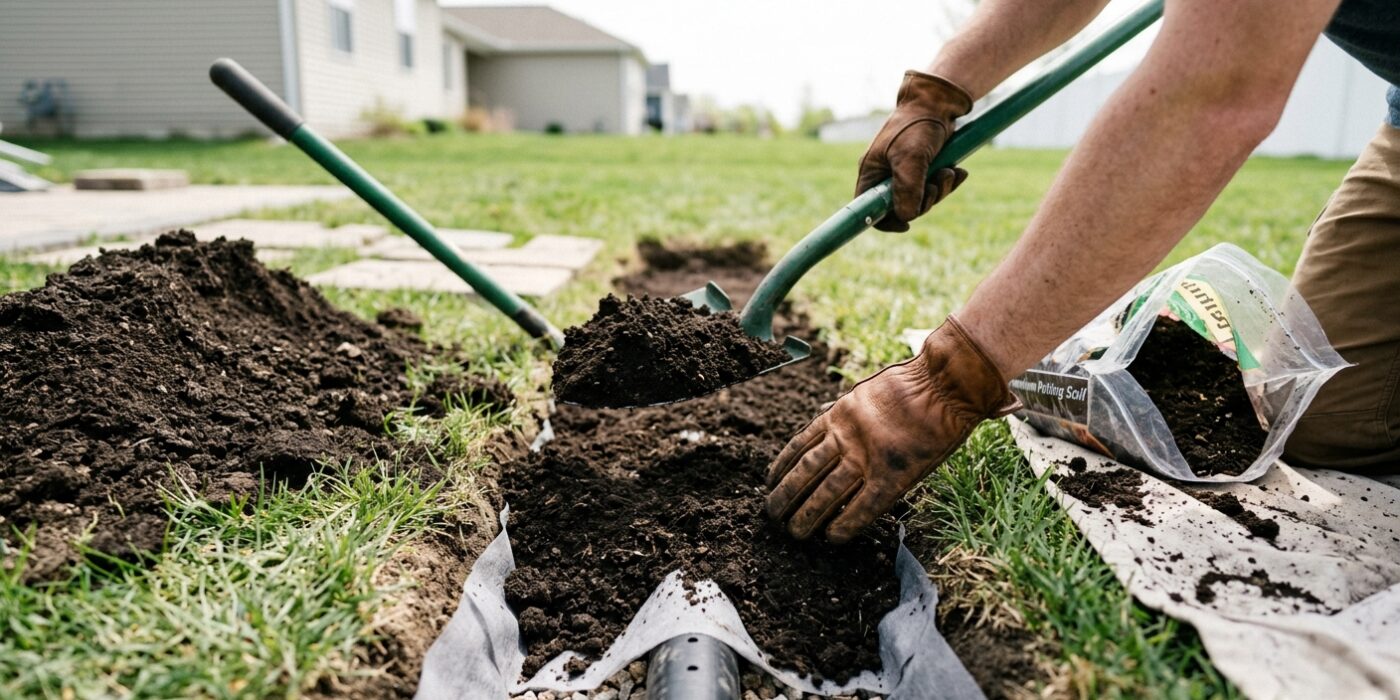
Now that your pipe is protected by gravel and fabric, it is time to put the finishing touches on your yard. Carefully shovel your original topsoil back over the fabric until the trench is filled. Aim to build a slight mound – or “crown” – that sits about 1 to 2 inches higher than the surrounding lawn. This is crucial because loose soil will naturally compress over the next few weeks; crowning prevents a sunken trench from forming later. Once filled, use a garden hose to gently soak the area. This water helps the soil settle into any air gaps. Finally, apply grass seed or lay down a small piece of sod to help the area blend back into your yard.
Beginner Tip: Avoid over-compacting the soil immediately after filling. While it is tempting to jump on the dirt to pack it down hard, doing so can shift your underlying pipe or damage the filter fabric. Simply let the water do the work of settling the dirt for you; it is gentler and much more effective.
Pro Tip: Before you finish, place a small, decorative stone or a permanent garden stake near your discharge outlet. You will be glad you did when the time comes to inspect the area or clear away debris, as it is surprisingly easy to lose track of exactly where the pipe ends once the grass grows back in.