Project Shopping List
You repainted a room two years ago. Now there’s a scuff from moving furniture, a small patch where a picture hook left a mark, or a door-frame area that’s looking dull from daily contact. You want to touch it up without repainting the whole wall – but every time you try, the touched-up spot is visible as a slightly different shade or sheen even when the paint is the same color. This is the touch-up problem, and it happens to almost everyone.
This guide explains why touch-ups are difficult, how to match color and sheen correctly, and the blending technique that gives you the best possible invisible repair.
What You’ll Need
Tools
- Small artist’s brush or 2-inch chip brush for spot application
- 4-inch foam roller for larger areas
- Fine-grit sanding sponge (220-grit)
- Good lighting (natural daylight is best for color matching)
Materials
- Original paint from the same can if available (stir thoroughly)
- Color-matched paint from the hardware store if original isn’t available
- Small chip of old paint for color matching
- Primer for bare spots
- Floetrol (1–2 tablespoons per cup of paint) to extend open time for blending
Step-by-Step Instructions
Step 1: Understand Why Touch-Ups Look Different
Paint changes over time. It oxidizes slightly, it fades, it patinas. Even the exact same paint from the same can applied to the same wall two years later will look slightly different because the original paint has aged and the new application is fresh. Additionally, paint sheen changes slightly as it ages. These differences are most visible in satin and semi-gloss finishes under angled light. Understanding this means your goal isn’t a perfect invisible touch-up (which may be impossible) – it’s a blend that’s close enough to be invisible from normal viewing distances.
Step 2: Locate Original Paint
Check the garage, basement, or utility closet for the original can. Professional painters write the room name and date on the lid. If you find it, stir it very thoroughly – the pigment settles over months and an unstirred can will apply at the wrong color. Stir for at least 2 minutes with a stir stick, scraping the bottom, before using. If the paint has separated into a liquid layer on top and thick paste below, stir aggressively until completely uniform.
Step 3: Match Color at the Hardware Store
If the original paint is gone, cut a small chip of the existing paint from an inconspicuous area – behind a door, inside a closet, low behind a piece of furniture. Cut through to the bare wall (1 inch square chip) so the store’s spectrophotometer can read just the paint layer you want to match, not a reflection of the primer below. Most modern color-matching machines are very accurate. Ask for the match in the same brand, sheen level, and base type as the original.
Step 4: Prep the Area to Be Touched Up
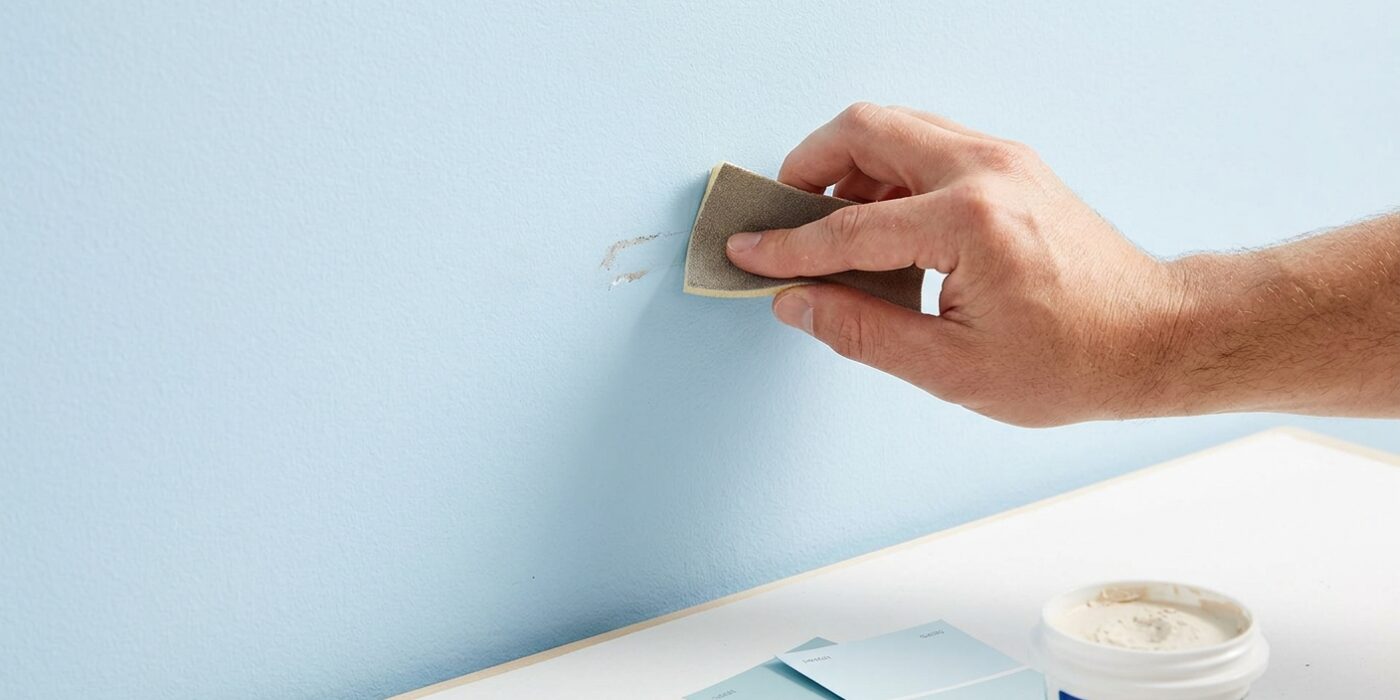
Clean the spot with a slightly damp cloth – fresh paint applied over dust or grease won’t bond. If the damaged area has bare drywall showing, spot-prime it first. Lightly sand any rough edges around the damaged area with 220-grit – a smooth surface gives better blending results. Let everything dry completely before applying touch-up paint.
Step 5: Add Floetrol and Let the Touch-Up Paint Age
New paint applies slightly differently than aged paint because the binder is fresher and the film forms differently. Adding 1 to 2 tablespoons of Floetrol per cup of touch-up paint slows the drying and improves blending. Some painters also let touch-up paint sit in an open cup for 30 minutes before using it – this allows volatile solvents to escape, making the paint slightly closer in character to aged paint on the wall. These tricks help but don’t eliminate the age-difference problem entirely.
Step 6: Apply the Minimum Amount Possible
The most common touch-up mistake is applying too much paint to too large an area. For a small scuff, use a small brush and apply paint only to the actual damaged spot – not in a 6-inch circle around it. A smaller, thinner patch blends better than a larger thick one. Feather the edges of the touch-up with a nearly dry brush to blend into the surrounding paint rather than creating a hard edge.
Step 7: Blend With a Dry Roller
After applying touch-up paint with a brush, immediately go over the area with a barely-loaded small foam roller – roll from the dry surrounding wall onto the wet touch-up area. This stipples the brush application to match the roller texture of the surrounding wall (if the original coat was rolled). A brush-applied touch-up on a rolled wall has a different surface texture than the surrounding paint, which creates a sheen difference visible under light. The dry roller trick is what experienced painters use to reduce this difference.
Step 8: Evaluate After Full Drying
Don’t evaluate touch-up results while the paint is wet – wet paint always looks different than dry. Wait for full cure (2 to 4 hours for latex) and then look at the repair under normal lighting conditions and raking light. If it’s visible, apply a second thin touch-up pass using the same technique. If it’s still very visible after two passes, you may need to paint the entire wall from corner to corner – sometimes the wall paint has aged enough that spot-touch-up simply can’t close the gap.
Pro Tips
- Always save a small amount of paint from every room in a clearly labeled quart container – this is the single best thing you can do to make future touch-ups easier.
- On flat or matte finish walls, touch-ups are much easier because there’s no sheen to match. Eggshell and higher sheens are much harder to touch up invisibly.
- If you’re touching up multiple areas in a room, connect them with a full wall repaint rather than multiple spot patches – a repainted wall looks far better than five visible touch-up patches.
- In bright sunlight, color matching looks very different than under incandescent light. Evaluate your color match under the type of light the room normally uses in the evening.
Frequently Asked Questions
Why does my touch-up look shiny even though I used the same paint?
The original paint has matured and its sheen has dulled slightly with age. The fresh touch-up application is at full sheen. This difference is most visible in satin and semi-gloss. Adding Floetrol and using as thin a coat as possible helps. On walls with significant age, consider repainting the entire wall rather than trying to match the aged sheen.
Can I touch up latex paint with oil-based paint or vice versa?
No. The two systems are chemically incompatible – oil-based paint over latex can peel, and latex over oil needs at minimum a bonding primer first and will still likely look different. Always match the existing paint type (latex with latex, oil with oil).
How do I find the paint color if there’s no can?
Cut a chip from an inconspicuous area and take it to any paint store with a spectrophotometer. Most stores can read the chip and give you the closest match in their color system for a few dollars. You can also search for the color online using photos taken in good natural light – if the house is less than 10 years old, the builder’s color choices may be documented online or in the HOA records.