Project Shopping List
Peeling paint on walls and ceilings is a symptom, not just a surface problem. Paint peels because something caused adhesion failure – moisture infiltration, incompatible paint layers, painting over a contaminated surface, or painting in wrong conditions. Simply scraping and repainting without addressing the underlying cause produces a repeat failure within months.
What You’ll Need
Tools
- Putty knife and paint scraper
- Random orbital sander
- 80-grit and 120-grit sandpaper
- Paintbrush and roller
- Flashlight for inspecting for moisture
Materials
- Stain-blocking primer (Zinsser BIN or oil-based)
- Joint compound or spackling
- Matching paint
- Paint conditioner (Floetrol for latex)
Step 1: Find the Cause Before Touching the Peeling Paint
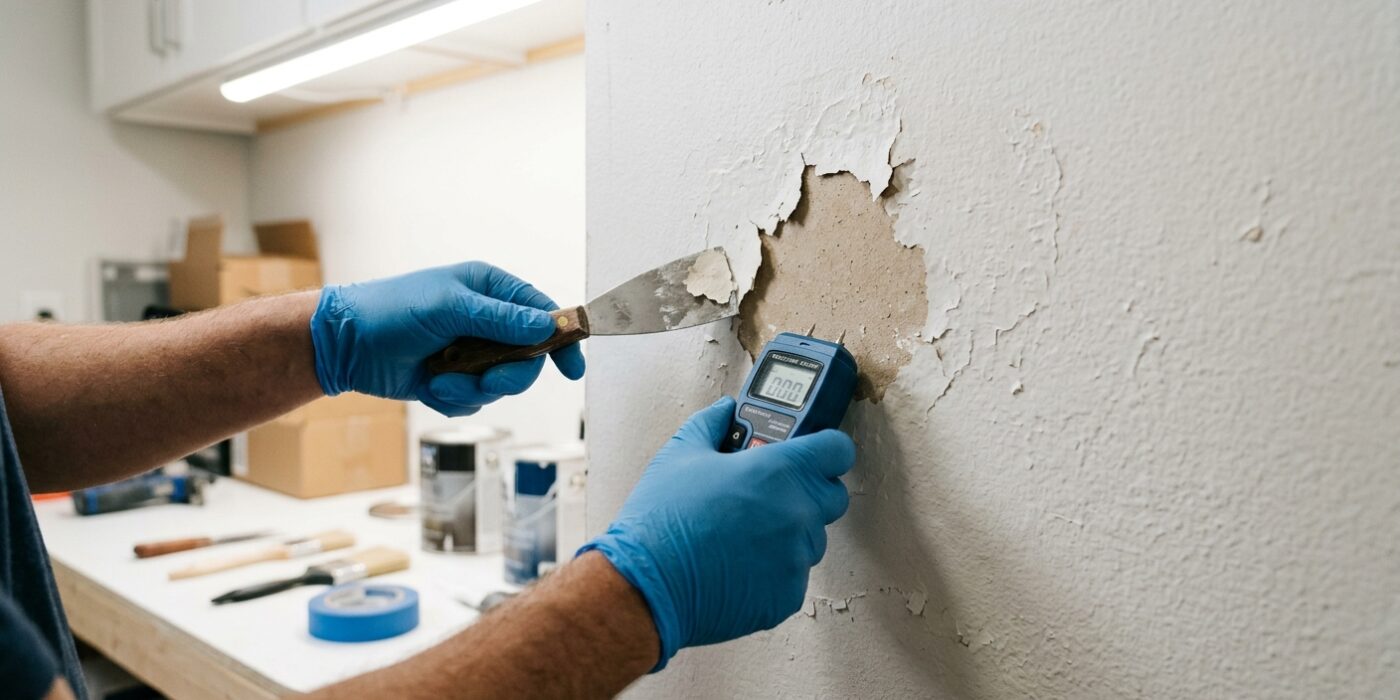
Before you pick up a scraper, you must play detective. If you simply paint over peeling areas without fixing the underlying issue, the new paint will flake off within months. Start by turning off the lights in the room. Hold your flashlight at a very low, 10-to-15-degree angle against the wall or ceiling. This is called “raking light,” and it highlights hidden imperfections, bumps, and moisture bubbles that are invisible in standard lighting.
Observe the location of the damage carefully. If you see peeling near windows or exterior corners, moisture is likely seeping in from the outside. If the peeling is in a bathroom or kitchen, your culprit is usually high humidity combined with poor ventilation or a flat paint that wasn’t designed for damp environments. If you see random patches on an old wall, it often means the previous owner painted over an oil-based layer with water-based paint, causing the new finish to lose its grip. You must resolve these issues – whether by fixing a leak, installing a fan, or using a specialized bonding primer – before moving forward.
Beginner Tip: Avoid the urge to immediately start scraping or sanding the moment you spot a loose piece of paint. If the underlying cause is moisture, you might accidentally spread mold spores or damage the drywall backing, which makes your repair job much larger than it needs to be.
Pro Tip: If you are unsure if moisture is still active, tape a piece of clear plastic wrap over the peeling area with painter’s tape for 24 hours. If moisture droplets form on the underside of the plastic, you know the wall is still damp and needs more time to dry before you begin repairs.
Step 2: Fix Moisture Problems First
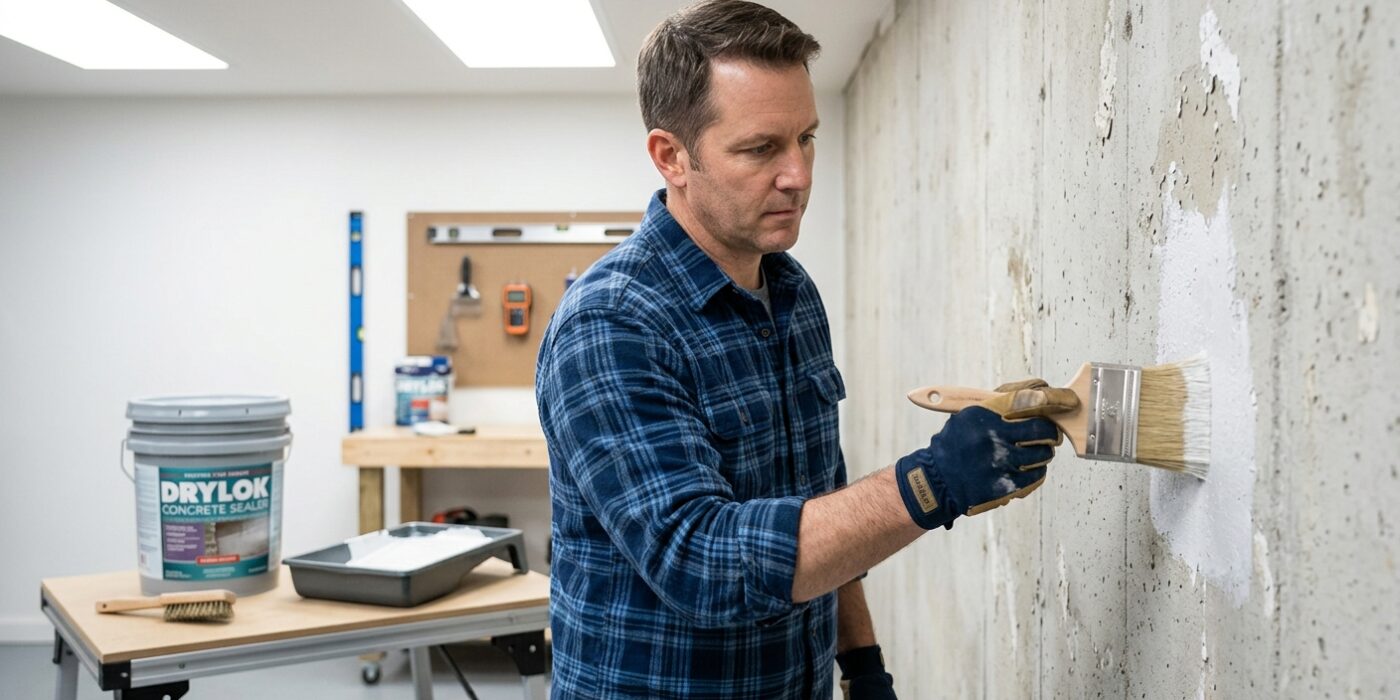
Before you even think about picking up a paintbrush, we need to address the root cause of your peeling paint. Think of paint as a bandage; if you put it over an open wound – in this case, moisture – it simply won’t stick. If you skip this step, the new paint will bubble and peel again within a year, wasting your hard work. First, inspect the area carefully. Is there a watermark? If the spot feels damp to the touch, you likely have an active leak from a roof, plumbing line, or condensation buildup. Trace the moisture back to its origin. If it is a roof or plumbing issue, call a professional to stop the water flow. If the culprit is bathroom steam, you may need to install a better exhaust fan or simply keep the door open during showers. Once you stop the moisture, you must let the area breathe. Do not rush this; wait at least one to two full weeks to ensure the wood or drywall is completely dry before moving forward.
Beginner Tip: Never paint over damp surfaces just because they feel dry to the touch on the surface. Moisture often hides deep inside the drywall or wood, and painting over it traps that water inside, which will inevitably lead to mold and further peeling.
Pro Tip: Use a simple moisture meter, available at any hardware store for under twenty dollars. It gives you a digital reading, taking the guesswork out of whether your wall is actually dry enough to paint.
Step 3: Scrape All Loose Paint
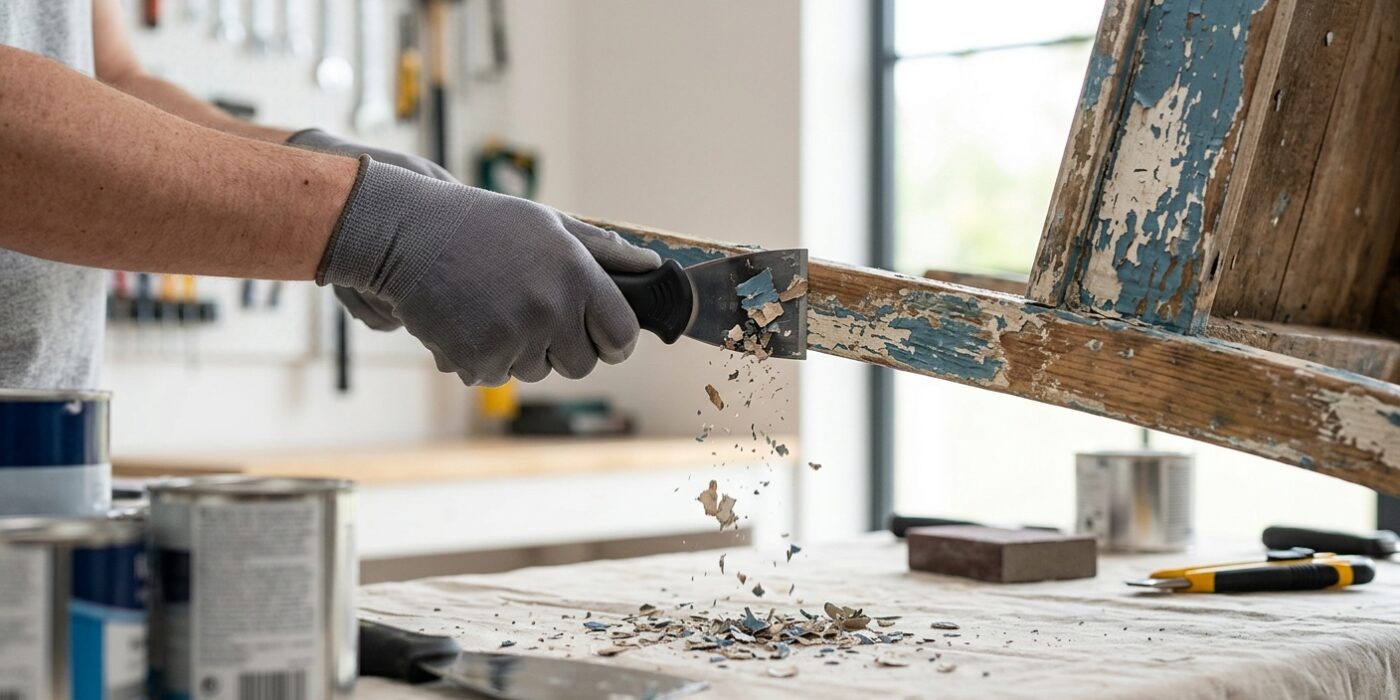
Now it is time to clear away the old, damaged surface so your new paint has a fresh start. Take your stiff putty knife or paint scraper and hold it at roughly a 45-degree angle against the surface. Press firmly and slide the blade underneath any peeling, bubbling, or flaking sections. The goal is to reach a solid base where the paint is firmly bonded to the wall or wood beneath. If a section lifts or curls up when you test it with your blade, it must go – saving it will only cause your new paint to peel prematurely. Work methodically across your workspace, and be sure to scrape about three to four inches into the stable, healthy-looking paint area surrounding the damage to ensure you have removed all weakened edges.
Beginner Tip: Avoid digging the corners of your metal scraper into the surface, as this will gouge the wood or drywall underneath. Keep the blade flat against the surface and use smooth, controlled motions rather than trying to gouge the paint off aggressively.
Pro Tip: If the paint is stubborn and refuses to budge, try using a hairdryer on a low-heat setting to gently warm the area for about 30 seconds. The heat softens the old paint, making it much easier to glide your scraper underneath and lift the flakes away without damaging the surface below.
Step 4: Sand the Edges and Surface
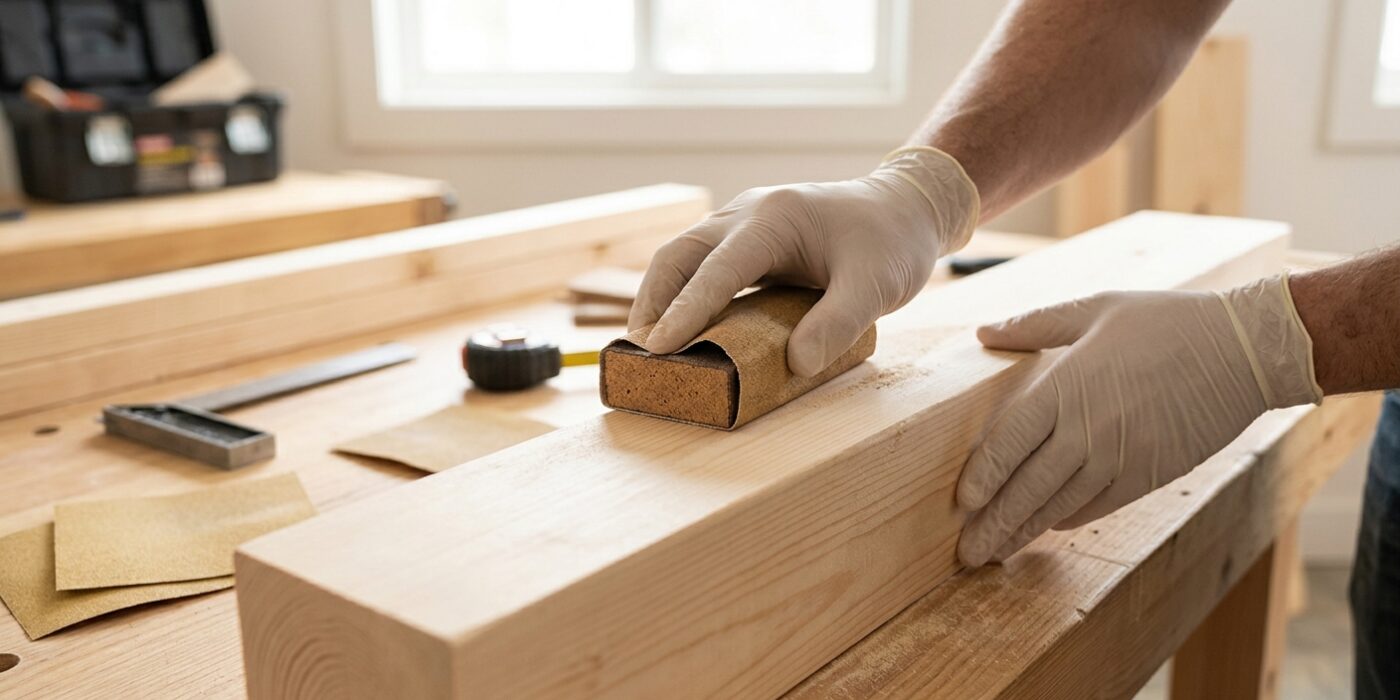
Now that you have scraped away the loose material, you will notice a ridge where the old paint meets the bare surface. This is called a “transition edge.” If you paint directly over this, the bump will be clearly visible in your final finish. To fix this, fold a piece of 80-grit sandpaper and use firm, circular pressure to smooth the ridge. Your goal is to “feather” the edge – keep sanding until the transition is so gradual that when you drag your fingernail across it, you cannot feel any bump at all. Once the edge is smooth, switch to a piece of 120-grit sandpaper and lightly scuff the entire area. This creates tiny microscopic scratches that give your new paint something to grip onto, ensuring a long-lasting finish. When you are finished, use a shop vacuum or a dry, clean cloth to remove every trace of dust.
Beginner Tip: Avoid pressing too hard with the 80-grit paper, as you might accidentally gouge the wood surface. Let the grit of the paper do the work for you by moving your hand in small, steady circles rather than pressing down with all your strength.
Pro Tip: Wrap your sandpaper around a small block of scrap wood or a kitchen sponge. This keeps the sanding surface flat and even, preventing your fingers from creating uneven divots in the wood while you work.
Step 5: Apply Stain-Blocking Primer
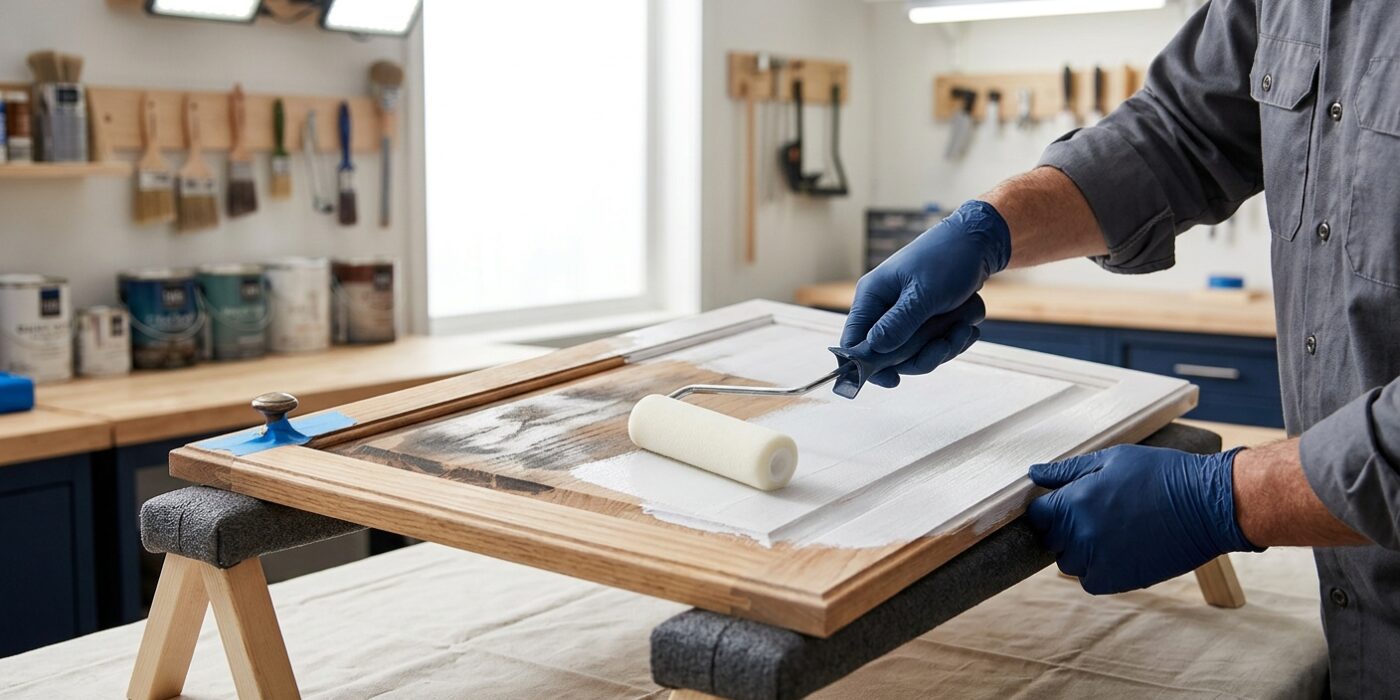
Now it is time to tackle those stubborn spots. Before you patch any holes or apply a fresh coat of paint, you must address water marks, nicotine, or grease stains using a dedicated stain-blocking primer, such as Zinsser BIN shellac-based or Zinsser oil-based Cover Stain. If you skip this, these stains will “ghost” right through your new paint, no matter how many layers you apply. Dip a small, two-inch angled brush into the primer and dab it directly onto the discolored areas. You do not need to cover the entire wall or ceiling; simply apply a thin, even layer that extends about an inch beyond the edges of the stain to ensure full coverage.
Beginner Tip: Avoid the temptation to scrub the stain away with soap and water first. Moisture can actually push some stains deeper into the surface or cause the drywall paper to swell, making the texture uneven. Let the surface stay dry and let the primer do the heavy lifting for you.
Pro Tip: If you are working on a ceiling, prevent primer drips from falling onto your face or floor by placing a small piece of cardboard or a paper plate around the base of the brush handle. This acts as a catch-all for any excess liquid, keeping your workspace clean and allowing you to focus on getting that perfect, thin coat of primer on the spot.
Step 6: Patch and Re-Prime
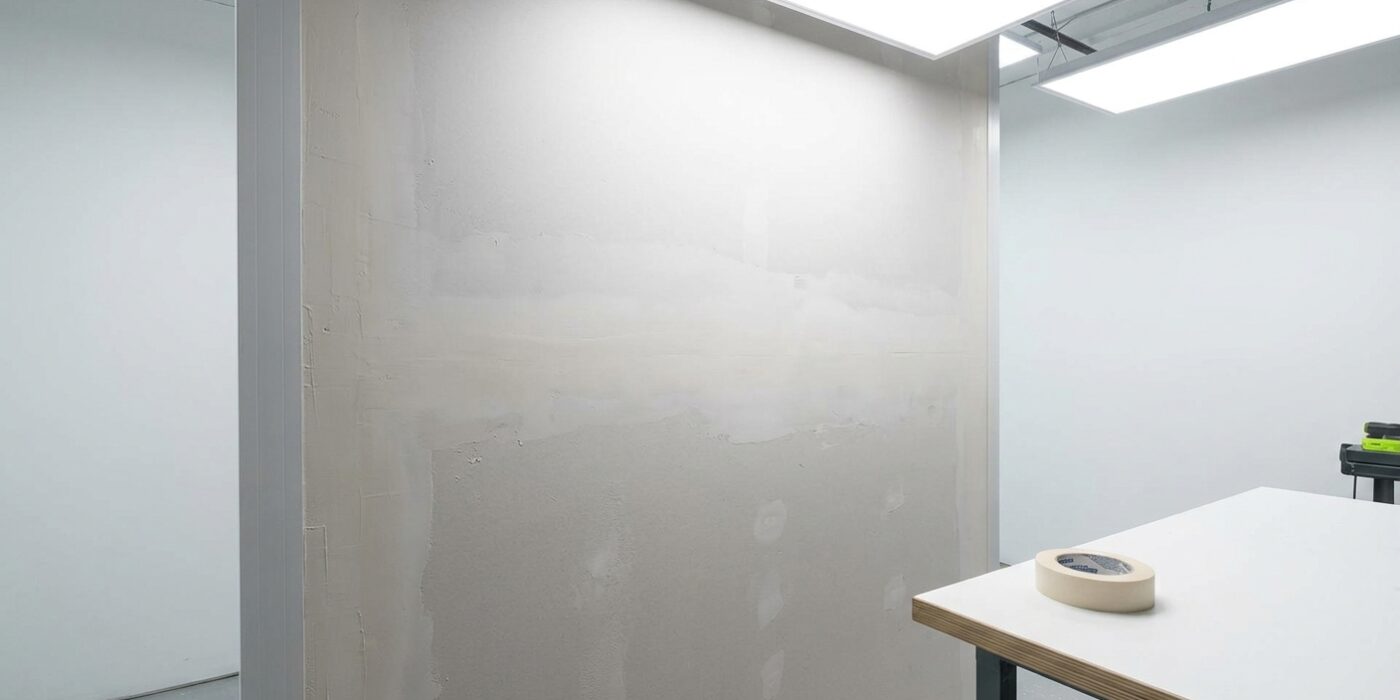
Now that your surface is prepped, it is time to make those imperfections disappear. Using a small putty knife, press a small amount of joint compound or spackling into any holes or rough patches. The goal is to fill the void just slightly above the surface level. Use long, smooth strokes to “feather” the edges, which means thinning out the compound as you move outward until it blends seamlessly into the surrounding wall. Once the compound is bone-dry – usually indicated by a change from a dull gray to a bright white – use a 120-grit sanding sponge to gently buff the area until it feels perfectly level with the wall. Wipe away all dust with a damp cloth, then apply a thin coat of primer. Priming is essential because it seals the porous compound, ensuring your final paint color looks consistent and professional.
Beginner Tip: Avoid the urge to over-apply the compound. It is much easier to add a second thin layer later than it is to sand away a giant, uneven glob of dried paste. Start with less than you think you need.
Pro Tip: Before you begin sanding, shine a flashlight or your phone light across the surface at a very low angle. This creates shadows that instantly highlight any high spots or uneven areas you might have missed by touch alone, ensuring your repair is truly invisible.
Step 7: Apply Finish Coat
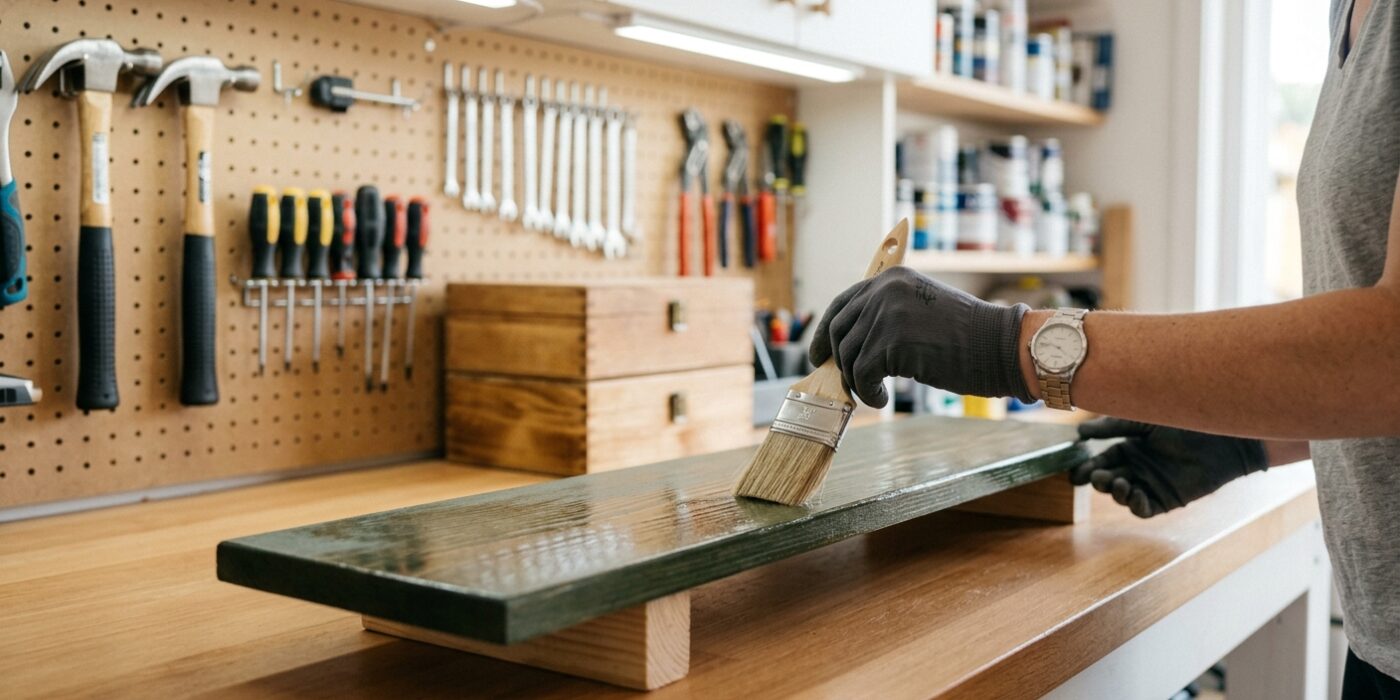
Now that your repair is smooth and primed, it is time to blend it into the wall. Pour a small amount of paint into your tray and use a 3/8-inch nap roller for a professional, smooth finish. Apply the paint to the center of your patch first, then use light pressure to roll outward into the surrounding area. To achieve a seamless look, do not just paint the patch; roll the entire section of the wall from corner to corner. This prevents a “halo” effect where the new paint sits higher than the old, or where the sheen looks inconsistent under your home’s lighting.
Beginner Tip: A common mistake is applying too much paint at once. If you see paint dripping or pooling, you are loading the roller too heavily. Gently run your roller over the ridged portion of the paint tray before applying it to the wall to remove excess liquid, ensuring a thin, even coat that won’t leave textured streaks.
Pro Tip: If you are struggling to make the paint sit perfectly flat, mix in a small amount of an additive called Floetrol. This product slows the drying process, which allows the paint to “level out” on its own, effectively erasing those pesky roller marks and brush strokes before they have a chance to harden.
FAQ: Should I sand between coats? Yes, if the paint feels gritty or shows bumps, lightly rub it with a fine-grit sanding sponge, wipe away the dust with a damp cloth, and apply your final coat for a flawless, factory-like result.