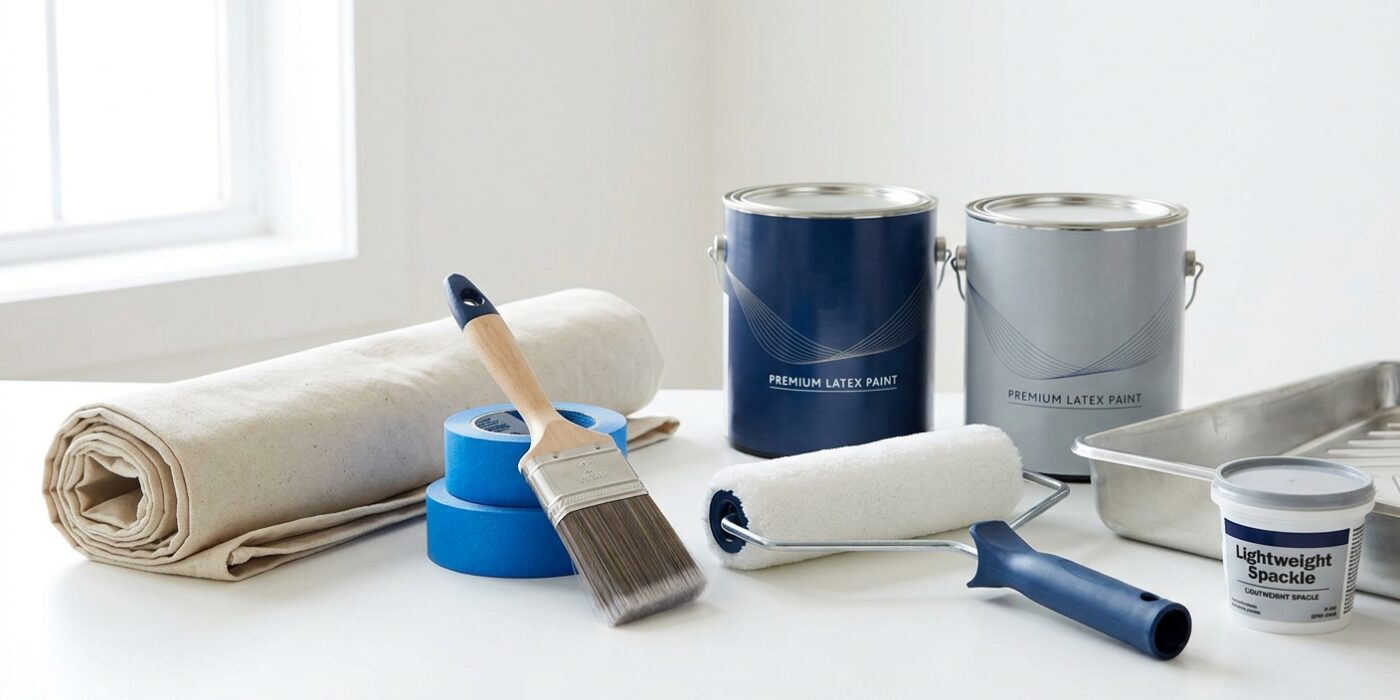
Project Shopping List
A two-tone paint scheme — one color on three walls with a contrasting accent on the fourth — is one of the most popular and effective ways to add visual interest to a room without major renovation. Done well, it makes a room feel larger, draws attention to a focal point, and creates depth. Done poorly, it looks cheap or arbitrary. This guide covers the planning, sequence, and technique.
Choosing the Colors
The most successful two-tone rooms use colors from the same paint family or palette. The accent wall color should be two to three shades darker than the main wall color. A neutral main color (white, warm beige, light grey) with a deeply saturated accent (navy, forest green, charcoal, terracotta) is a classic combination that works in many room styles. Test the accent color as a large sample on the actual wall before committing — deep, saturated colors look very different on a large wall than on a small chip.
Choosing the Accent Wall
The right accent wall is usually: the wall behind the primary furniture piece (headboard in a bedroom, sofa in a living room), the wall opposite the entrance so it is the first thing you see when entering, or the wall with the architectural focal point (fireplace, built-ins). Avoid choosing an accent wall with many windows or doors — the accent color loses impact when broken up by many openings.
Step 1: Paint the Main Walls First
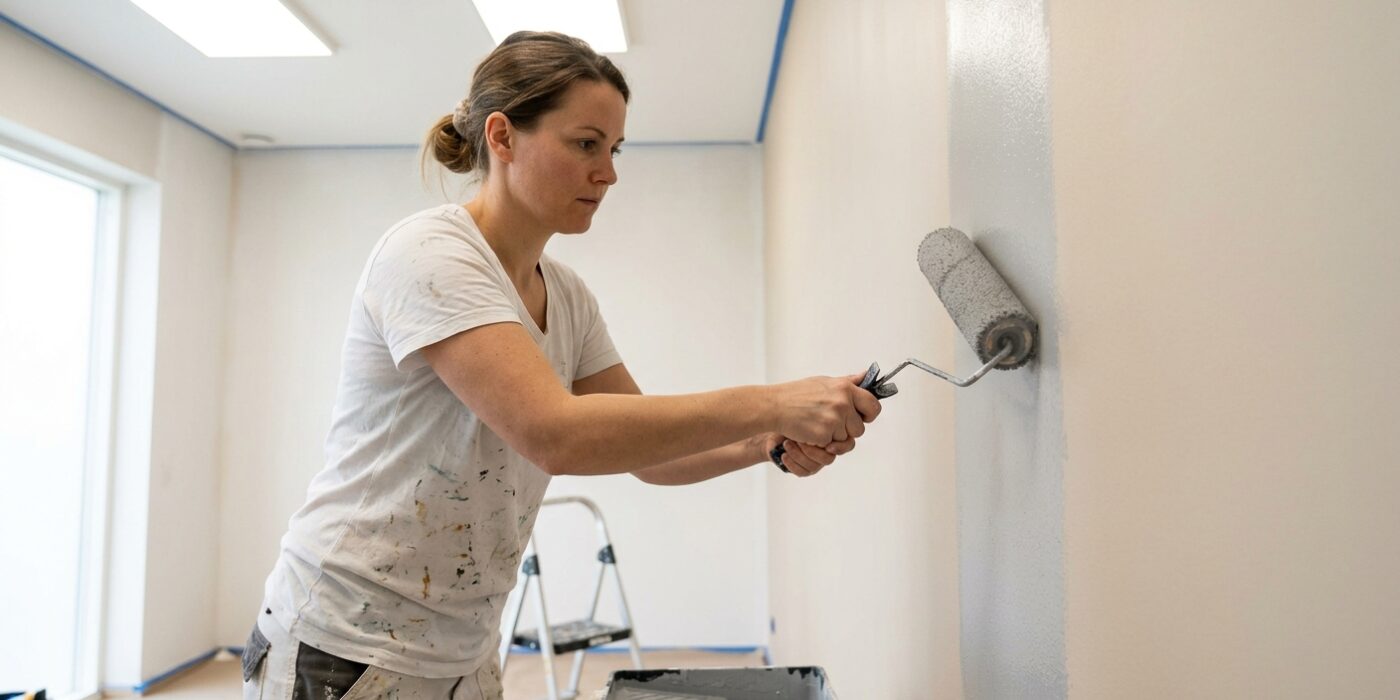
Start by painting all four walls, including the one destined to be your accent wall, with your primary base color. You might wonder why you would paint over a wall you plan to change, but this technique is a major time-saver. By painting the entire room one color first, you don’t have to worry about achieving a perfectly straight line or using delicate painter’s tape where the walls meet at the corners. Simply paint the main color wall-to-wall, allowing the paint to wrap around the corners of your accent wall. Once this base coat is dry, you will apply your accent color over the top. Because the accent wall will cover the entire surface, any slight overlaps from your base coat will be completely hidden, giving you a professional, seamless transition.
Beginner Tip: A common mistake is to overload your roller with too much paint, which causes “fat edges” or thick ridges of paint to form at the corners. When you get within two inches of a corner, use a light touch and keep your roller movement vertical to ensure the paint stays smooth and doesn’t glob up.
Pro Tip: To keep your brushes and rollers fresh during breaks, wrap them tightly in a plastic grocery bag or cling wrap. You do not need to wash them between coats if you plan to get back to work within a few hours; the air-tight seal keeps the paint wet and ready for your next session.
Step 2: Let the Main Color Dry Completely

Patience is your best tool during this stage. Once you have finished painting the main walls, you must let the paint dry completely before moving on to your accent wall. Aim for at least four hours for water-based paints, but leaving it overnight is even better to ensure the surface is fully cured.
Why wait? If you apply painter’s tape to paint that is still even slightly soft, the adhesive will grip the wet layer. When you eventually pull the tape off to reveal your crisp, clean lines, you might accidentally pull away chunks of the main color or create a messy, blurred edge where the two colors bleed together. Giving the paint enough time to harden creates a solid, stable foundation for your next step.
Beginner Tip: Avoid the urge to touch the wall to test for dryness. Your natural finger oils can leave a residue that prevents the new paint from sticking correctly. Instead, lightly press a clean piece of scrap paper against an inconspicuous spot near the floor trim; if it doesn’t stick or leave a mark, you are good to go.
Pro Tip: Place a small box fan in the center of the room pointed toward the ceiling to improve air circulation. Better airflow whisks away moisture, which can shave an hour or two off your total wait time without compromising the finish of your paint job.
Step 3: Cut In the Accent Wall
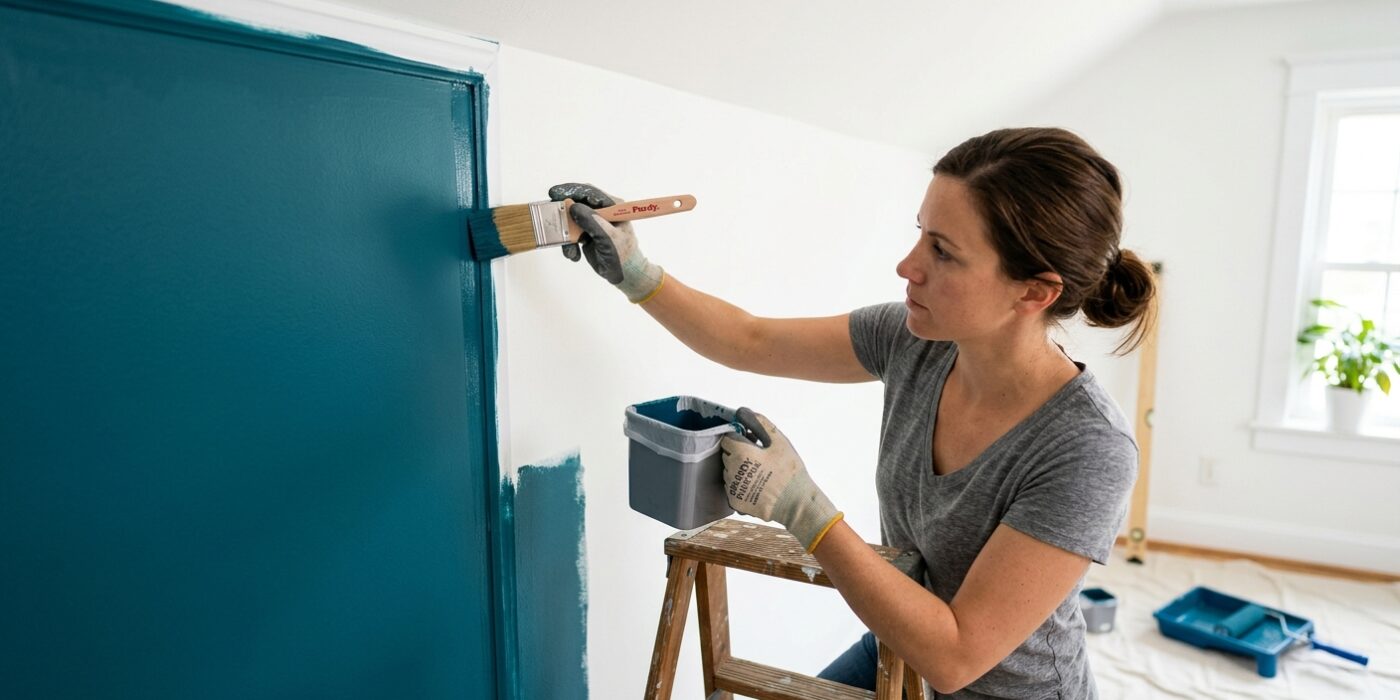
Now that your walls are prepped, it is time to “cut in,” which simply means painting the edges where your roller cannot reach. Using an angled sash brush, carefully paint a 2-to-3-inch border along the ceiling, baseboards, and the two side corners where the accent color meets your main wall color. When tackling the side corners, apply painter’s tape to the adjacent main wall, positioned exactly 1/4 inch away from the corner. This creates a clean, professional guide for your brush bristles. By painting up to this tape, you ensure your accent color stays perfectly straight. Be sure to pull the tape off slowly at a 45-degree angle while the paint is still slightly tacky; if you wait until it is fully dry, you risk peeling off small flakes of your fresh paint.
Beginner Tip: A common mistake is overloading your brush with too much paint. This causes drips that ruin your clean lines. Dip only the bottom third of the bristles into the paint, and tap – don’t wipe – the brush against the inside of the can to remove the excess.
Alternative Method: If you find freehanding near the ceiling difficult, use a high-quality “paint edger” tool. This is a small, rectangular plastic device with a pad and tiny wheels that keep your brush strokes a consistent distance from the trim, making the process much faster and more forgiving for steady hands.
Pro Tip: To keep your brushes in top shape during the project, wrap the brush head in a plastic grocery bag or cling wrap if you need to take a quick break. This prevents the paint from drying out on the bristles, saving you from a tedious mid-project cleanup.
Step 4: Roll the Accent Wall
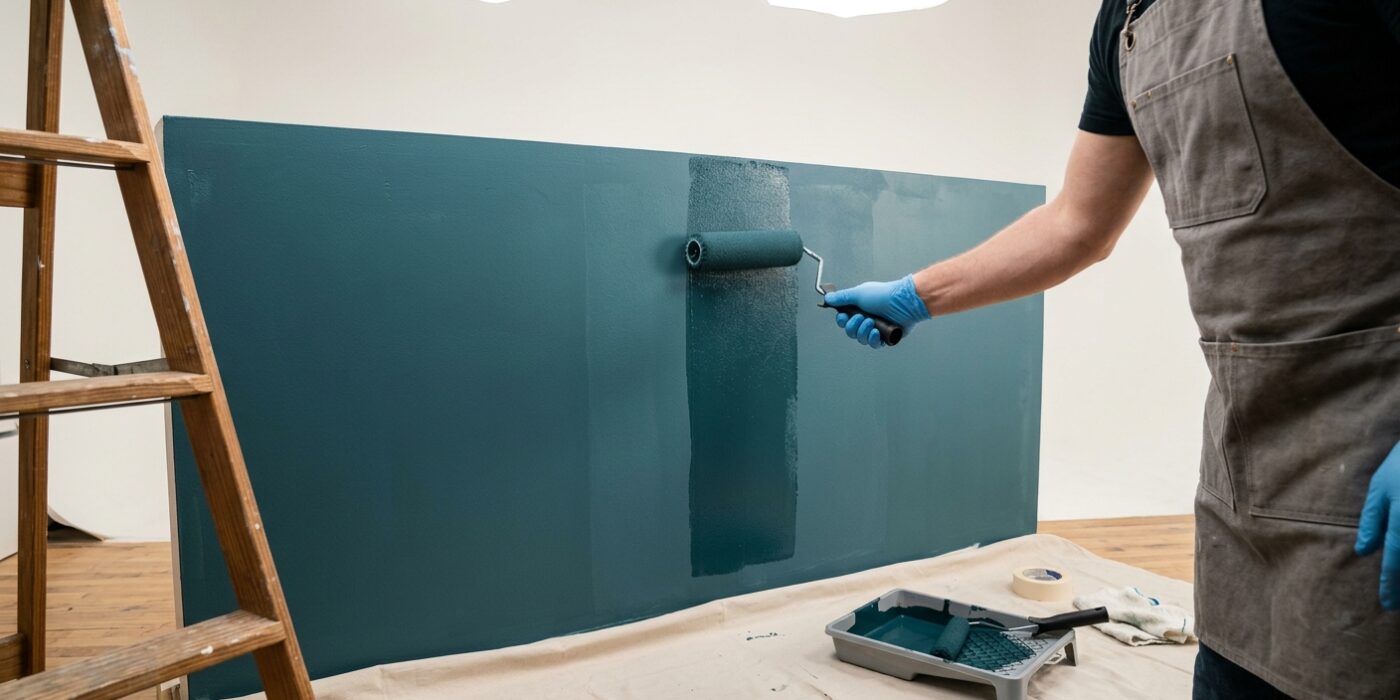
Now it is time to bring your accent wall to life! Start by loading your roller cover with paint – you want it saturated, but not dripping. Begin your first pass about a foot away from the corner. Using your roller, paint a large W or M shape on the wall, then fill in the gaps without lifting the roller. This technique is crucial because it spreads the paint evenly across the surface rather than dumping it all in one spot, which prevents unsightly “lap marks” or streaks.
Work in small sections, moving from the ceiling toward the floor. As you move across the wall, always overlap your current pass with the “wet edge” of the section you just finished. Keeping that edge wet is the secret to a smooth, seamless finish. If you chose a bold or deep color, don’t panic if it looks streaky after the first coat; this is completely normal. Most dark colors require at least three thin, even coats to achieve a professional, opaque look.
Beginner Tip: Avoid the urge to press down hard on the roller. Many beginners think pushing harder forces more paint onto the wall, but it actually causes the roller to slide rather than spin, which creates uneven “skid marks.” Let the roller do the work for you; use a light, steady hand and let the nap of the roller handle the distribution.
Pro Tip: To keep your edges crisp without constantly stopping to reload, use a “cut-in” brush to paint a three-inch border around the perimeter of the wall before you start rolling. This creates a frame for your roller to work inside, allowing you to move quickly across the middle of the wall without worrying about bumping into the ceiling or adjacent trim.