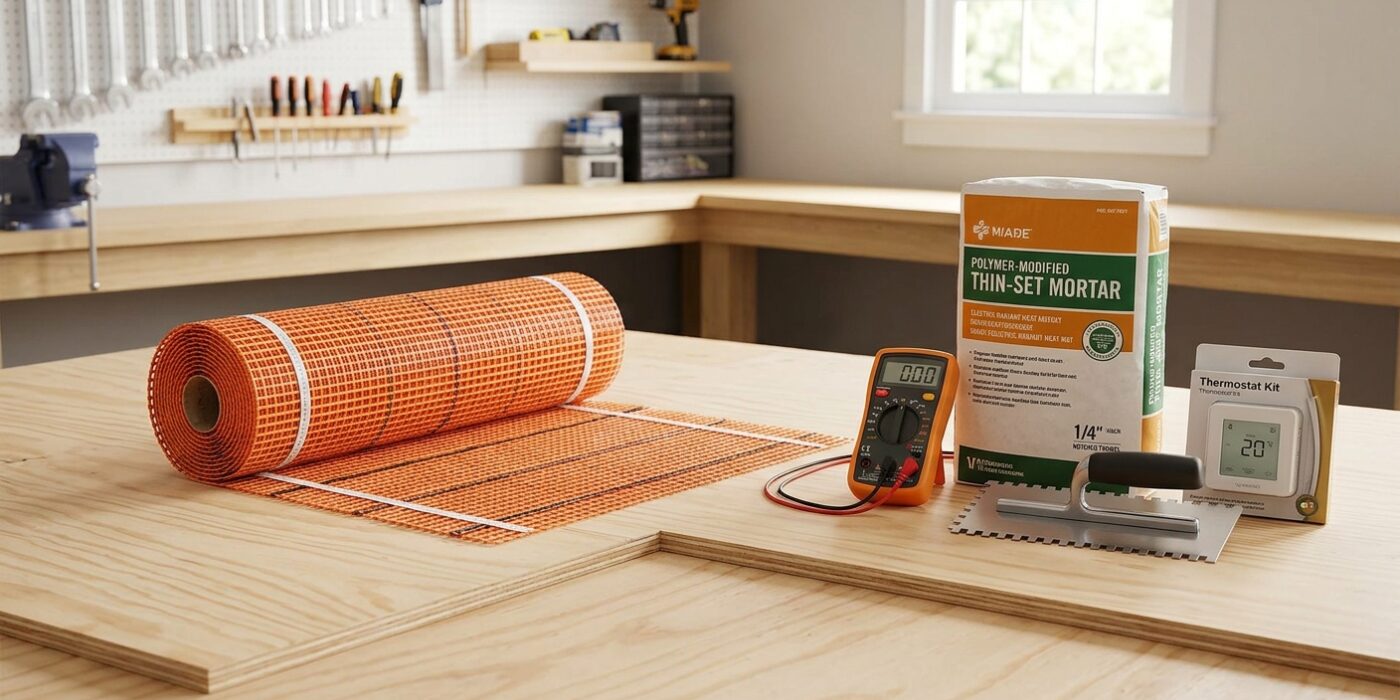
Project Shopping List
Cold tile floors in bathrooms and kitchens are a comfort problem with a clean solution: electric radiant heat mats installed directly under the tile. These thin, wire-embedded mats sit in the thinset layer, raise floor temperature by 10–15 degrees, and cost roughly pennies per hour to run. The installation happens during your tile job – it just adds a few extra steps.
This guide covers the full process: planning the layout, embedding the mat in thinset, connecting to a thermostat, and tiling over it. You’ll need basic electrical comfort – this involves a 120V or 240V circuit – but the actual connections are simple, and most jurisdictions allow homeowners to do this work with an inspection.
What You’ll Need
Tools
- Notched trowel (3/16-inch V-notch for mat embedding)
- Ohmmeter / multimeter
- Fish tape or wire snake
- Oscillating tool or chisel (for thermostat channel)
- Drill
- Tile tools (trowel, float, level, spacers)
Materials
- Electric radiant heat mat – sized for your floor area (not under cabinets or toilets)
- Floor-sensing thermostat with in-floor sensor
- Electrical conduit (1/2-inch) for sensor wire
- Modified thinset mortar
- Tile and grout (your choice)
- Electrical junction box
Step-by-Step Instructions
Step 1: Plan the Mat Layout
Measure your floor area and subtract space under cabinets, toilets, and vanities – heat mats should never go under fixed objects. Most manufacturers offer custom sizes or rolls you can cut (between wires only, never through them). Sketch your layout on graph paper, noting where the thermostat will mount on the wall and where the mat’s power lead will enter the wall.
Step 2: Check the Electrical Circuit
Electric heat mats typically require a dedicated 15A or 20A circuit, depending on total wattage. Calculate: wattage = mat square footage × watts per square foot (typically 10–15W/sq ft). A 50-square-foot mat at 12W/sq ft draws 600W – well within a 15A circuit. If you’re adding a new circuit, have it roughed in before tile work begins.
Step 3: Prepare the Subfloor
The subfloor must be clean, flat, and solid. Install cement board if you’re over wood subfloor – heat mats cannot go directly over OSB or plywood for tile installations. Tape and thinset the seams, then sweep clean. Test fit the mat dry before mixing any mortar.
Step 4: Read Resistance Before Installing
Use an ohmmeter to measure the mat’s resistance before, during, and after installation. Record this number – it’s printed on the mat label. A deviation of more than 10% from the labeled value indicates a damaged wire. Test again after embedding and again after tiling. Damaged heating wires are unrepairable once buried under tile.
Step 5: Embed the Mat in Thinset
Spread a thin layer of modified thinset over the subfloor with the flat side of your trowel, then comb it with a 3/16-inch V-notch trowel. Unroll the mat into the wet thinset, pressing it down firmly with your hand to ensure full contact. The mat must be fully embedded – no air pockets under any section. Let the thinset cure per manufacturer instructions (typically 24 hours) before tiling.
Step 6: Route the Sensor Wire
The floor sensor (which the thermostat uses to regulate temperature) needs to sit between two heating wires about 6 inches from the wall. Run it through a small conduit loop embedded in the thinset – this allows replacement without breaking up the floor if the sensor fails. Tape the conduit end to the mat to hold position while the thinset cures.
Step 7: Route the Power Lead
The mat’s power lead needs to reach the thermostat junction box on the wall. Chisel a shallow channel up the wall from the floor to the box location, then run the lead through conduit in that channel. Patch the channel with joint compound after the wire is in place and before painting.
Step 8: Tile Over the Mat
Use modified thinset and a 3/8-inch square-notch trowel for the tile layer. Work carefully – never kneel directly on heating wires and never use a saw that could reach the mat level. Check resistance with your ohmmeter every 30 minutes during tiling. If resistance changes, stop and locate the damage before continuing.
Step 9: Connect to the Thermostat
After tile is set (minimum 24 hours), connect the mat leads and sensor to the thermostat per the wiring diagram – typically two hot leads, a ground, and the sensor pair. Smart thermostats with scheduling can reduce operating cost by 30–40%. Have the electrical connection inspected if required by your jurisdiction before energizing.
Step 10: Test and Commission
Set the thermostat to its lowest setting and turn on the circuit. The mat should reach target temperature within 20–30 minutes. Tile should feel warm, not hot – typical setpoint is 80–85°F. Do not set above 104°F or you risk damaging grout and adhesive over time.
Pro Tips
- Buy 10–15% more mat coverage than your calculated area – you cannot overlap mats, but you can cut the mesh backing to change direction and fill awkward shapes.
- Take a photo of the mat layout before tiling – you’ll want this for future work if you ever need to drill into the floor.
- Self-leveling thinset works better than hand-spreading for embedding mats without damaging the wire – it fills around wires without pressure.
- Large-format tiles (12×24 and up) actually work better with radiant heat because they have more surface area to radiate warmth upward.
Frequently Asked Questions
Will radiant heat crack my tile or grout?
Not if installed correctly. The danger is using the wrong mortar (organic mastic fails with heat) or exceeding recommended temperatures. Use modified thinset rated for radiant heat installations, unsanded grout for joints under 1/8 inch, and don’t exceed the thermostat’s maximum temperature setting.
Can I install this under existing tile?
No – the mat must be embedded in the thinset layer below the tile. If your existing tile is in good condition, your best option is a floating mat system that sits on top of the existing tile and raises the floor height by 3/8 inch or so. These are less efficient but require no tile removal.
How much does it cost to run?
A 50-square-foot mat (about 600W) costs roughly 6–12 cents per hour to operate depending on your electricity rate. Running it 4 hours per morning adds up to about $8–15 per month. Smart thermostats with scheduling reduce this significantly by only heating when the floor is actually in use.