Project Shopping List
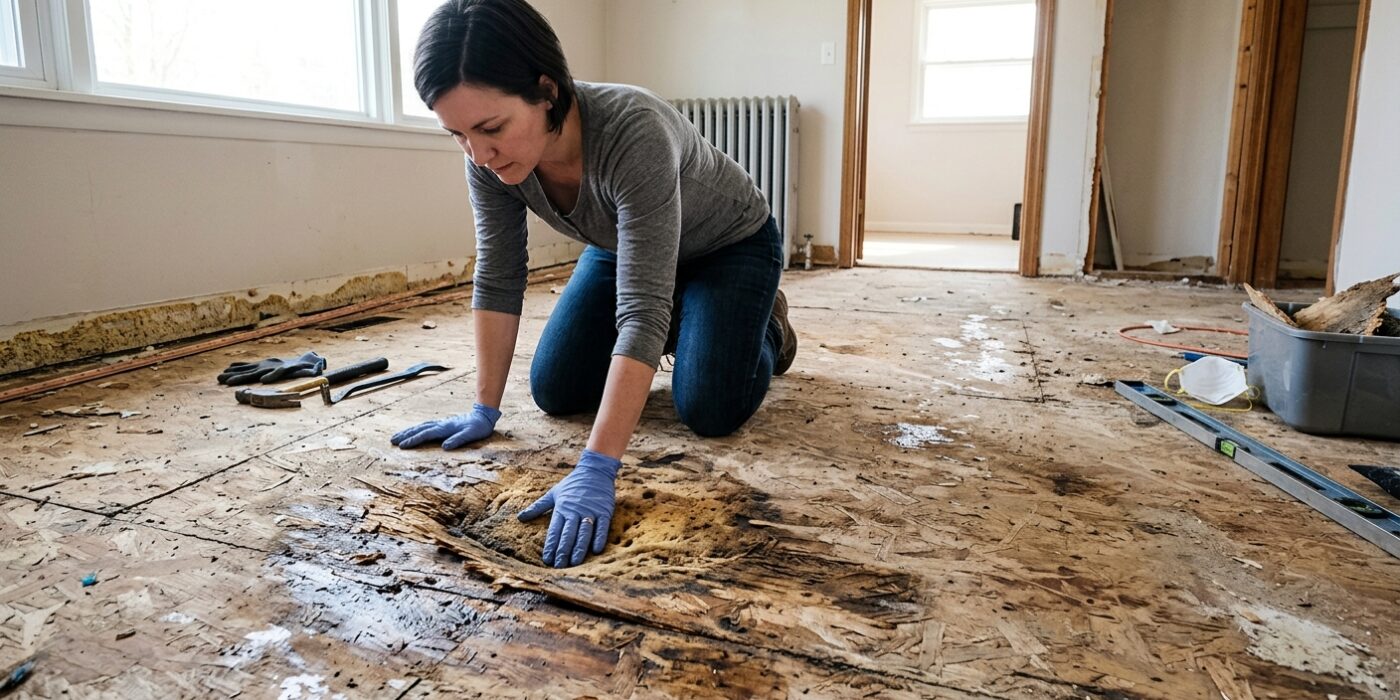
A soft spot in the floor – that bouncy, spongy area where the subfloor has rotted through – is one of the more alarming things a homeowner can discover. It means moisture got in somewhere, the wood structure failed, and you’re now standing on a compromised floor. The good news: this is a fully repairable DIY project. The bad news: you have to find and fix the moisture source first, or the rot will return.
This guide covers diagnosing the extent of the damage, cutting out the bad section, repairing any joist damage, and installing a new subfloor patch that’s solid and level. Budget a full weekend and expect surprises – rot rarely stops where you expect.
What You’ll Need
Tools
- Circular saw with adjustable depth
- Oscillating multi-tool
- Pry bar and hammer
- Drill and bits
- Jigsaw
- Moisture meter
- Tape measure, pencil, square
Materials
- 3/4-inch exterior-grade plywood (for subfloor patch)
- 2×6 or 2×8 lumber (for sistering damaged joists)
- 2×4 blocking lumber
- Construction adhesive (PL Premium)
- Deck screws (3-inch)
- Borate wood preservative
- Floor leveling compound
Step-by-Step Instructions
Step 1: Find the Moisture Source First
Before cutting anything, identify and stop the water intrusion. Common sources: plumbing leak above or below, condensation from HVAC, failed caulking at a tub or shower, or exterior water infiltration. Use a moisture meter to measure wood moisture content – anything above 19% indicates active or very recent moisture. Fix the source completely before proceeding, and let the area dry for at least a week.
Step 2: Remove the Flooring
Pull up the floor covering over the soft spot – carpet, vinyl, or tile as appropriate (see the flooring removal guide for your specific material). Extend removal at least 12 inches beyond the soft area in all directions to give yourself a clear view of the subfloor and room to work.
Step 3: Map the Full Extent of Damage
Probe the subfloor with a screwdriver – rotted wood is soft and the blade will penetrate easily. Mark every soft spot with a pencil. Then use a moisture meter to check an additional 24 inches beyond your marked damage area; rot-adjacent wood may be wet but not yet rotted. Your final cut line should include all wood above 19% moisture content, plus a 2-inch margin of clearly dry wood.
Step 4: Set Circular Saw Depth
Set the circular saw blade to exactly the thickness of your subfloor – typically 3/4 inch for modern construction, 5/8 inch in some areas. Cutting deeper risks damaging joists below. Make a test plunge in the damaged area to confirm depth before running your cut lines.
Step 5: Cut Out the Damaged Section
Make straight cuts along joist lines wherever possible – your patch should begin and end at the center of a joist so both the patch and the existing subfloor have bearing. Use a circular saw for long cuts and an oscillating tool for corners. Remove the cut section with a pry bar. Dispose of rotted material in sealed bags – rot spores can spread to other wood.
Step 6: Assess and Repair the Joists
Probe each joist in the repair area with your screwdriver. If any joists show soft spots or visible rot, they must be repaired before you close the floor. The standard repair is sistering: cut a full-length sister joist from the same dimensional lumber, coat all surfaces with borate wood preservative, and fasten it to the damaged joist with construction adhesive and 3-inch screws every 12 inches.
Step 7: Install Blocking at Patch Edges
Where your cut doesn’t land on a joist, install 2x blocking between joists to provide bearing for the patch edge. Cut blocks to fit snugly between joists at the perimeter of your cut-out, and fasten them with screws driven at an angle (toenailing) into the joists. All four sides of the patch must have solid bearing – unsupported edges will flex and squeak.
Step 8: Treat All Wood Surfaces
Apply borate wood preservative (such as Tim-bor) to all exposed wood surfaces in the repair area – the tops of joists, any new blocking, and the edges of existing subfloor. Borate penetrates wood and prevents future fungal growth. This is the step that keeps the rot from coming back even if another small moisture intrusion occurs.
Step 9: Install the Patch
Cut the patch piece from 3/4-inch exterior-grade plywood. Run the face grain perpendicular to the joists, just as standard subfloor installation. Apply construction adhesive to all supporting surfaces, set the patch, and fasten with 3-inch deck screws every 6 inches along the edges and every 8 inches in the field. Countersink screws just below the surface.
Step 10: Level the Patch
The patch may sit slightly high or low relative to surrounding subfloor due to material differences or compression of damaged material below. Use a straightedge to identify discrepancies, then grind or sand down high spots and apply floor leveling compound to low spots. Let cure, then reinstall your flooring material.
Pro Tips
- Rent a borescope camera to look under the floor before cutting – you can often see the full extent of damage and any plumbing or electrical issues without unnecessary demolition.
- Old homes often have 1x boards as subfloor rather than plywood – these are harder to patch cleanly. Use 3/4-inch plywood for the patch even over board subfloor, shimming if necessary to achieve a flush surface.
- If you find multiple soft spots in different areas, suspect a systemic moisture problem (high crawl space humidity, failed vapor barrier) rather than localized leaks – address the root cause comprehensively.
- Run a dehumidifier in the repair area for 48 hours after all wood is treated and before closing the floor to ensure complete drying.
Frequently Asked Questions
How do I know if the damage is in the subfloor or the joists?
Subfloor damage feels soft underfoot but the floor doesn’t deflect significantly when you jump on it. Joist damage causes visible deflection and sometimes a cracking sound under load. Once you remove the subfloor section, probe each joist directly – if a screwdriver penetrates more than 1/4 inch into the joist surface, the joist needs sistering.
Do I need a permit to repair a subfloor?
In most jurisdictions, like-for-like subfloor repair doesn’t require a permit. However, if you’re also sistering joists (structural repair), some jurisdictions require a permit and inspection. Check with your local building department before starting – especially if this is a bathroom floor where the work may be near plumbing.
Can I use OSB instead of plywood for the patch?
Standard OSB is not appropriate – it swells significantly when exposed to moisture and will fail in any area that had water issues. Use only exterior-grade plywood (rated Exposure 1 or better) for subfloor repairs in areas that experienced moisture damage. Some contractors use marine plywood for extreme cases.