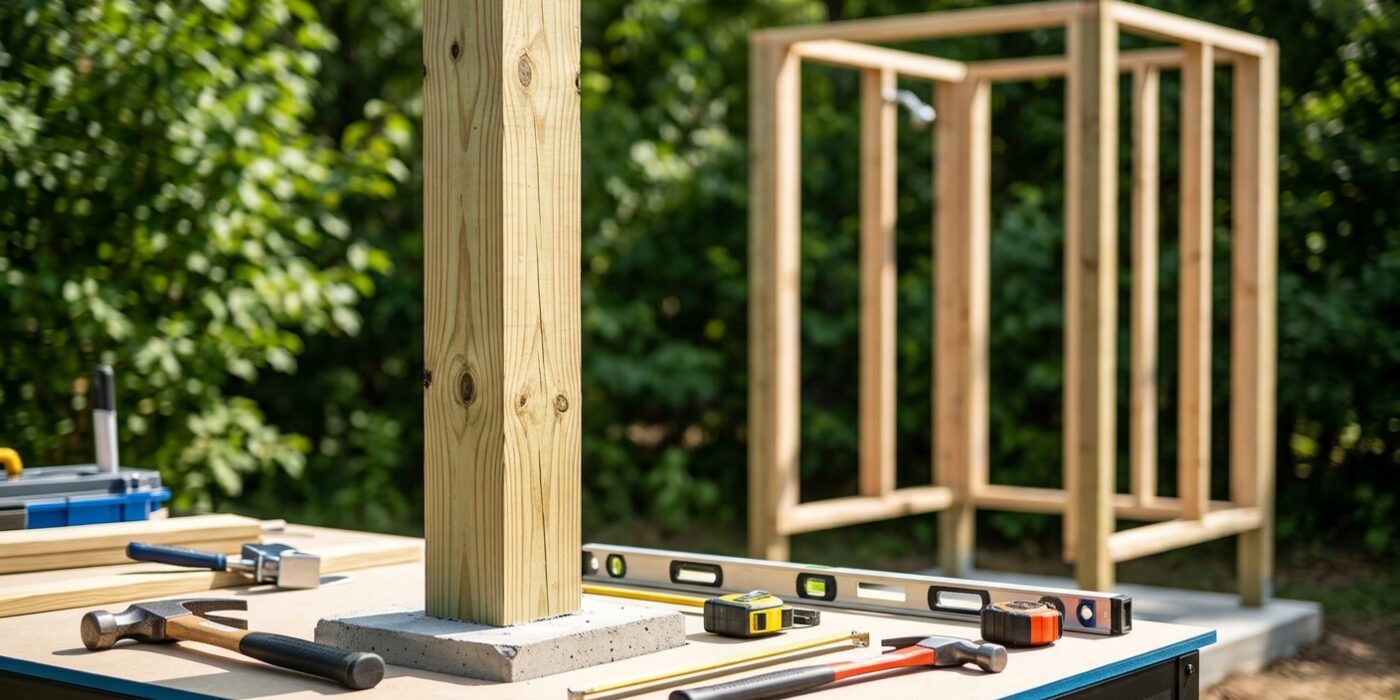
Project Shopping List
An outdoor shower is a practical and surprisingly luxurious addition to any backyard near a pool, beach-access property, or active outdoor space. The plumbing is simpler than an indoor shower — a single cold line (or hot and cold from an outdoor water heater) runs to a showerhead, with drainage handled by a gravel pit or dry well rather than a full plumbing connection.
What You Need
- 4×4 cedar or redwood posts (two to four, depending on design)
- 2×4 cedar frame members
- Cedar or composite siding or privacy panels (optional)
- Outdoor-rated showerhead and valve
- 1/2-inch CPVC or PEX supply line
- Plastic compression fittings and shut-off valve
- Gravel or crushed stone (drainage base)
- Concrete or teak shower floor panel (optional)
Planning the Drainage
Outdoor showers do not connect to the sewer in most jurisdictions — the grey water drains through a gravel dry well. Dig a pit 3 feet deep and 3 feet wide below the shower location, fill with gravel. The shower floor (gravel, pavers, or a teak mat) slopes 1/4 inch per foot toward a central drain hole over the pit. Check local regulations — some areas require outdoor shower drainage to connect to the sanitary sewer, particularly in areas with high water tables.
Step-by-Step Instructions
Step 1: Choose Location
Place the shower near a hose bib for easy supply line connection. Consider privacy from neighbors and sightlines. The floor should be on firm, level ground with good natural drainage. Keep the structure at least 3 feet from any structure’s foundation to prevent water damage. A south-facing location warms the water in the supply line with solar gain in warm months.
Step 2: Prepare the Drainage Pit
Dig the drainage pit where the shower floor will be. Fill to within 12 inches of grade with gravel. Lay a final 6 inches of pea gravel or small stone at the top. The floor surface sits above this gravel pit so water flows through the gaps between pavers or the drain hole in a prefab floor and into the gravel below.
Step 3: Set Corner Posts
Set two or four 4×4 cedar posts for the shower frame. For a freestanding shower with privacy walls, use four posts — for an exposed open design with just a showerhead on a single post, use two posts (or just one anchored post). Anchor posts in concrete set in 18-24-inch deep holes, or use adjustable post bases on a concrete pad. Cedar and redwood tolerate constant moisture better than pressure-treated lumber and look better with no finish required.
Step 4: Frame Privacy Walls (Optional)
Frame privacy panels from 2×4 cedar, leaving a 3/4-inch gap between horizontal boards for drainage and air flow. Cedar horizontal siding with 1/2-inch gaps (similar to a horizontal fence) provides privacy while allowing the walls to dry out. Enclose at least two sides for modesty — most designs leave one side and the top open for light and ventilation. Height of privacy walls: 5-6 feet provides adequate screening while keeping the structure from feeling like a cell.
Step 5: Run the Supply Line
Tap off the nearest hose bib with a 1/2-inch CPVC or PEX line using a push-fit tee or compression fitting. Run the supply line along the ground or through the post to the valve location — burying the line below grade protects it from UV and prevents freezing in cold climates. Install a shut-off valve at the base of the post for winterizing. Install the mixing valve (or simple hot/cold handles) at 48-54 inches above the floor.
Step 6: Install Showerhead and Test
Thread the showerhead into the pipe fitting at the top of the supply line — typically a 1/2-inch NPT connection. Wrap threads with Teflon tape before connecting. A standard outdoor rain showerhead at 6-7 feet above the floor gives the best shower experience. Turn on the supply and test for leaks at all connections before finishing the floor and walls. Check that drainage flows freely into the pit below.
Pro Tips
- Add a solar camp shower bag on a hook above the showerhead for a warm-water option without plumbing — a 5-gallon bag left in the sun reaches 90-100 degrees F in 2-3 hours.
- Install a simple hook or shelf board for soap and shampoo storage — a small cedar shelf with a stainless bolt is durable and practical.
- Drain the supply line and shut off the valve before the first freeze — water left in outdoor supply lines freezes, expands, and cracks pipes.
Frequently Asked Questions
Do I need a permit to add an outdoor shower?
Most jurisdictions do not require a permit for a simple cold-water outdoor shower connected to an existing hose bib, as long as it is not connected to the house plumbing or sewer system. Adding a hot water connection or full plumbing tie-in typically requires a permit. Check locally before connecting to indoor plumbing.
What flooring is best for an outdoor shower?
Teak wood floor panels are comfortable, slip-resistant, and drain naturally between the slats — the best choice for a premium feel. Natural stone or porcelain tile set with adequate slope and drain work well on a permanent installation. Pea gravel is the lowest-cost option and drains perfectly, but is less comfortable underfoot and harder to keep clean.