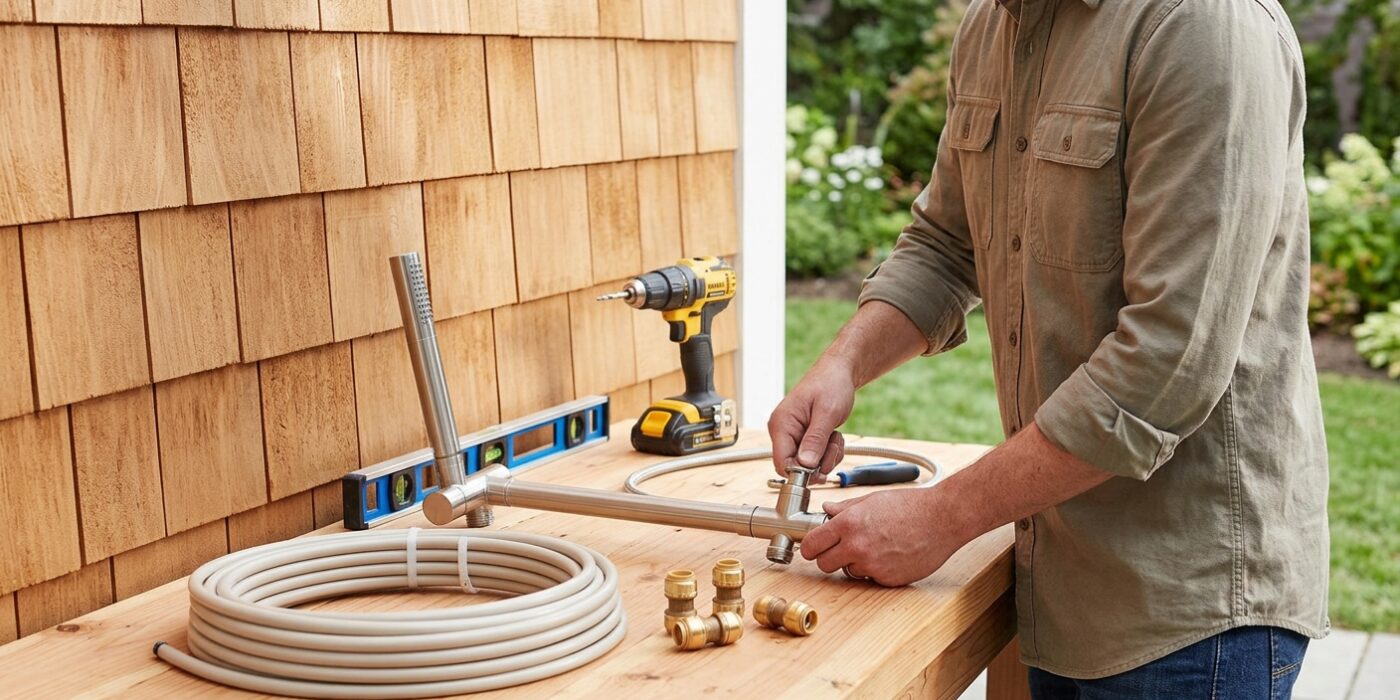
Project Shopping List
An outdoor shower solves the problem of sand, mud, and chlorine from the pool making it inside your home. A cold-water-only hookup is the simplest and least expensive approach: no water heater connection, no mixing valve, just a supply line from an outdoor hose bib run to a showerhead. Cold water is refreshing in summer months and is perfect for rinsing off before entering the house.
This guide covers building a simple outdoor shower enclosure from cedar posts with a privacy screen, connecting it to an existing outdoor hose bib, and installing a showerhead. No plumbing permits are typically needed for an outdoor cold water connection that hooks to an existing supply line via a hose fitting.
What You’ll Need
Tools
- Post hole digger or rental auger
- Circular saw or miter saw
- Drill and driver
- Level
- Adjustable wrench and plumber’s tape
- Tape measure
Materials
- Cedar 4×4 posts: 4 posts at 96 inches
- Cedar 1×6 boards: privacy screen slats
- Outdoor shower riser: 1/2-inch or 3/4-inch copper, stainless, or PVC pipe with fittings
- Outdoor showerhead (rated for outdoor use)
- Ball valve (to control flow at the shower)
- Flexible hose connector (garden hose thread to shower inlet)
- Concrete for setting posts (optional)
- Teak or composite decking for shower floor (optional)
Step 1: Choose Location and Plan Drainage
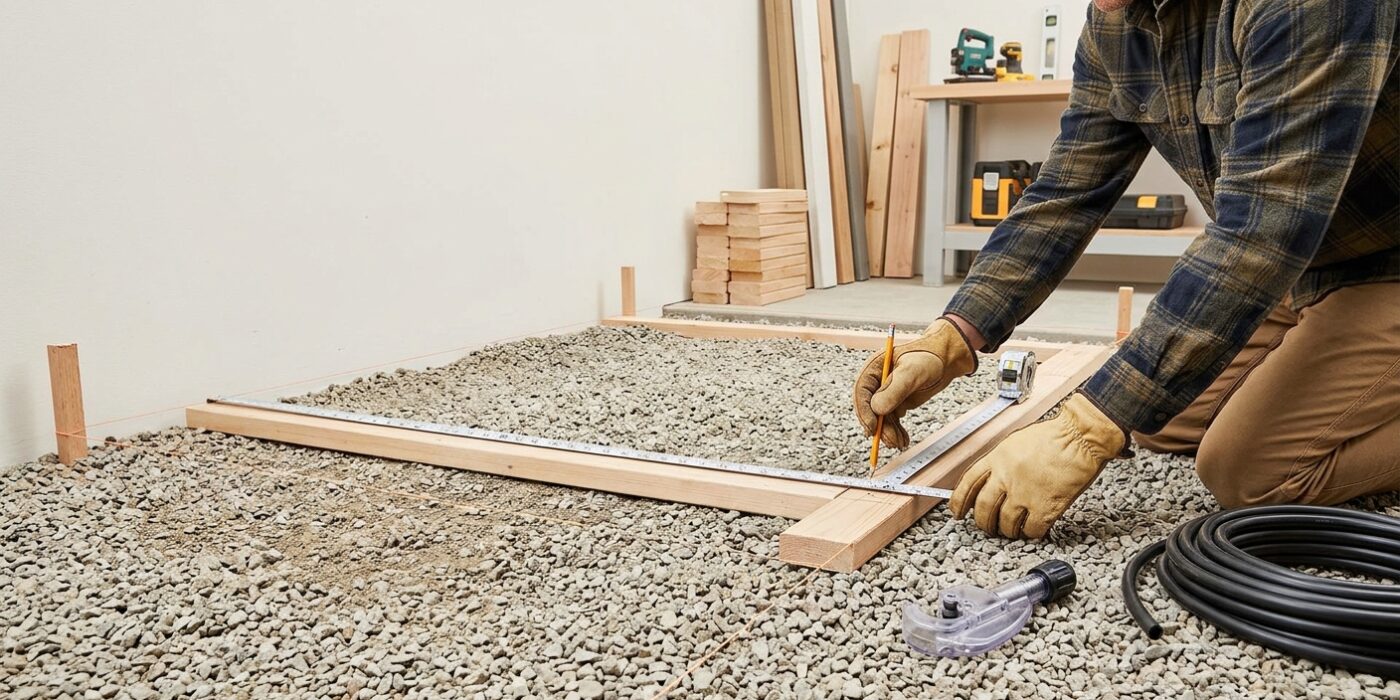
Your first task is selecting the perfect spot. Since you are installing a cold-water shower, proximity is key: you want to be within 10 to 15 feet of an existing outdoor hose bib to minimize the amount of garden hose or piping you need to manage. When picking your location, look for a space that is already level or gently sloped away from your home’s foundation. If you are placing the shower on a patio, ensure the water runs toward the edge of the slab and away from your house to prevent moisture damage or mold.
Drainage is just as important as location. If you are just rinsing off sand, natural ground like a gravel bed or a well-draining lawn works perfectly. However, if you plan to use soap or shampoo, you must comply with local regulations. Many areas classify soapy greywater as waste that needs to be directed to a dry well or a sewer connection. Take a quick moment to call your local building department or check their website; a simple permit check now prevents expensive headaches later.
Beginner Tip: Avoid placing your shower in a low-lying area where rainwater already collects. Even if the shower drains well, a location that is naturally soggy will quickly turn into a muddy pit once you start using it.
Pro Tip: Place a large, flat stepping stone or a dedicated cedar shower deck at the base of your shower area. This provides a stable, non-slip surface for your feet and acts as a filter to keep the surrounding area from eroding into a deep, messy trench.
Step 2: Set the Corner Posts
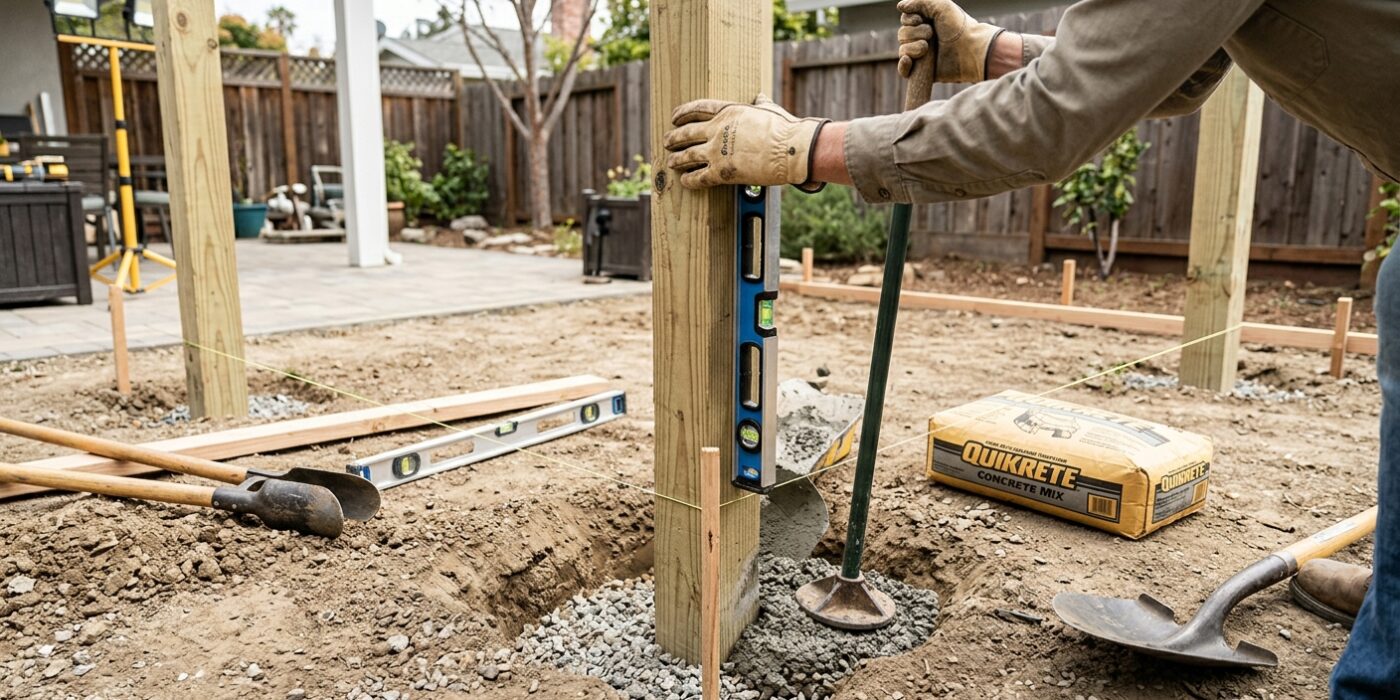
Now it is time to frame your space. Measure out a 4-foot by 4-foot square on your lawn using string and stakes to ensure your corners are perfectly square. Dig four holes roughly 12 inches deep and 8 inches wide. Place your 4×4 posts into the holes, keeping the two back posts at 7 to 8 feet tall for privacy and the two front posts at 5 to 6 feet tall for easy entry. Pour your quick-setting concrete into the holes around the posts, following the package instructions. Why go through the effort of concrete? It ensures your shower won’t wobble or lean over time as the ground shifts with the seasons.
Beginner Tip: The most common mistake is forgetting to check for “plumb.” Before the concrete hardens, hold a level against two adjacent sides of each post. If the bubble isn’t centered, gently nudge the post until it is perfectly vertical. If you skip this, your walls will be crooked, making it nearly impossible to attach your shower enclosure later.
Alternative Method: If you aren’t ready to commit to permanent concrete, use deck blocks instead. These are heavy, pre-cast concrete bases with a square opening for your posts. Simply level the ground, place the blocks, and drop the posts in. It is much easier, requires no digging, and allows you to move the shower if you decide to change your backyard layout later.
Pro Tip: To keep your posts perfectly steady while the concrete sets, use two scrap pieces of wood to create temporary “braces.” Screw them into the sides of each post and stake the other ends into the ground at a 45-degree angle. This keeps the posts rigid so you don’t have to hold them by hand while the concrete cures.
Step 3: Build the Privacy Screens
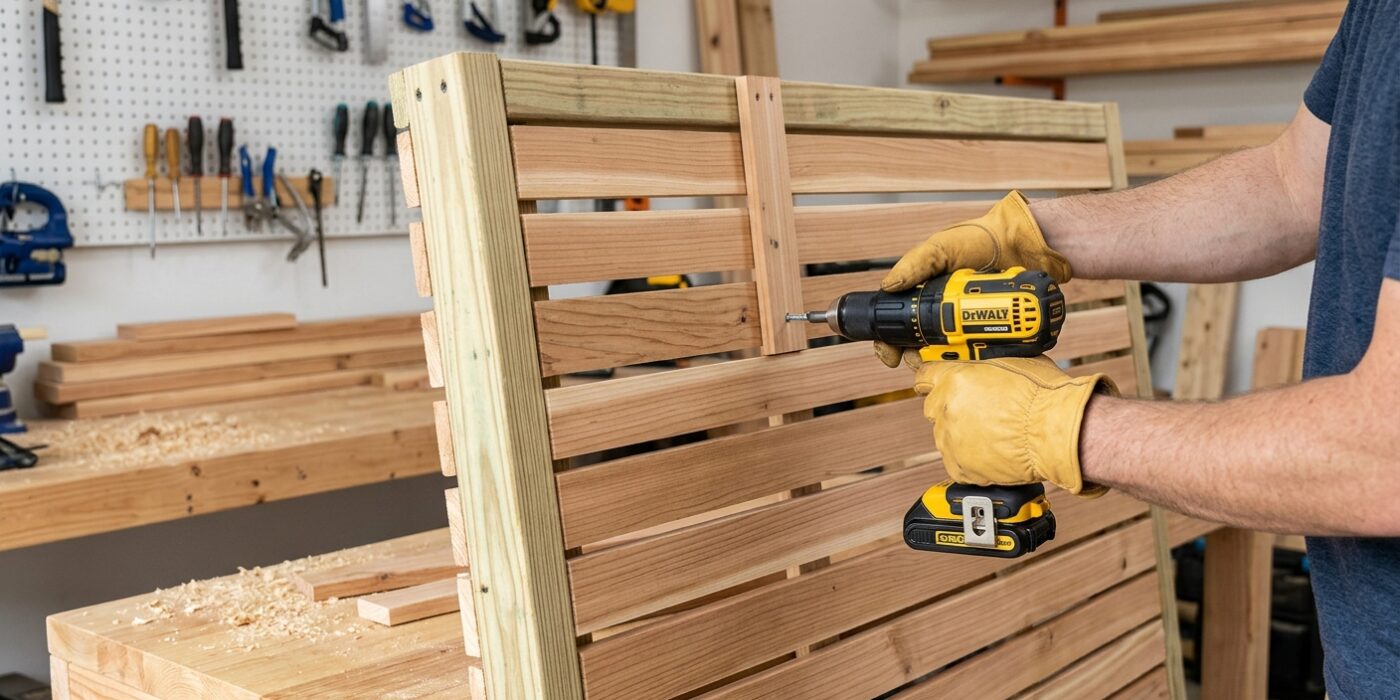
Now it is time to build your privacy walls, which turn your shower into a true sanctuary. You will start by installing two horizontal 2×4 rails between your back and side posts: place the first rail 12 inches from the ground and the second 12 inches from the top of the posts. Use two 3-inch exterior-grade deck screws at each connection point to ensure they are rock-solid.
Once your rails are secure, attach your 1×6 cedar slats vertically. Align the first slat flush with the corner post and fasten it using exterior wood screws. To ensure your 1/2-inch gaps are perfectly consistent, use a scrap piece of plywood or a spare 1/2-inch board as a spacer between each slat as you move down the line. This consistent spacing creates a clean, professional aesthetic while allowing airflow to dry out your shower area quickly after use.
Beginner Tip: A common mistake is driving screws too deep, which can crack cedar. Use a drill with an adjustable clutch set to a lower torque setting, and stop the moment the screw head sits flush with the wood surface.
Pro Tip: Before attaching your slats, paint or stain all four sides of the cedar boards. It is much easier to coat them before installation, and this extra layer of protection will prevent the wood from warping or graying prematurely in the elements.
Step 4: Install the Shower Riser
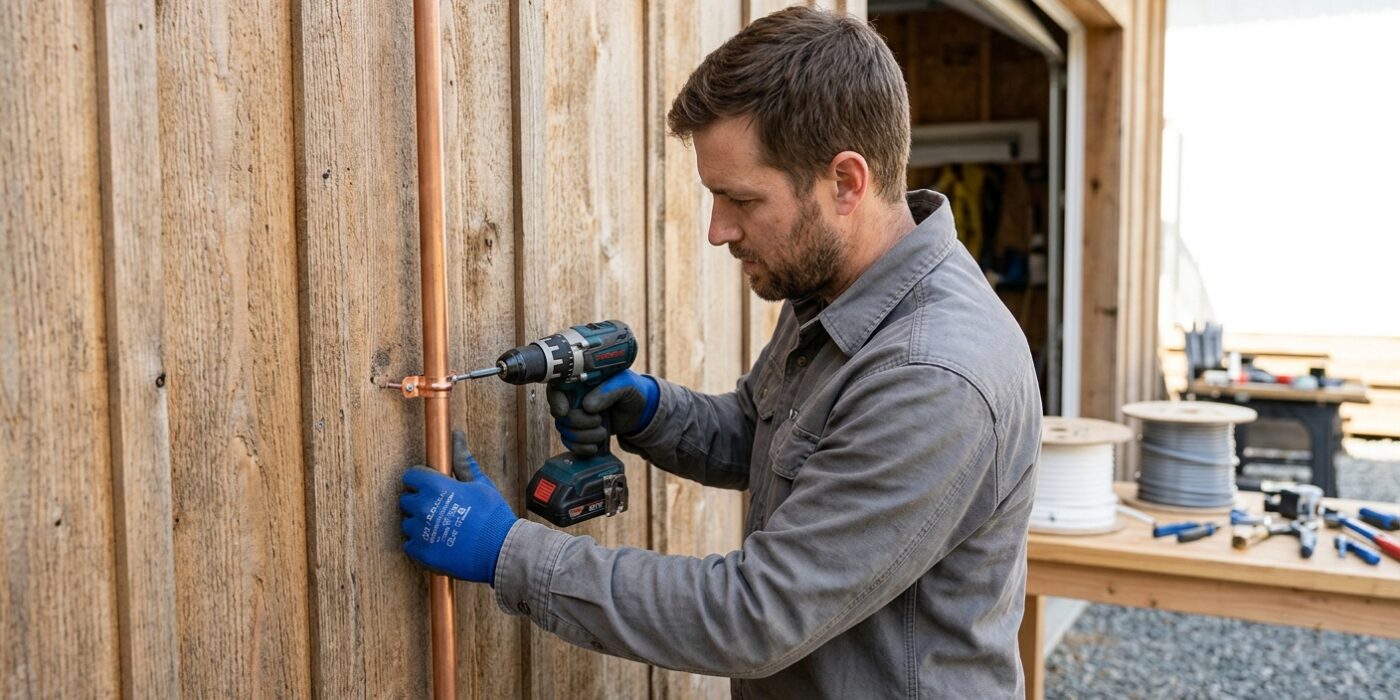
Now it is time to give your shower some height. The riser is the vertical pipe that carries water from your base connection up to where the showerhead will sit. For a standard cold-water setup, a 3/4-inch schedule 40 PVC pipe is the easiest material to work with. Measure the height of your post and cut your pipe so that the showerhead will rest about 7 feet off the ground, ensuring it is tall enough for you to stand under comfortably.
Position the pipe vertically against your support post. Use pipe clamps – small U-shaped metal or plastic brackets – to secure the pipe every 24 inches. Screw these directly into the post to keep the riser from wobbling. At the bottom, attach the riser to your water supply line using a threaded adapter. At the top, screw on a 90-degree elbow joint pointing inward toward your shower area, then attach your showerhead to that end.
Beginner Tip: Before you screw the pipe clamps down tight, double-check that the pipe is perfectly vertical using a simple bubble level. If the pipe is crooked, the water pressure might be uneven, and your showerhead will look off-center.
Pro Tip: To prevent annoying leaks at the joints, always wrap your threaded pipe connections with two or three layers of Teflon tape before screwing them together. Wrap the tape in a clockwise direction so it does not unravel when you tighten the fittings.
Step 5: Run the Supply Line
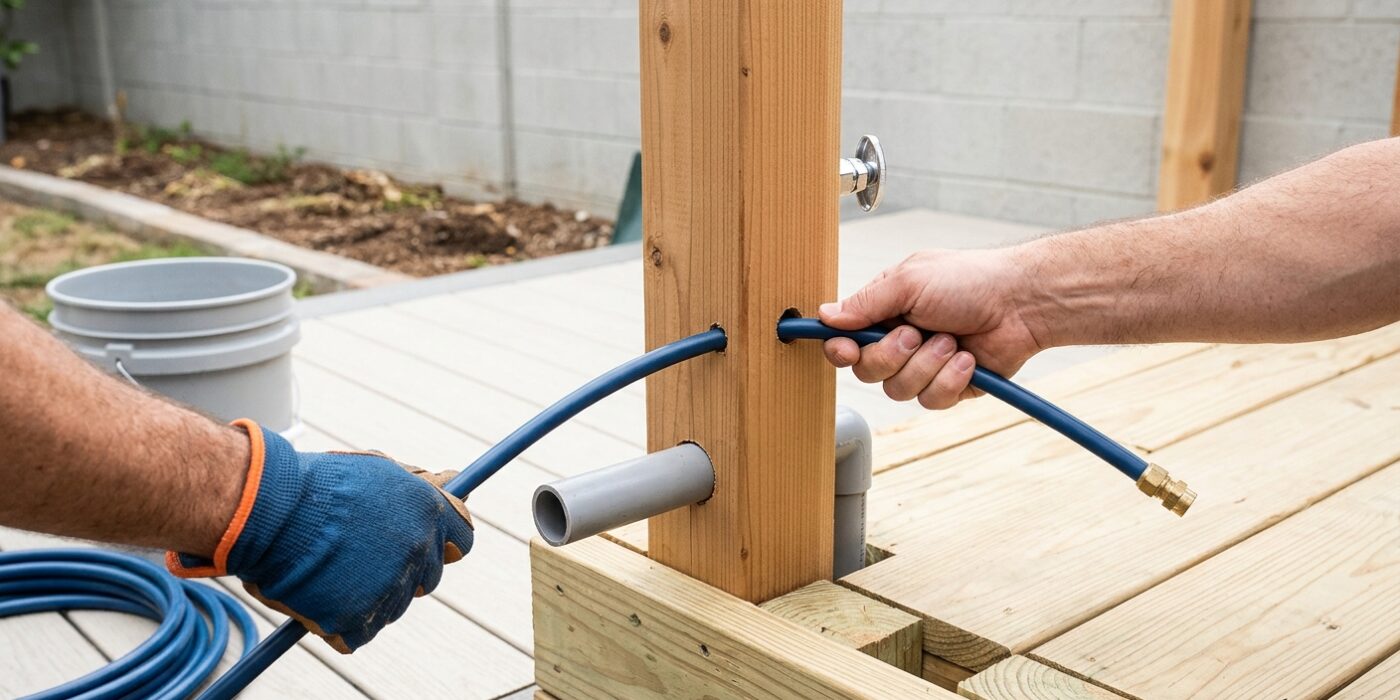
Now it is time to connect your water source to the shower. If you are just starting, simply run a reinforced garden hose from your existing outdoor faucet (hose bib) to the base of your new shower riser. For a more permanent, professional look, you can bury a 1/2-inch or 3/4-inch CPVC or PEX pipe in a trench about 6 to 12 inches deep. This keeps your yard tidy and protects the line from being tripped over or damaged by lawnmowers.
Before twisting any parts together, wrap all threaded connections with plumber’s tape (also called Teflon tape). Wrap it clockwise around the threads three times; this ensures a watertight seal. When attaching your fittings, twist them on by hand until they are snug, then use a wrench for just a quarter-turn more. Tightening too aggressively can crack plastic fittings, so stop as soon as you feel firm resistance.
Beginner Tip: A common mistake is forgetting to test for leaks before you fill in the dirt. Before covering your trench, turn the water on and leave it running for a few minutes. Check every connection point for even the smallest bead of moisture. It is much easier to tighten a loose fitting while it is still sitting on top of the grass than after it is buried.
Pro Tip: If your PEX or CPVC pipe feels too stiff to maneuver, soak the end in a bucket of warm water for a few minutes. This makes the material much more pliable, allowing you to bend it slightly into place without the risk of kinking or snapping the line.
Step 6: Install the Ball Valve and Showerhead
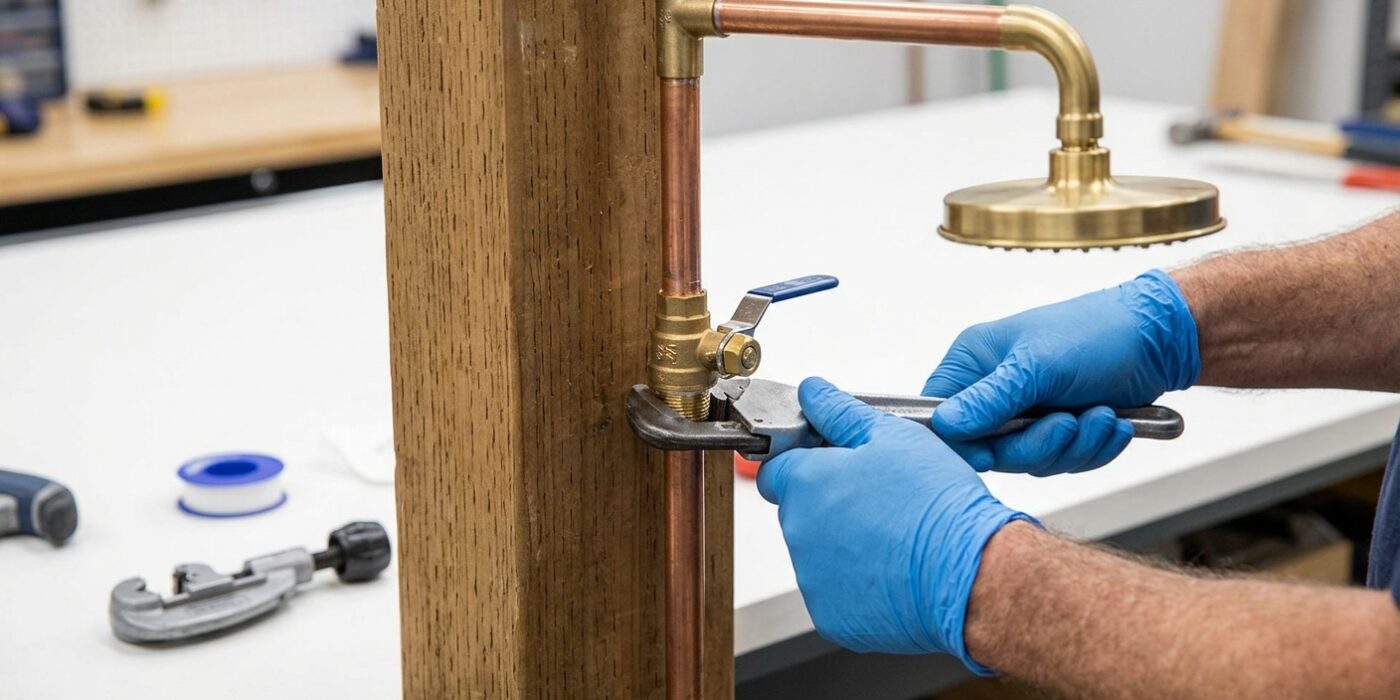
Now that your pipe is secured, it is time to install the controls and the showerhead. First, apply a small amount of plumber’s tape to the male threads at the base of your riser pipe. Wrap the tape clockwise three to four times – this ensures a watertight seal as you tighten the ball valve. Screw the ball valve onto the threads by hand until snug, then give it a final quarter-turn with a wrench. The ball valve acts as your local “on/off” switch, saving you a trip to the main faucet every time you want to rinse off.
Next, move to the top of your shower arm. Again, apply plumber’s tape to the threads, then screw on your showerhead. Ensure you choose a model with a flow rate of 2.0 GPM or less; outdoor spigots often have lower pressure than indoor lines, and a low-flow head will keep your stream steady and consistent.
Beginner Tip: A very common mistake is wrapping the plumber’s tape in the wrong direction. Always wrap the tape clockwise around the threads. If you wrap it counter-clockwise, the tape will unravel and bunch up when you twist the showerhead on, preventing a good seal and causing annoying leaks.
Pro Tip: To keep your metal fixtures looking pristine and scratch-free, wrap a thin piece of rubber – like a small section of an old bike inner tube or even a thick rubber band – around the neck of the valve before gripping it with your wrench. This protects the finish from unsightly tool marks.
Step 7: Build the Shower Floor
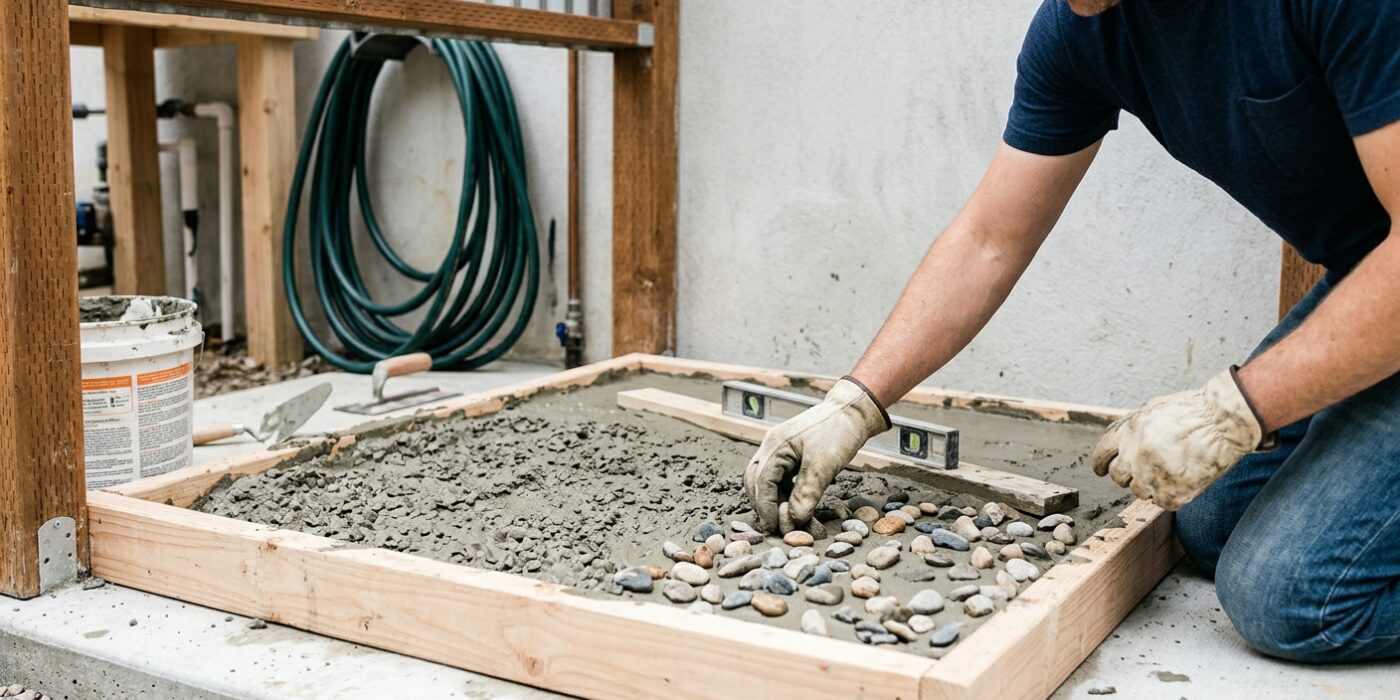
Creating a sturdy shower floor is essential for keeping your feet clean and preventing a muddy mess underfoot. We recommend building a 4 x 4-foot platform using 5/4×6 decking boards (teak, ipe, or composite). These materials are chosen for their ability to withstand constant water exposure. You will build a simple frame using Pressure-Treated (PT) 2×4 lumber. Cut your frame pieces to create a 48-inch square, then lay your decking boards across the top. Space each board exactly 1/2-inch apart – this is critical, as these gaps allow water to drain quickly so the wood can dry out between uses. Secure the boards to the frame using stainless steel exterior-grade screws to prevent rust. Once finished, simply set the platform in your shower area; the weight of the structure is sufficient to keep it stable on level ground.
Beginner Tip: Avoid using standard indoor wood screws. They will rust quickly when exposed to water and your own body oils, which leads to ugly brown streaks on your beautiful new floor and eventually causes the boards to come loose.
Alternative Method: If you do not have a miter saw to cut your own lumber, visit your local home improvement center. Many stores will cut your 2x4s and decking boards to your exact 48-inch specifications for free or a very small fee, allowing you to focus entirely on assembly at home.
Pro Tip: Use a scrap piece of 1/2-inch plywood as a spacer between each decking board while you screw them down. This ensures your drainage gaps are perfectly consistent across the entire platform, giving your project a professional, polished look.
Step 8: Winterize Before First Freeze
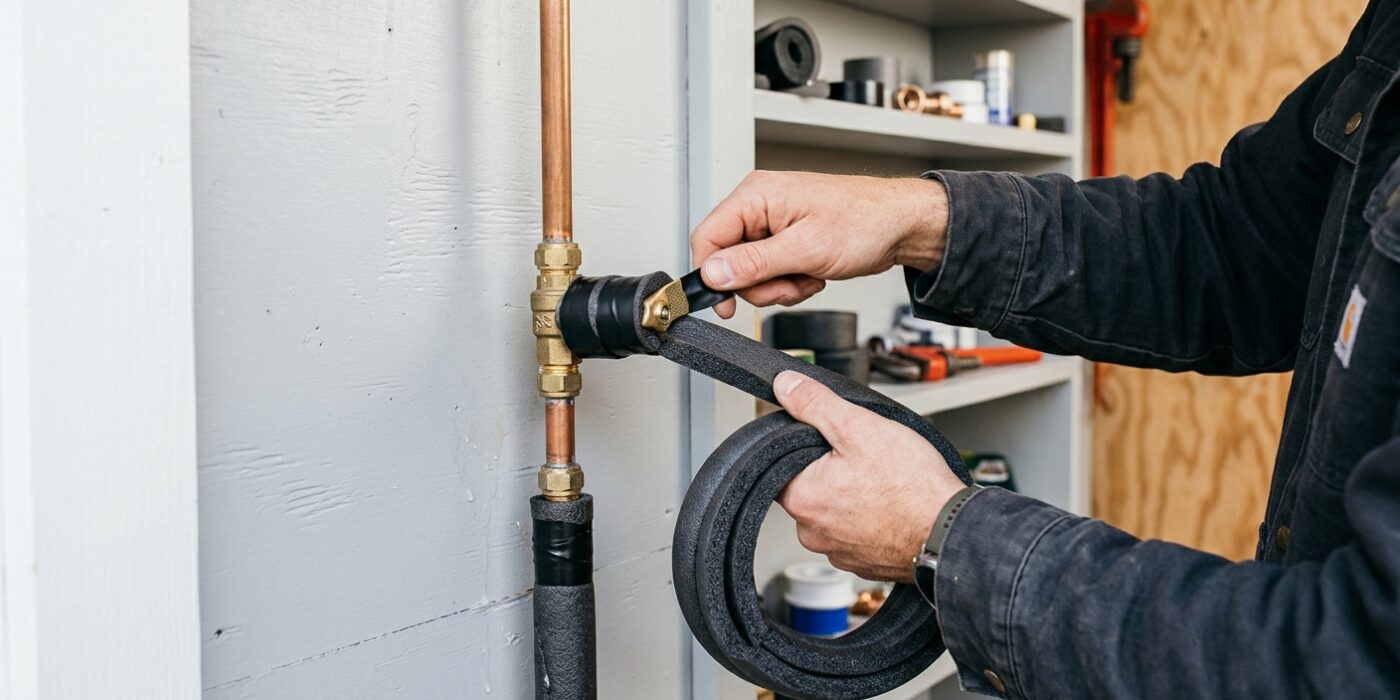
As the weather cools, water left inside your shower pipe can freeze, expand, and crack your plumbing. To protect your project, you must winterize it before the first hard frost. Start by shutting off the water at the main source or the dedicated interior shutoff valve. Once the supply is off, disconnect your garden hose or supply line from the hose bib. Next, head to your shower and open the ball valve to allow any trapped water to drain out completely. If your shower has a vertical riser pipe, you may need to gently tilt the assembly or unscrew the showerhead to ensure every last drop escapes, as even a small amount of stagnant water can cause damage when it turns to ice. Finally, place a simple plastic cap over the shower inlet to keep debris or spiders from moving in while the shower is out of commission for the season.
Beginner Tip: A common mistake is leaving the hose attached to the house bib. Even if the shower valve is open, water can get trapped in the hose and freeze, potentially bursting the hose or damaging the bib itself. Always disconnect and drain the hose fully before storing it coiled in a garage or shed.
Pro Tip: Apply a small amount of plumbers’ silicone grease to the threads of your hose bib before you cap it for the winter. This prevents corrosion and makes it significantly easier to screw your hose back on when spring arrives, ensuring a smooth, leak-free connection every season.