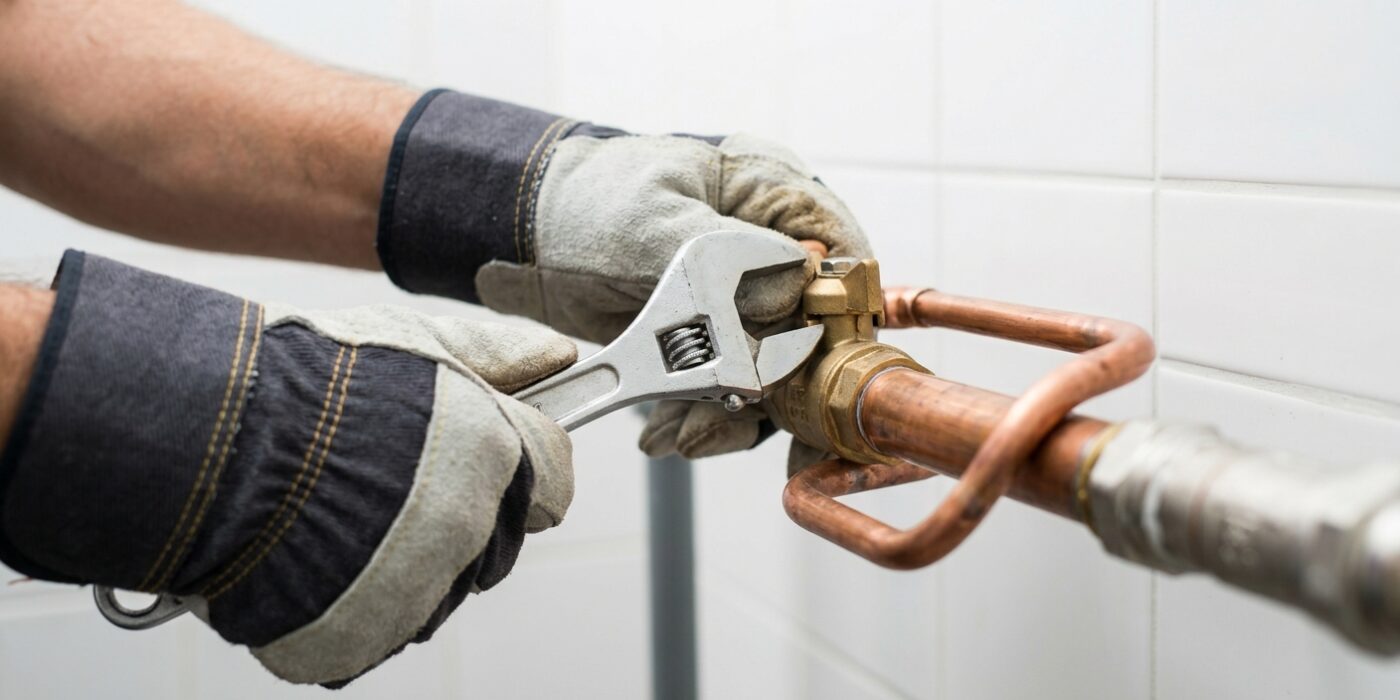
Project Shopping List
Banging pipes – the sharp thud or clang that occurs when you quickly close a faucet or a dishwasher valve snaps shut – is called water hammer. It happens when fast-moving water in a pipe is suddenly stopped, creating a pressure shockwave that slams against the pipe walls and fittings. Left unaddressed, water hammer gradually loosens pipe fittings, damages valves, and can eventually cause pipe joint failures.
The fix depends on what type of water hammer you have: high system pressure, loose pipes, or a failed air chamber. This guide covers diagnosing the cause and applying the right solution for each type.
What You’ll Need
Tools
- Water pressure gauge (screws onto a hose bib) – $10–$15
- Pipe straps and drill (for securing loose pipes)
- Adjustable wrench
Materials
- Water hammer arrestor – appliance-specific or whole-line type
- Pipe straps appropriate for your pipe material
- Pressure reducing valve (PRV) if pressure is above 80 PSI
Step 1: Check Your Water Pressure
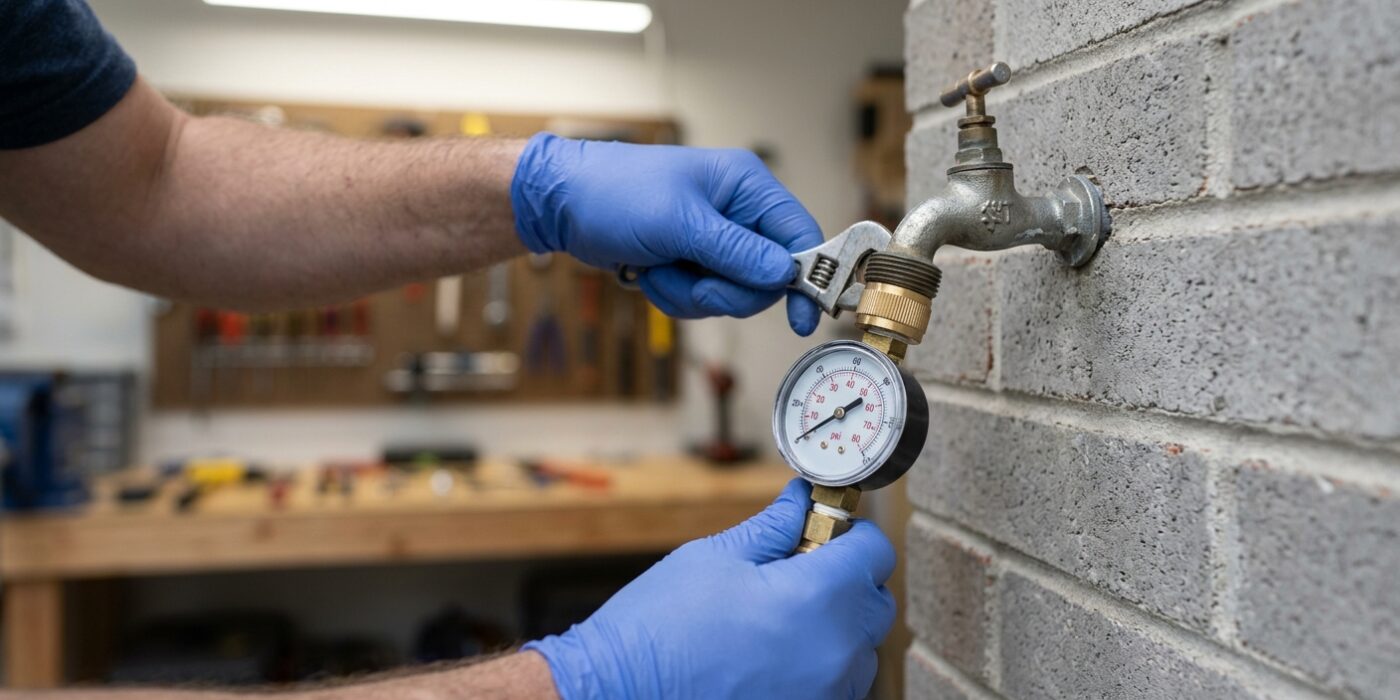
Before you start taking apart pipes, let’s make sure we are solving the right problem. Water hammer is that loud clanking or banging sound you hear when you turn a faucet off quickly. The most frequent culprit is water pressure that is set too high, which puts unnecessary stress on your home’s plumbing system.
To check your pressure, you will need a water pressure gauge, which is an inexpensive, easy-to-use tool found at any hardware store. First, turn off all the faucets, washing machines, and dishwashers in your home to ensure no water is being used. Locate an outdoor hose spigot (hose bib), remove any attached hose, and screw your gauge directly onto the threads. Tighten it by hand until it is snug – you do not need a wrench here. Open the spigot fully and look at the needle on the gauge. Your home should ideally sit between 40 and 80 PSI (pounds per square inch). If the needle is pointing above 80, your pipes are being subjected to excessive force that requires an adjustment to your pressure reducing valve (PRV).
Beginner Tip: Make sure you turn the hose spigot on slowly. If you crank it open too quickly, the sudden surge of water can cause the needle on the gauge to jump or give you a false, temporary reading.
Pro Tip: If your gauge does not have a “lazy hand” or a second needle, have a helper watch the gauge while you turn the spigot on, or use your smartphone to record a video of the gauge while you open the valve so you can see the pressure without rushing.
Step 2: Adjust or Replace the PRV
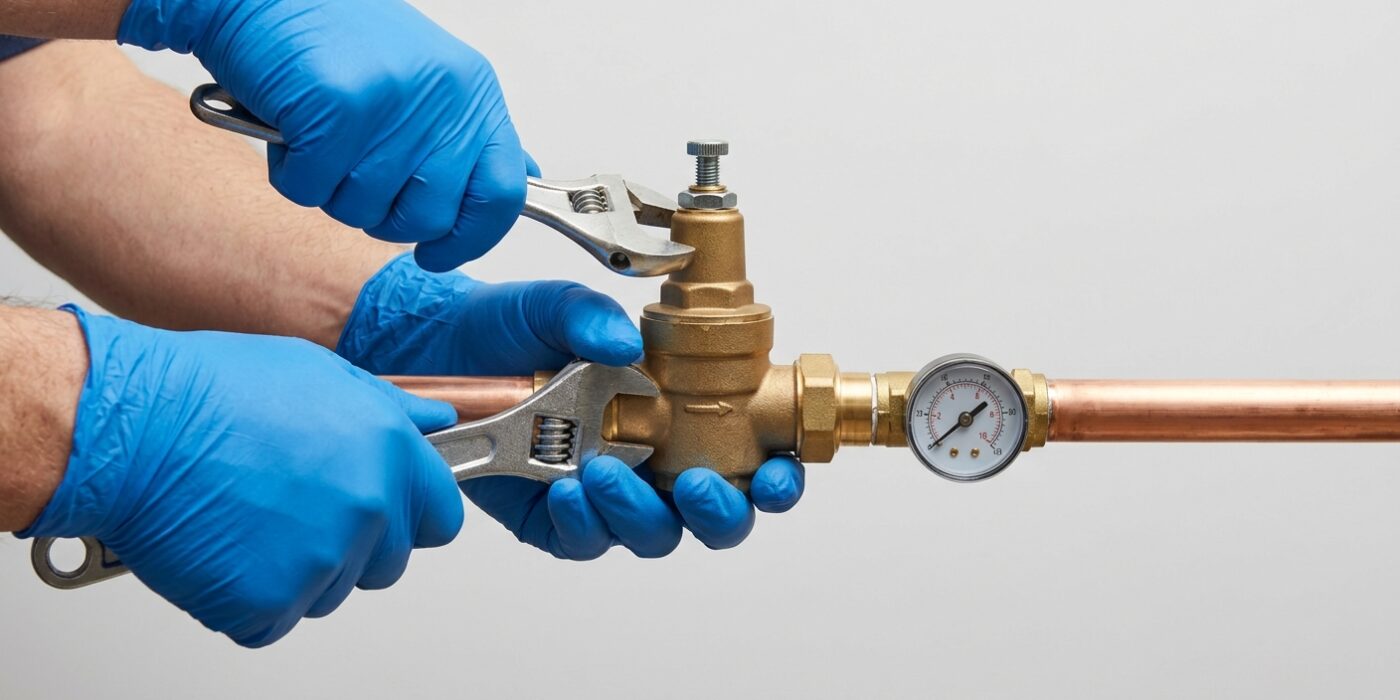
Your Pressure Reducing Valve (PRV) is a bell-shaped brass device usually located on your main water line. Its job is to keep your home’s water pressure consistent. If your pipes are banging, the pressure is likely set too high. To fix this, locate the adjustment bolt on top of the bell. First, use a wrench to loosen the locking nut surrounding the bolt. Once loose, turn the central adjustment screw counterclockwise to lower the pressure. Move it only a quarter-turn at a time; small adjustments make a big difference. After each turn, open a faucet to let the water equalize, then check your pressure gauge. Your goal is a steady 60–70 PSI.
Beginner Tip: Avoid turning the adjustment screw too quickly or too far. If you lose track of how many turns you have made, you might accidentally set the pressure too low, which can lead to a trickle of water at your showerhead. Always count your rotations so you can easily reset it if needed.
Alternative Method: If you do not have a dedicated pressure gauge, you can attach a screw-on gauge directly to an outdoor hose spigot. This is the simplest way to get a reading without needing to tap into your indoor plumbing system.
Pro Tip: Before you start turning the screw, spray a little penetrating oil, such as WD-40, onto the threads of the adjustment bolt and let it sit for ten minutes. Old valves often become calcified, and this little bit of lubrication prevents you from accidentally snapping the bolt head off.
Step 3: Install Water Hammer Arrestors
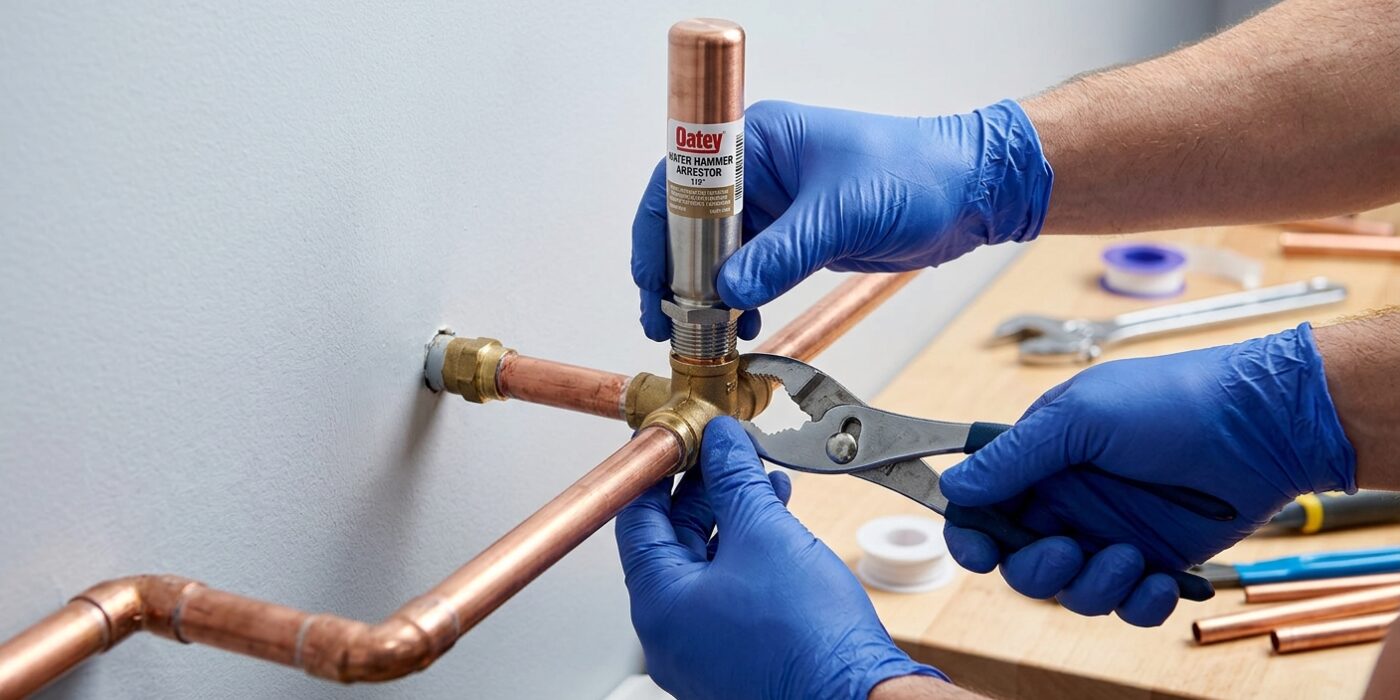
Now that you have your water hammer arrestors, it is time to install them. These devices act like shock absorbers for your plumbing. Think of the water inside your pipes like a moving car; when a valve shuts suddenly, the water slams into the pipe wall, causing that loud bang. An arrestor provides a cushion of air that absorbs this energy, stopping the noise before it starts.
To install an arrestor, locate the supply valve for your appliance (like the washing machine or dishwasher). Turn the valve handle clockwise until it is completely shut, then disconnect the existing supply hose. If you are working on a washing machine, you will see two valves: one for hot and one for cold. Screw the arrestor onto the valve outlet, then reattach your supply hose to the other end of the arrestor. Hand-tighten these connections firmly, then give them an extra quarter-turn with adjustable pliers to ensure they are snug, but be careful not to overtighten and crack the plastic or metal fittings.
Beginner Tip: A common mistake is using too much force. Because these connections have rubber washers inside, you rarely need to tighten them until they are white-knuckled. If it drips after you turn the water back on, a tiny nudge with the pliers is usually all that is needed to stop the leak.
Pro Tip: Before you screw on the new arrestor, check the rubber washer inside the connection point. If it looks cracked or flattened, spend a few cents to replace it with a new one; this is the number one way to prevent future leaks.
Step 4: Secure Loose Pipes
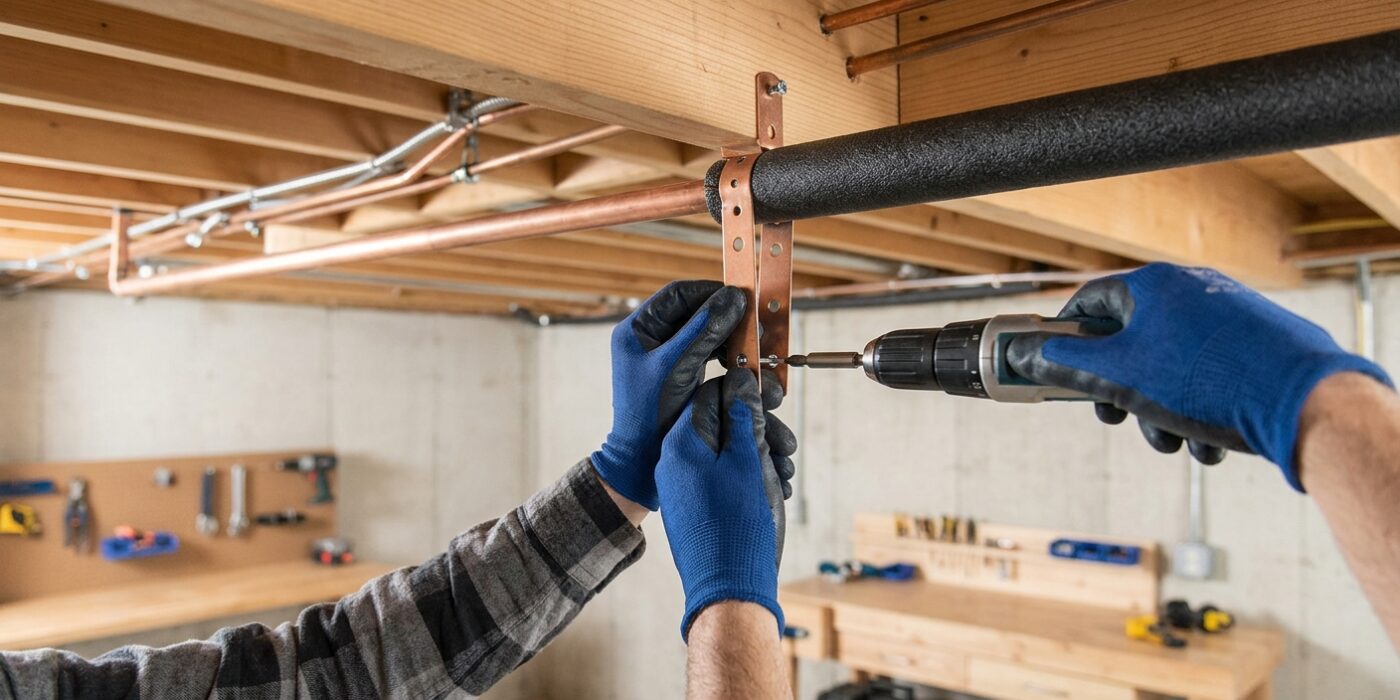
Now that you have addressed the pressure issue, it is time to quiet the pipes themselves. When water rushes through your plumbing, it creates a shockwave that causes pipes to vibrate. If your pipes aren’t firmly attached to your home’s wooden framing, they will bang loudly against the wood, turning a minor vibration into a noisy nuisance. To fix this, head into your basement or crawl space and inspect your exposed water lines.
Use pipe straps or brackets to secure the pipes to the nearby wooden studs or floor joists. As a general rule, you should place a strap every 4 feet for horizontal pipes and every 8 feet for vertical pipes. Ensure the straps are made of the correct material: use copper straps for copper pipes and plastic straps for PEX or PVC to prevent long-term corrosion. If you notice a pipe hitting a stud, simply wrap a piece of foam pipe insulation around the pipe at that contact point to create a soft, silent buffer.
Beginner Tip: Do not overtighten the straps. The pipe needs a tiny amount of room to expand and contract as the water temperature changes. If the strap is crushing the pipe, you risk causing a leak or stress crack over time; it should hold the pipe firmly in place without squeezing it.
Pro Tip: If you are struggling to reach a pipe tucked behind a narrow gap, use a flexible magnetic bit holder with your drill. This allows you to drive screws into tight corners where a standard drill body simply will not fit.
Step 5: Recharge Old Air Chambers
If your home was built before the 1960s, it likely features “air chambers” – vertical, capped sections of pipe hidden behind your walls. Think of these as built-in shock absorbers that trap air to cushion the pressure when a faucet or valve snaps shut. Over time, that trapped air gets absorbed into your water supply, leaving the chambers full of water and useless. To restore the cushion, you need to flush the system and let fresh air back in.
Start by turning off your home’s main water shut-off valve. Next, head to the lowest point in your house – usually a basement utility sink or an outdoor spigot – and open that faucet completely. Once the water stops flowing, open every other faucet in the house, starting from the top floor and working your way down. This allows air to enter the pipes and pushes the water out of the chambers. Finally, close all your faucets, turn the main water supply back on slowly, and let the pipes refill. The air trapped in the high points of your plumbing will now reset your chambers.
Beginner Tip: The most common mistake is forgetting to open your upstairs faucets. You need those open to act as “vents,” otherwise, the water will stay trapped in the pipes by a vacuum effect, preventing the chambers from emptying properly.
Pro Tip: When turning your main water supply back on, turn the valve handle slowly rather than snapping it open. This allows the pipes to pressurize gradually and prevents a new, jarring shockwave from hitting your plumbing right as you finish the repair.