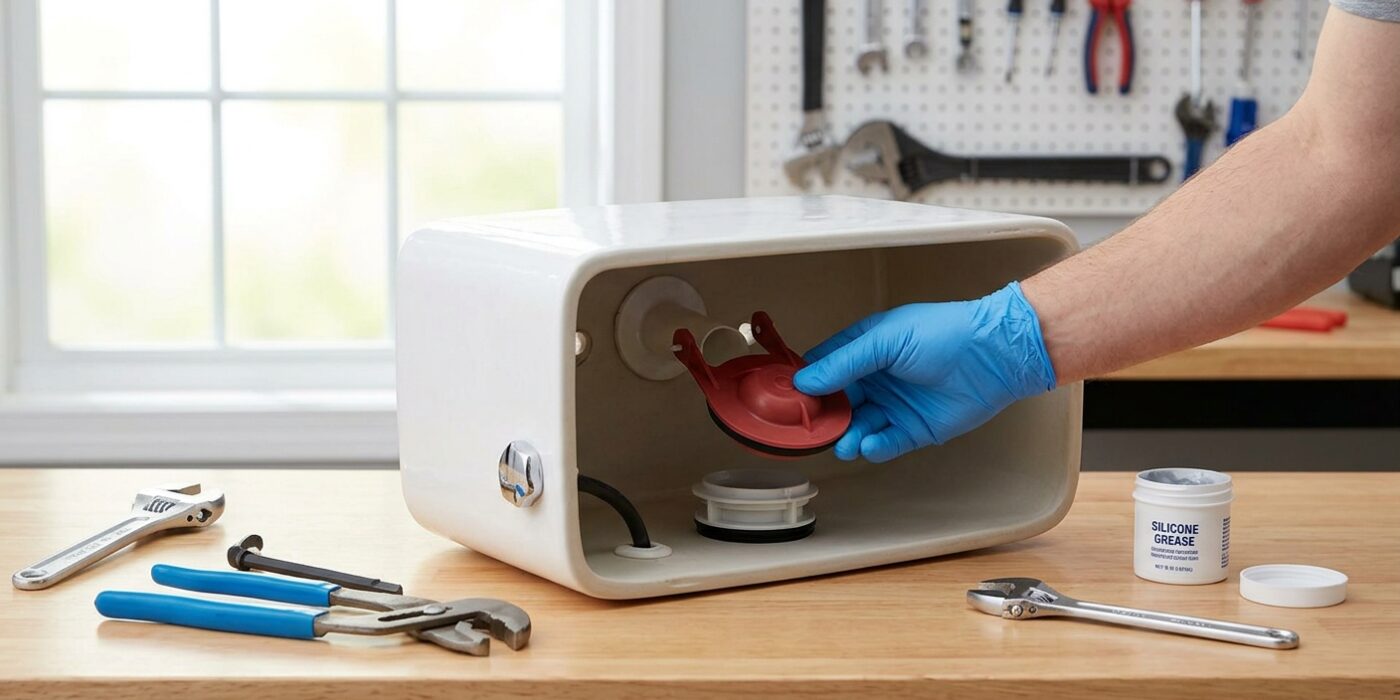
Project Shopping List
A toilet tank that leaks – dripping water down the outside of the tank, pooling at the base, or producing a constant slight run – can have three specific causes, each requiring a different fix. Many homeowners mistake a tank leak for a wax ring failure (which also produces water at the base) and end up doing unnecessary work. This guide helps you pinpoint exactly where the water is coming from before touching anything, so you fix the right problem.
The three common causes of toilet tank leaking are: a failed tank-to-bowl gasket, loose or corroded tank bolts, or condensation dripping off a cold tank in a humid bathroom. Each takes under an hour to address.
What You’ll Need
Tools
- Adjustable wrench
- Flathead screwdriver
- Sponge and bucket
- Towels
Materials
- Replacement tank-to-bowl gasket (sponge-rubber donut – sized for your toilet)
- New tank bolts (stainless steel with rubber washers)
- Tank liner kit (for condensation – foam panels)
Step 1: Identify the Exact Leak Location
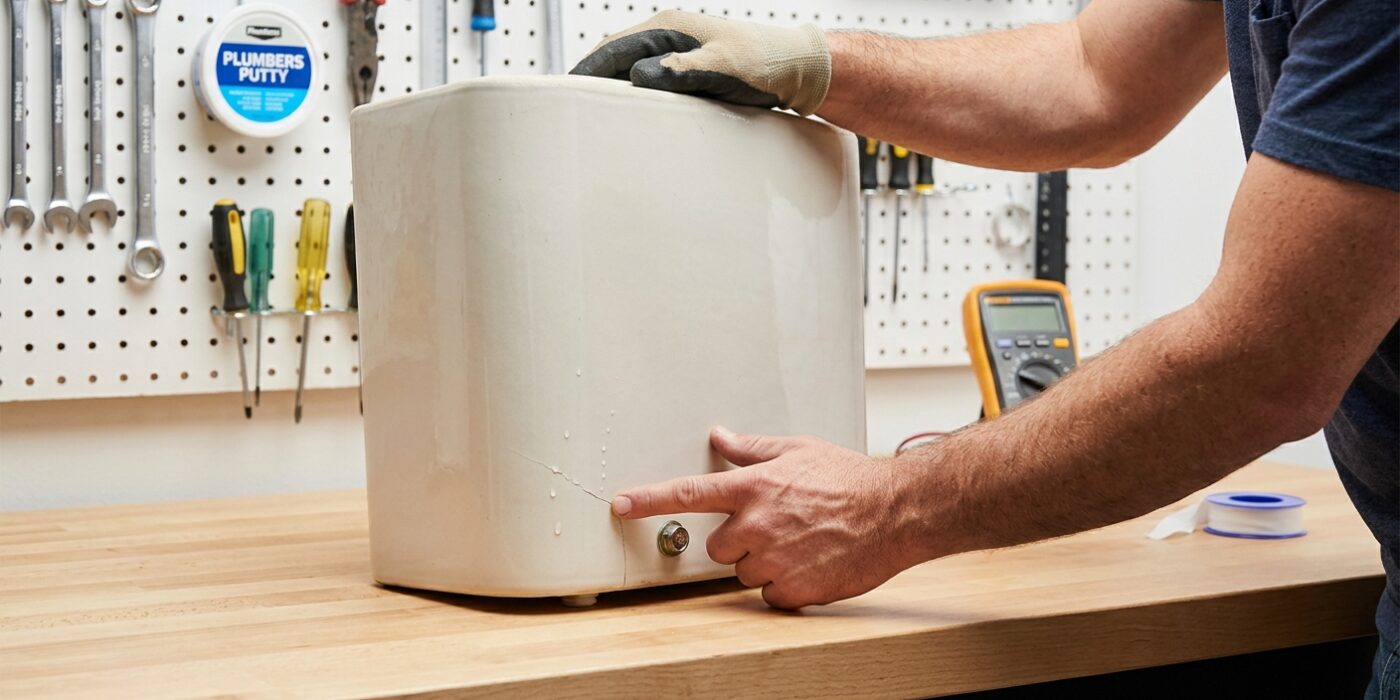
Before you reach for any wrenches, you need to play detective. Grab a handful of paper towels and thoroughly dry the outside of the porcelain tank, the pipes underneath, and the floor surrounding the base. Once everything is bone-dry, flush the toilet and get down at eye level. Watch closely for the very first sign of moisture.
This diagnosis is vital because it determines your entire repair plan:
- Tank-to-bowl gasket: If water beads up between the tank and the bowl, this rubber seal has likely failed.
- Tank bolts: If water tracks down the metal bolt shafts on the underside of the tank, the bolts are loose or rusted.
- Condensation: If the entire tank feels like a cold glass of soda on a hot day, you aren’t actually leaking – you are dealing with humidity.
Beginner Tip: Avoid the mistake of confusing a leak with simple splashes from the rim or a loose supply line connection. Before assuming the worst, check that the nut connecting the water hose to the bottom of the tank is tight; a loose connection here often mimics a structural leak.
Pro Tip: Add a few drops of blue or red food coloring into the water inside the tank before you flush. This makes the water path much easier to see, especially if the leak is a tiny, slow drip that would otherwise be invisible against the white porcelain.
Step 2: Fix Loose Tank Bolts
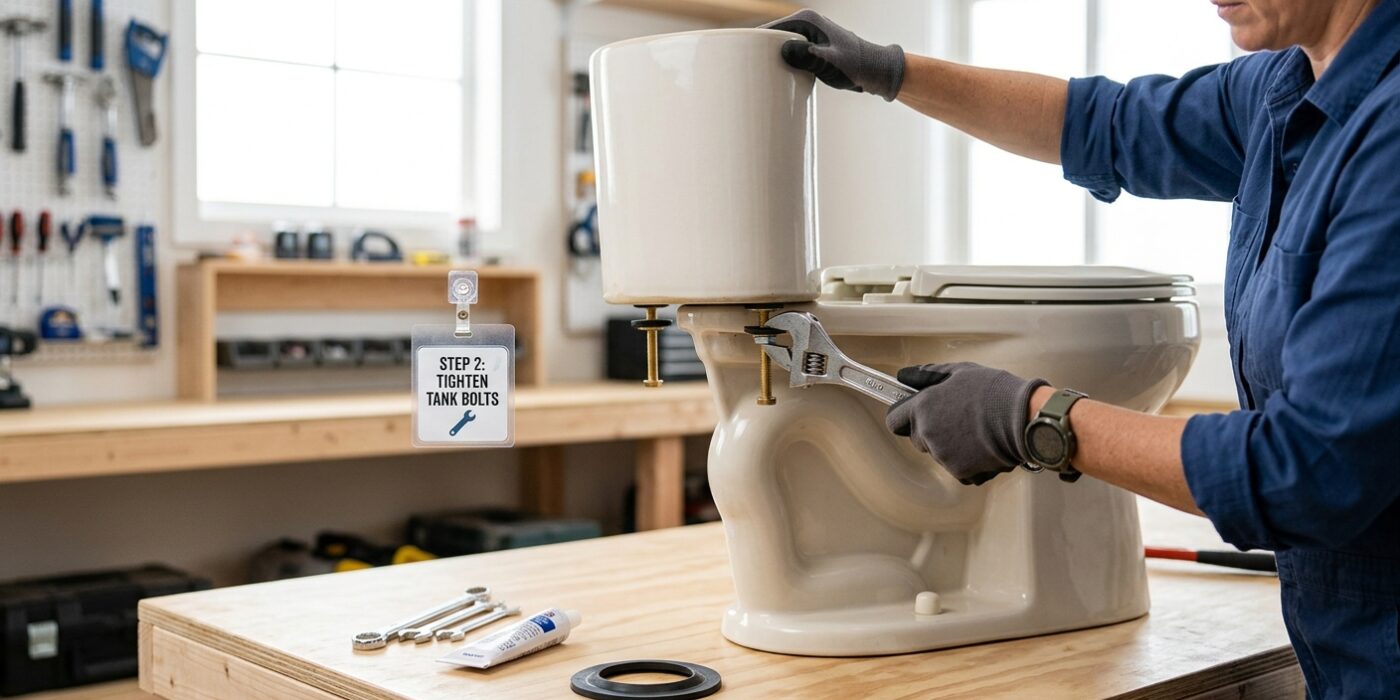
If your toilet is leaking from the base of the tank, the bolts connecting the tank to the bowl may have loosened over time, breaking the watertight seal. Inside your tank, you will see two bolts anchored at the bottom. These bolts pass through the porcelain and are secured underneath the rim of the bowl by large metal or plastic nuts. Your goal is to tighten these nuts to compress the rubber washers that sit inside the tank, creating a seal that prevents water from escaping.
Locate the bolt heads inside the tank. Using a flathead screwdriver to hold the bolt steady, use an adjustable wrench on the nut underneath the bowl. Tighten each side slowly, moving in a quarter-turn pattern. Think of it like tightening lug nuts on a car; alternate between the left and right bolt to keep the tank level. Stop as soon as the nut feels firm and snug. Do not force it – porcelain is a type of glass and will crack if you apply too much pressure.
Beginner Tip: Avoid the urge to tighten these bolts until they are absolutely immovable. If the rubber washers are still in good condition, they only need a light, snug turn to stop a drip. Overtightening is the most common cause of cracked toilet tanks, which requires a full replacement of the entire unit.
Pro Tip: To keep the bolt from spinning while you work, place a small piece of duct tape over the bolt head inside the tank to hold it firmly against the porcelain, or ask a friend to hold the screwdriver for you while you focus on the wrench underneath.
Step 3: Replace Tank Bolts and Washers
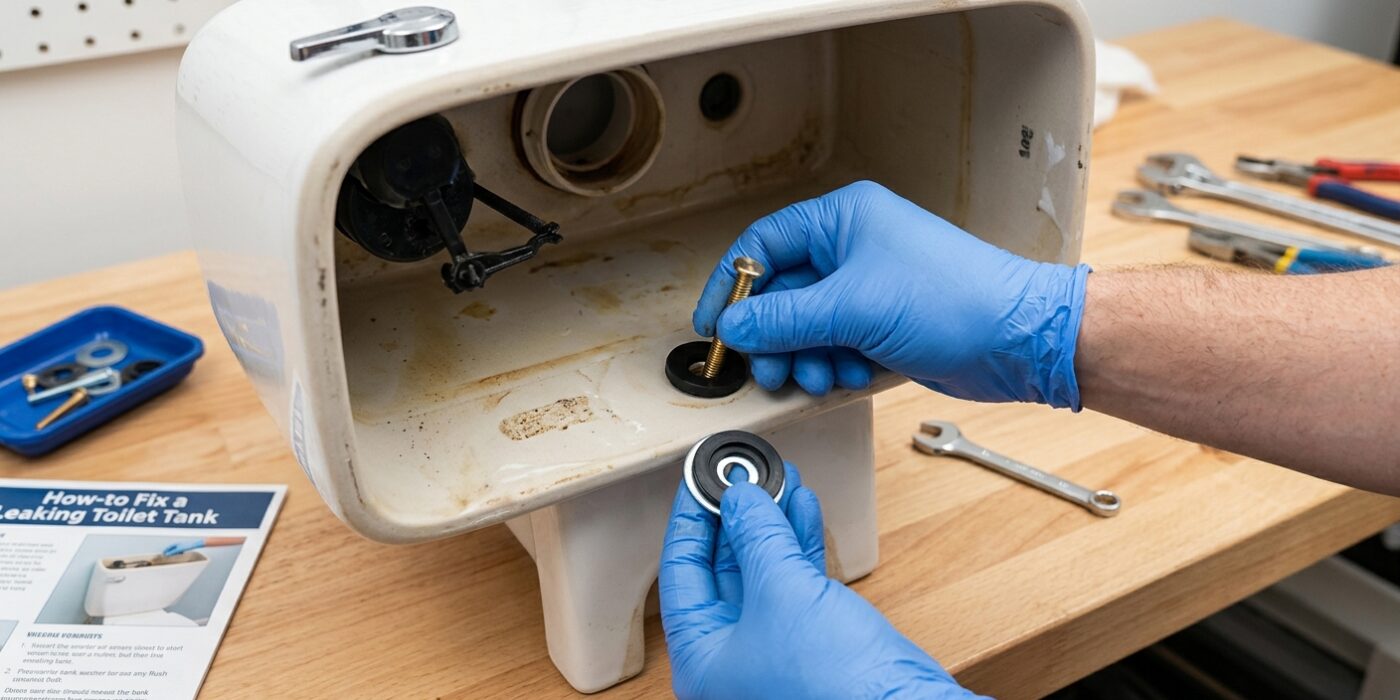
Now that your tank is completely dry, it is time to tackle the bolts. Over time, the rubber seals on these bolts become brittle, causing water to seep out from the bottom of the tank. To fix this, locate the two or three bolts inside the tank floor. Use a flathead screwdriver to hold the bolt head steady from above, and use your adjustable wrench to unscrew the nut located on the underside of the tank. Once removed, pull the old bolts straight up and out.
When installing your new hardware kit, assembly order is critical to preventing leaks. Slide the rubber washer onto the bolt first so it sits flush against the inside of the tank floor, creating a watertight seal. Drop the bolt into the hole, then add the metal washer and nut from underneath. Tighten the nut until it is “snug” – meaning you feel resistance – then give it exactly one-quarter turn more. This provides a secure seal without cracking the porcelain.
Beginner Tip: Avoid the temptation to overtighten these nuts. Porcelain is a glass-like material, and if you tighten the nut too much, the tank can easily crack. If you notice a tiny drip after installation, give it another eighth-turn, but never force it.
Pro Tip: Before inserting your new bolts, apply a tiny amount of plumber’s grease or silicone lubricant to the rubber washers. This helps the rubber seat more effectively against the porcelain and makes future repairs much easier to disassemble.
Step 4: Replace the Tank-to-Bowl Gasket
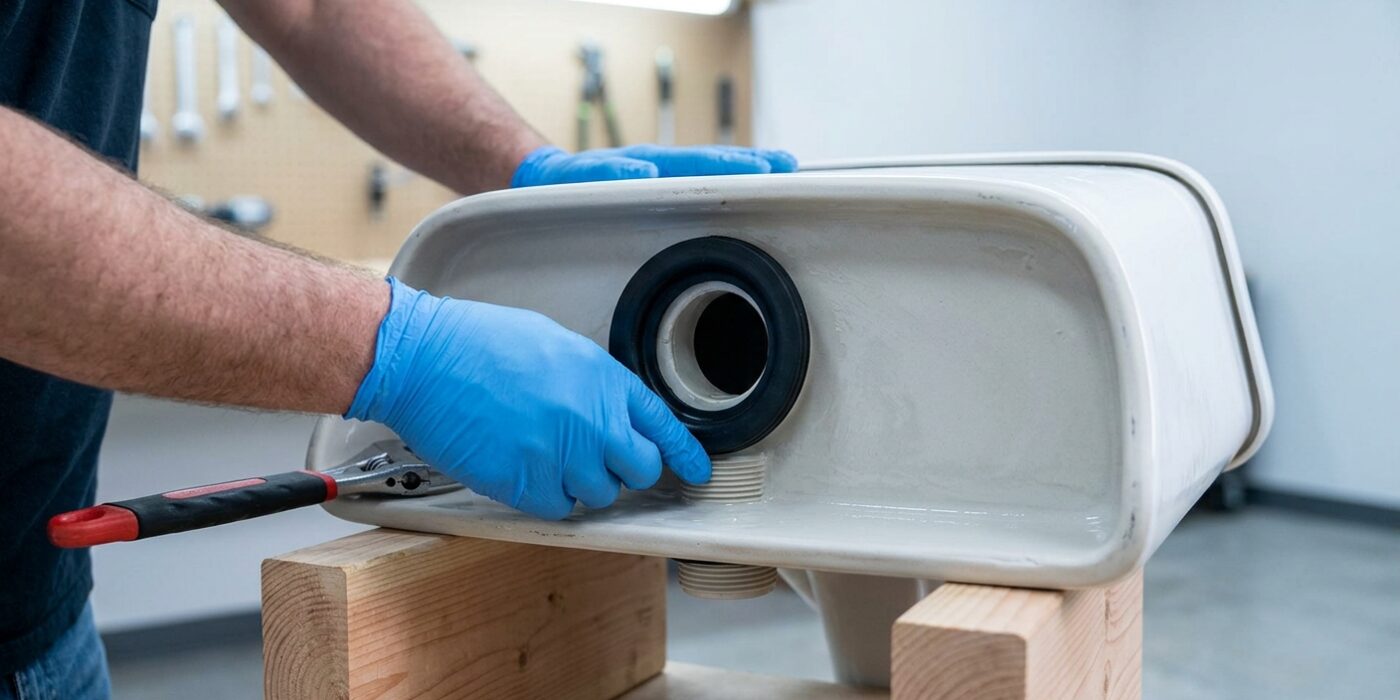
The tank-to-bowl gasket is a thick, sponge-like rubber ring that sits directly between your toilet tank and the bowl. Over time, it loses its elasticity and stops creating a watertight seal, which is usually why you see water dripping down the back of the bowl. To fix this, first turn off the water supply and flush the toilet to empty the tank as much as possible. Use a sponge to soak up any remaining water in the bottom of the tank.
Locate the two wing nuts or hex nuts underneath the tank, unscrew them, and gently lift the tank straight up. You will see the old gasket clinging to the bottom of the flush valve. Pull it off, clean any mineral buildup from the area with a rag, and press your new gasket firmly onto the flush valve outlet. When reattaching the tank, place it carefully over the bolt holes and tighten the nuts by hand, then add just a half-turn with a wrench. The goal is to compress the gasket evenly so it forms a snug, leak-proof seal without cracking the porcelain.
Beginner Tip: Never overtighten the tank bolts. Porcelain is surprisingly fragile, and putting too much pressure on it with a wrench can cause the tank to crack, which is a much bigger problem than a simple leak. Use firm, even pressure rather than brute force.
Pro Tip: Before setting the tank back down, apply a tiny amount of plumber’s grease or dish soap to the surface of the new gasket. This helps it seat properly and create a more reliable seal as you tighten the bolts.
Step 5: Address Condensation
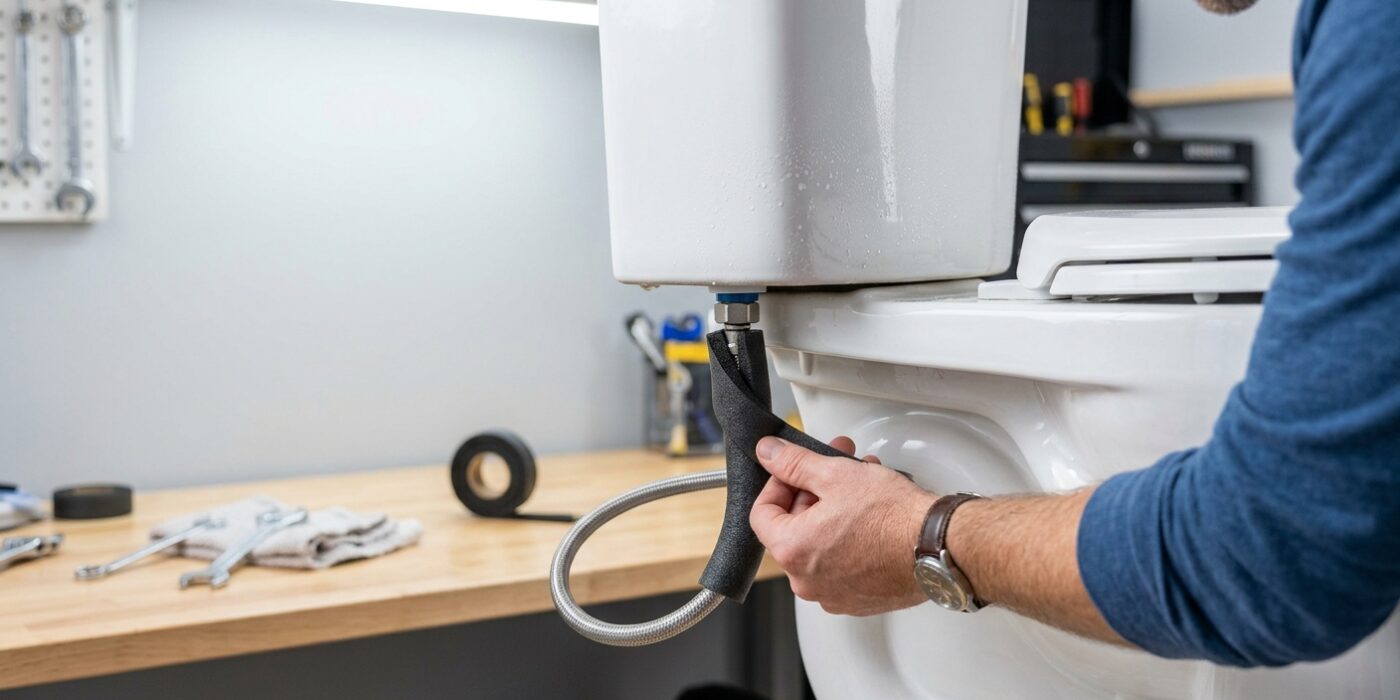
If you notice a puddle at the base of your toilet but the bolts and gaskets are bone-dry, you are likely dealing with condensation, not a leak. This happens when the freezing cold water inside your tank meets the warm, humid air in your bathroom, causing moisture to build up on the outside of the porcelain and drip onto your floor. This is a thermodynamic issue, not a broken part, but it is still important to fix because constant moisture can rot your subfloor or lead to mold.
To stop the sweating, start with the simplest solution: run your bathroom exhaust fan during every shower and keep it running for at least 15 minutes afterward to clear the humidity. If that does not work, you can purchase an inexpensive foam tank liner kit for $15–$25. These kits contain adhesive foam panels that you stick to the inside walls of the tank, creating a thermal barrier that keeps the porcelain from getting cold enough to attract moisture.
Beginner Tip: Never assume a puddle is condensation until you have performed the “towel test.” Thoroughly dry the entire outside of the tank and the base of the toilet with a paper towel. If you see water reappear immediately after a flush, it is a mechanical leak, not condensation. If it only reappears after a hot shower, you have successfully confirmed it is humidity.
Pro Tip: If you install a foam liner, make sure you clean and dry the inside of the tank with isopropyl alcohol before applying the adhesive. If the porcelain is damp or dusty, the adhesive will fail and the foam panels will peel off within days.