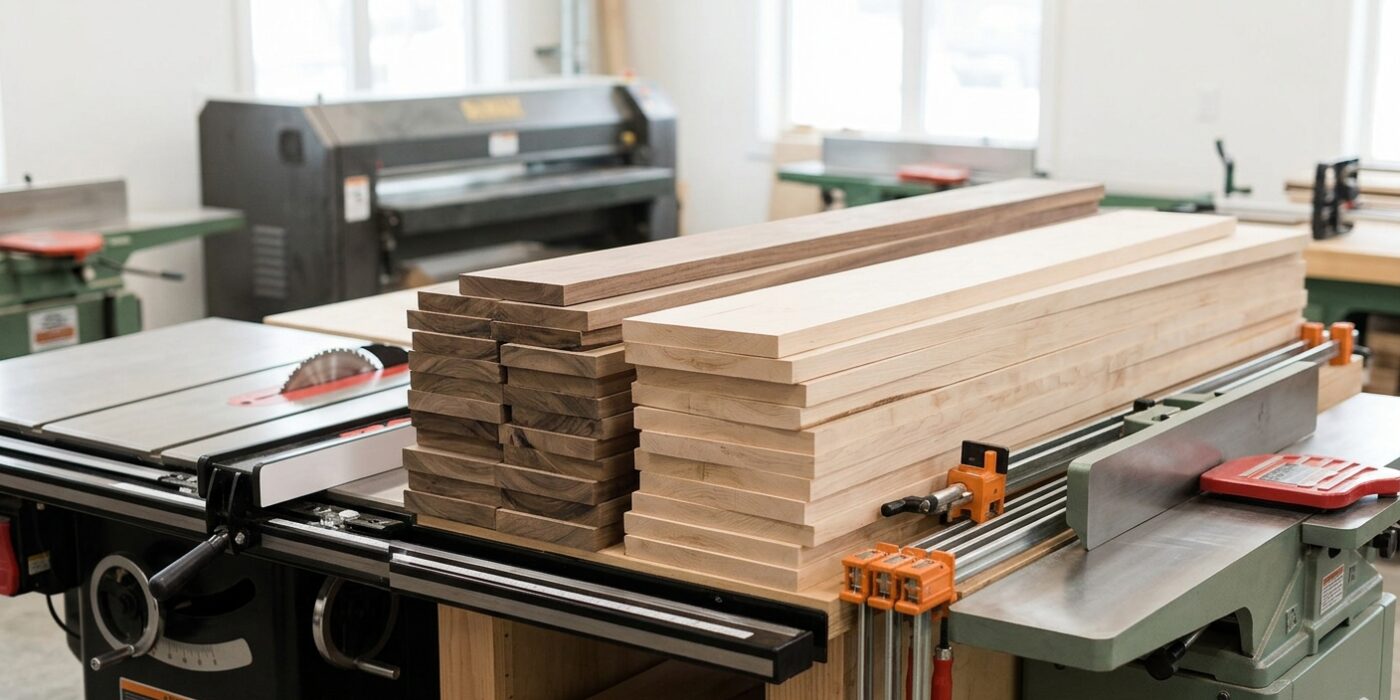
Project Shopping List
A handmade wood cutting board makes an excellent project, gift, and introduction to working with hardwood. Edge-grain boards (where the long face of the board is the cutting surface) are the easiest to make and are the most common type for home kitchens. End-grain boards (where the board ends are the cutting surface) are more work but are dramatically gentler on knife edges and are prized by serious cooks.
This guide covers making both types, starting with the simpler edge-grain board and moving to the end-grain version. Both use the same basic skills: ripping strips, gluing up, flattening, and finishing with food-safe oil.
What You Need
Tools
- Table saw for ripping strips
- Random orbital sander
- Pipe clamps or bar clamps (4 minimum)
- Router with roundover bit (optional)
- Hand plane or belt sander (for flattening end-grain)
Materials
- Hardwood in contrasting colors: maple, walnut, cherry, or purple heart
- Waterproof wood glue (Titebond III)
- Sandpaper (80, 120, 180, 220 grit)
- Food-safe oil (mineral oil or butcher block oil)
- Rubber feet (non-slip bumpers)
Edge-Grain Cutting Board
Step 1: Select and Prepare Your Wood
Edge-grain boards work best with hardwoods rated 1000 Janka hardness or above — maple, cherry, and walnut are all excellent. Rip your boards into strips of consistent width (1-1/2 to 2 inches is typical) using a table saw. Alternate species for a striped pattern: one strip of walnut, one of maple, etc. Plane or sand all strips to the same exact thickness before glue-up.
Step 2: Glue Up the Board
Apply Titebond III (waterproof formulation — essential for anything that will be washed) to all mating faces. Arrange strips in your planned order and clamp with pipe clamps on edge, perpendicular to the strip direction. Add a caul (a straight piece clamped across the top) to prevent the glue-up from bowing under pressure. Wipe squeeze-out immediately. Let cure 24 hours minimum.
Step 3: Sand Flat and Finish Edges
After curing, sand the faces flat through 80, 120, and 180 grit. Rout or sand a 1/8-inch roundover on the top edges and corners — this makes the board comfortable to handle and prevents the sharp glue joint lines from chipping with use. Apply food-safe finish: flood with mineral oil, let soak 20 minutes, wipe off, and repeat three times. The oil darkens and enriches the wood color dramatically.
End-Grain Cutting Board
Step 4: Make the Initial Glue-Up
Make an edge-grain panel following steps 1 and 2 above. After curing, cross-cut this panel into equal-width strips perpendicular to the original glue lines — you are now cutting across all the glue joints, revealing the end grain. These new strips (each showing alternating wood ends) are rotated 90 degrees and glued into the final end-grain board.
Step 5: Second Glue-Up
Rotate all strips so the end grain faces up. Apply glue to all mating faces (the long sides of the cross-cut strips) and clamp across the width. The result is a board where the surface is entirely end grain — the rings of each piece of wood face up. This surface is self-healing under knife cuts because the knife enters between the wood fibers and they close back together rather than cutting across the fibers as in edge-grain construction.
Step 6: Flatten the End-Grain Surface
End-grain is harder to sand flat than edge-grain because the alternating hard and soft areas in different species sand at different rates. Work through 80 grit with a random orbital sander in concentric circles, then switch to linear passes along the board length. Check for flatness with a straightedge before moving to finer grits. A hand plane used diagonally across the board is the fastest and most effective flattening method.
Step 7: Oil Repeatedly
End-grain boards absorb significantly more oil than edge-grain. Apply mineral oil in 4-5 applications over two days, allowing full absorption between each application. The board will initially appear dry within minutes of oiling — keep applying until it no longer absorbs within 10 minutes. A properly oiled end-grain board should feel slightly waxy when touched, not dry.
Pro Tips
- Never use vegetable oil or olive oil to finish a cutting board — these oils go rancid inside the wood within weeks and create an unpleasant smell that cannot be removed.
- Add rubber feet (self-adhesive bumpers from the hardware store) to the bottom corners — a board that slides on the counter is a safety hazard during cutting.
- A juice groove (a shallow routed channel around the perimeter of the top face) catches juice from meat and fruit. Route it before final sanding and oiling.
- For a premium finish, mix beeswax into melted mineral oil (2:1 mineral oil to beeswax) and apply as a wax finish on top of the oiled surface — this creates a water-repellent barrier that extends the life of the oil finish significantly.
FAQ
Why must I use waterproof glue?
A cutting board gets wet with every wash and with food moisture during use. Standard PVA glue (Titebond Original) is water-resistant but not waterproof — repeated wetting will eventually soften standard glue joints and the board will delaminate. Titebond III or equivalent waterproof glue is rated for outdoor use and is fully waterproof when cured, making it essential for any wood item that will be washed regularly.
Can I put a wood cutting board in the dishwasher?
No — dishwashers use very hot water, steam, and harsh detergents that will crack even well-glued cutting boards within one or two cycles. Always hand wash, dry immediately, and re-oil when the surface looks dry (typically every month or two with regular use). A properly maintained cutting board will last decades; a dishwasher-washed board may not survive the first cycle.
What is the minimum thickness for a functional cutting board?
For edge-grain boards, 3/4 inch is workable but 1-1/4 inches is better — thicker boards resist warping and feel more substantial. For end-grain boards, 1-1/2 to 2 inches is standard — thinner end-grain boards warp significantly with seasonal moisture changes because end grain absorbs moisture much more aggressively across the board than edge-grain construction does.